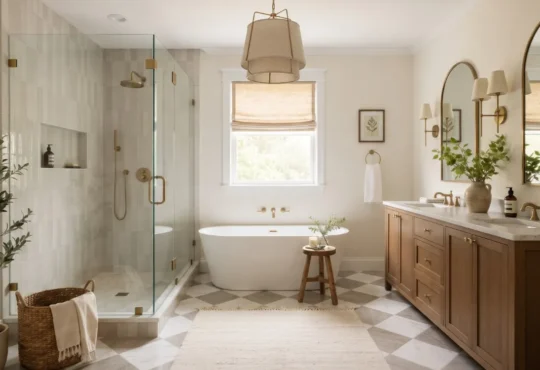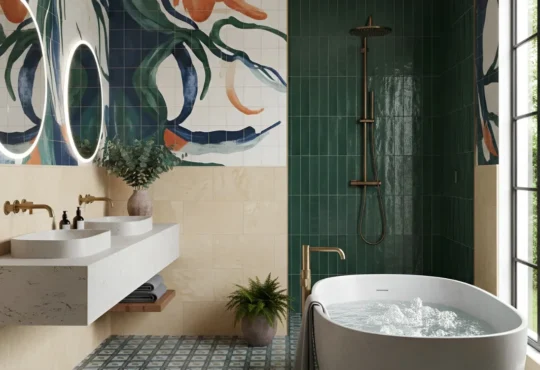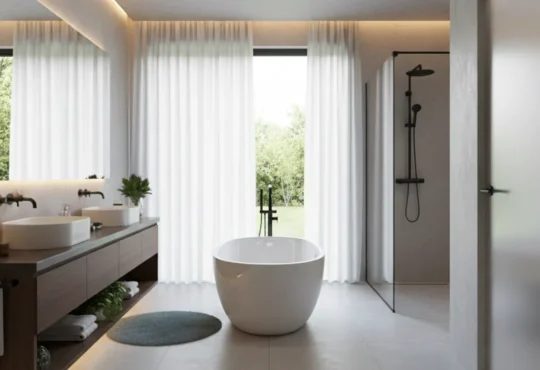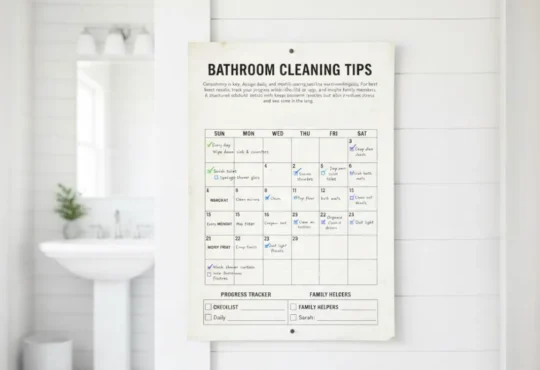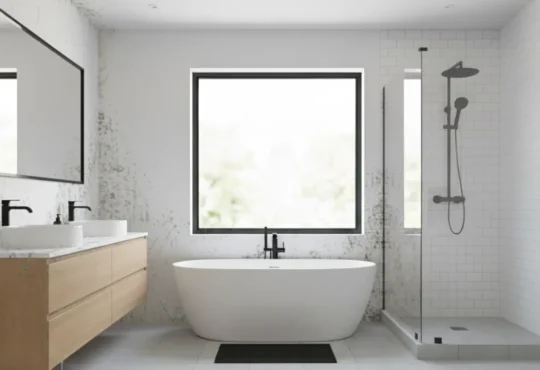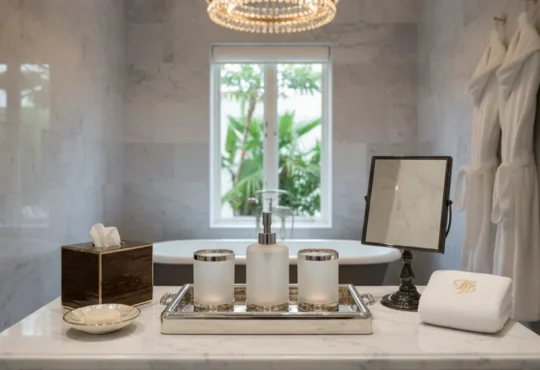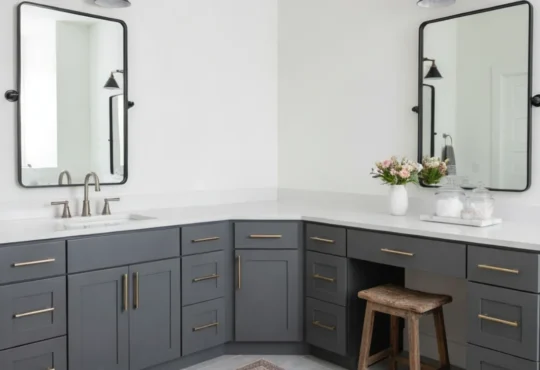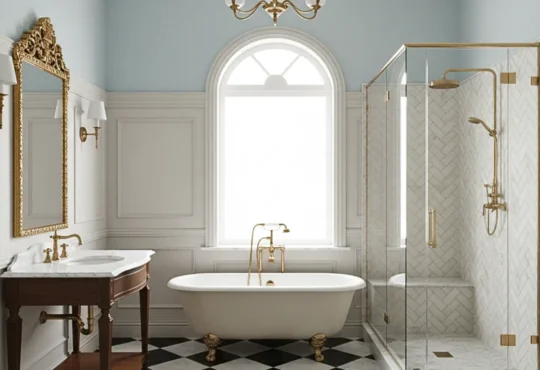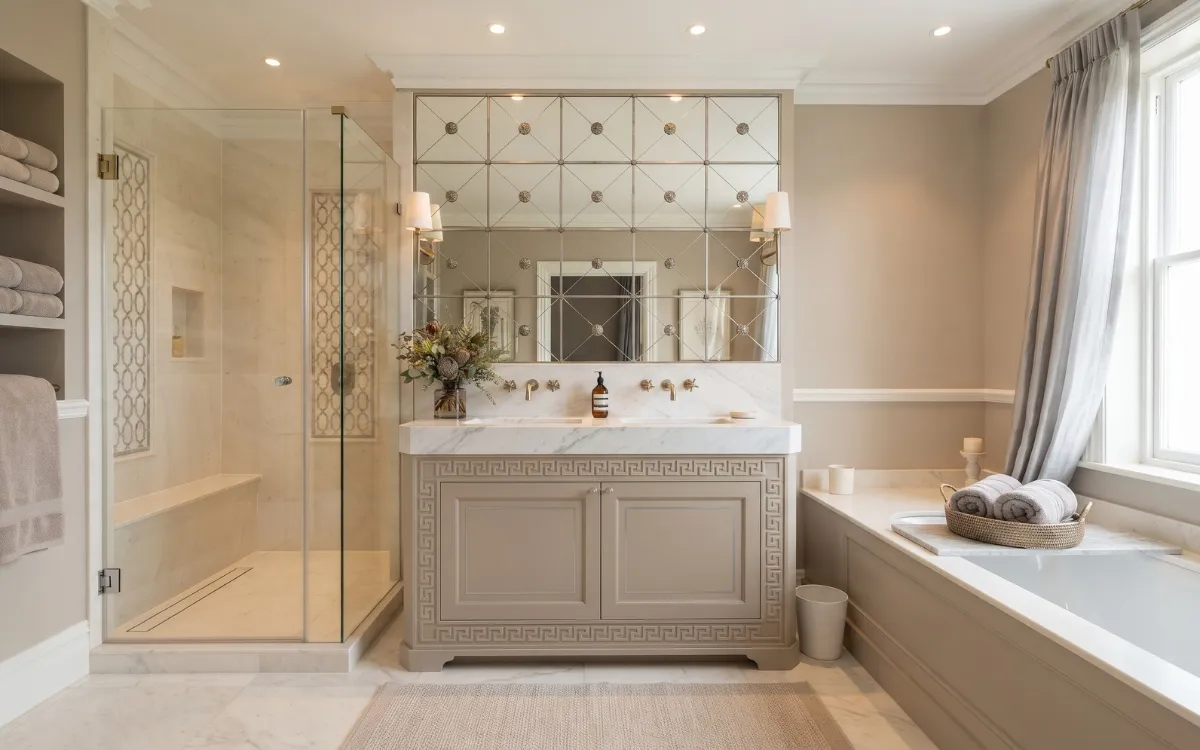
Good bathroom design begins with understanding how the room will be used and what its space can accommodate. Fixtures, materials, lighting, storage, and ventilation must work together to provide comfort and everyday convenience.
This guide explains how to assess your needs, plan the layout, choose suitable fixtures and finishes, and coordinate practical requirements before building or renovating a bathroom.
Understanding Bathroom Needs
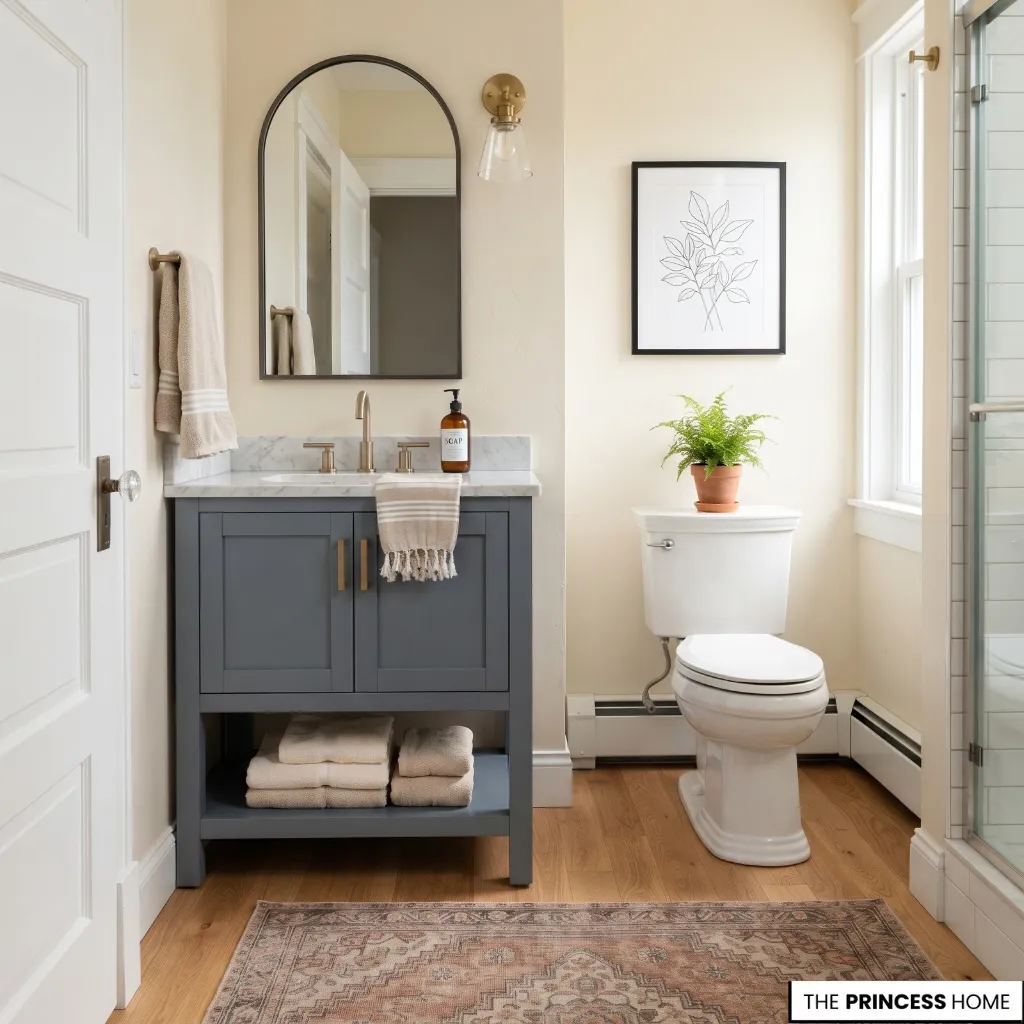
The right bathroom design depends on its purpose, the people who use it, and the routines it must support. A family bathroom has different requirements from a guest bathroom or a private bathroom connected to a bedroom.
Establishing these differences first prevents unnecessary features from taking space away from more important ones.
Identify the Bathroom Type
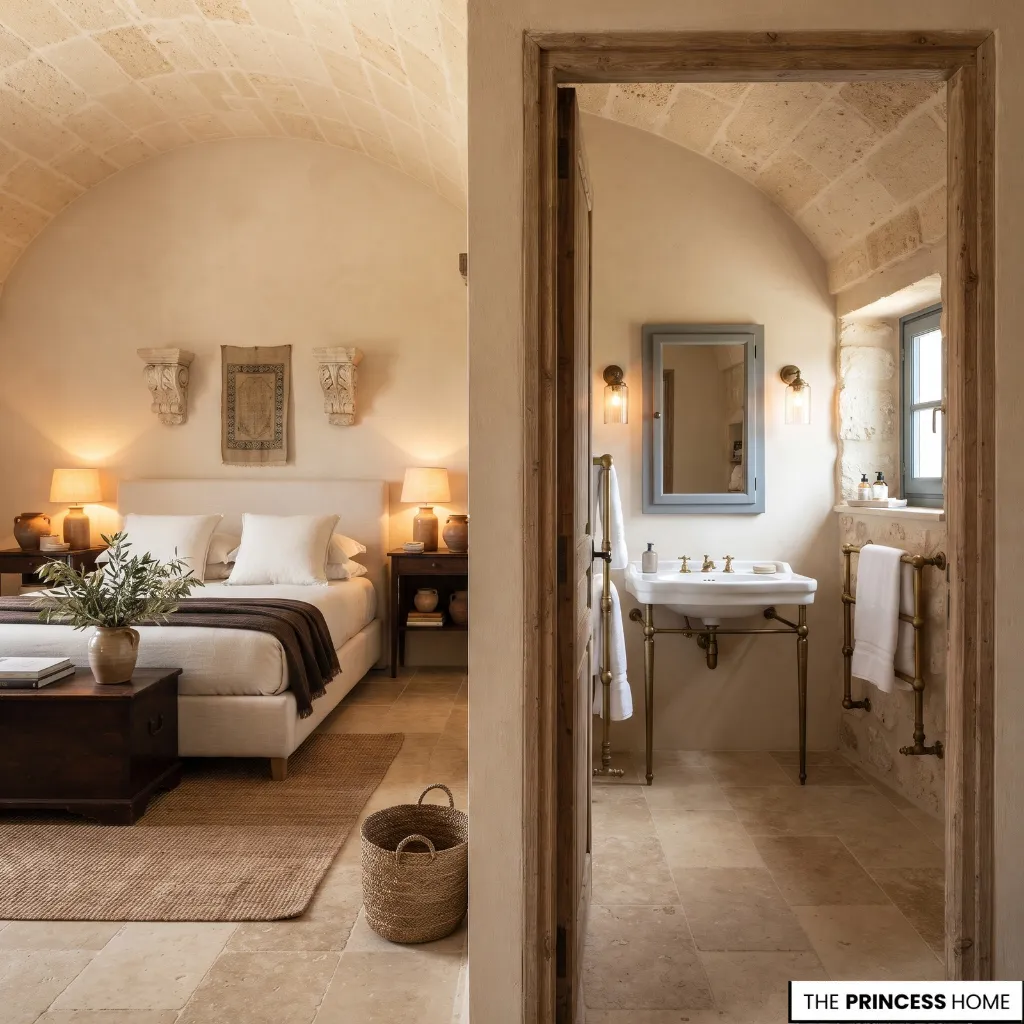
Start by defining the bathroom’s role in the home. Its location and users influence the fixtures, storage, privacy, and level of comfort it needs.
Primary bathroom: Usually serves the main bedroom or household owners. It may need a comfortable shower, a bathtub where useful, generous vanity storage, and a layout that supports daily routines.
Guest bathroom: Should be easy to use and maintain. A practical basin, toilet, suitable storage, and a well-planned shower or bathing arrangement may be sufficient.
Family bathroom: Needs to accommodate several users, different routines, and shared storage. Durable surfaces, accessible controls, and easy-to-clean fixtures become particularly important.
Powder room: Usually contains a toilet and basin without a shower or bathtub. Its compact layout makes fixture proportions, mirror placement, lighting, and privacy especially important.
These categories are useful starting points rather than fixed specifications. A guest bathroom may need a shower if it regularly accommodates overnight visitors, while a primary bathroom may need a simpler arrangement if its users prefer quick showers.
Understand Daily Routines
Consider how people move through the room during the day. Some households need several people to prepare at the same time, while others use the bathroom individually.
A shared bathroom may benefit from a wider vanity, separate storage areas, and enough counter space to keep personal items organized.
If two people regularly use the basin together, a double vanity may be worth considering. However, two basins are not automatically better than one. They require more counter width, plumbing, and storage planning, and may reduce the space available for other features.
Think about the activities that matter most:
- Showering or bathing.
- Washing and grooming at the vanity.
- Applying makeup or shaving.
- Storing personal care products.
- Changing clothes.
- Keeping towels and everyday supplies accessible.
Arrange the room around these activities rather than selecting fixtures simply because they are popular.
Set Your Priorities
Separate essential requirements from optional improvements before planning the design.
An essential feature supports everyday use. A suitable shower, comfortable toilet access, an adequate basin, effective ventilation, and sufficient storage usually belong in this category.
Useful additions may include a larger mirror, a handheld shower, a heated towel rail, or additional counter space. Optional features might include a freestanding bathtub, decorative pendant lighting, or a statement finish.
Priorities will vary between households. Someone who enjoys bathing may give the bathtub more importance than extra vanity space. A household with several users may prioritize storage and convenient access instead.
It is also helpful to distinguish between features that can be added later and those that are difficult to change after construction. Decorative accessories are relatively easy to replace, while drainage routes, electrical wiring, waterproofing, and concealed support systems need to be planned early.
Plan for Long-Term Use
A bathroom should remain practical as the household changes. Consider whether children will use it, whether older family members may need easier access, or whether temporary mobility limitations could affect how the room is used.
Features such as a low-threshold shower, well-positioned controls, a handheld shower, and reinforced walls for possible future grab bars can improve adaptability. These choices do not require the bathroom to look clinical. They can be incorporated into a design that suits the rest of the home.
Consider ease of entry, the stability of flooring under wet conditions, the reach of controls, and whether essential items can be accessed without bending or stretching. Where accessibility is a current requirement, the layout and clearances should be checked against the standards that apply to the project.
Assessing the Space
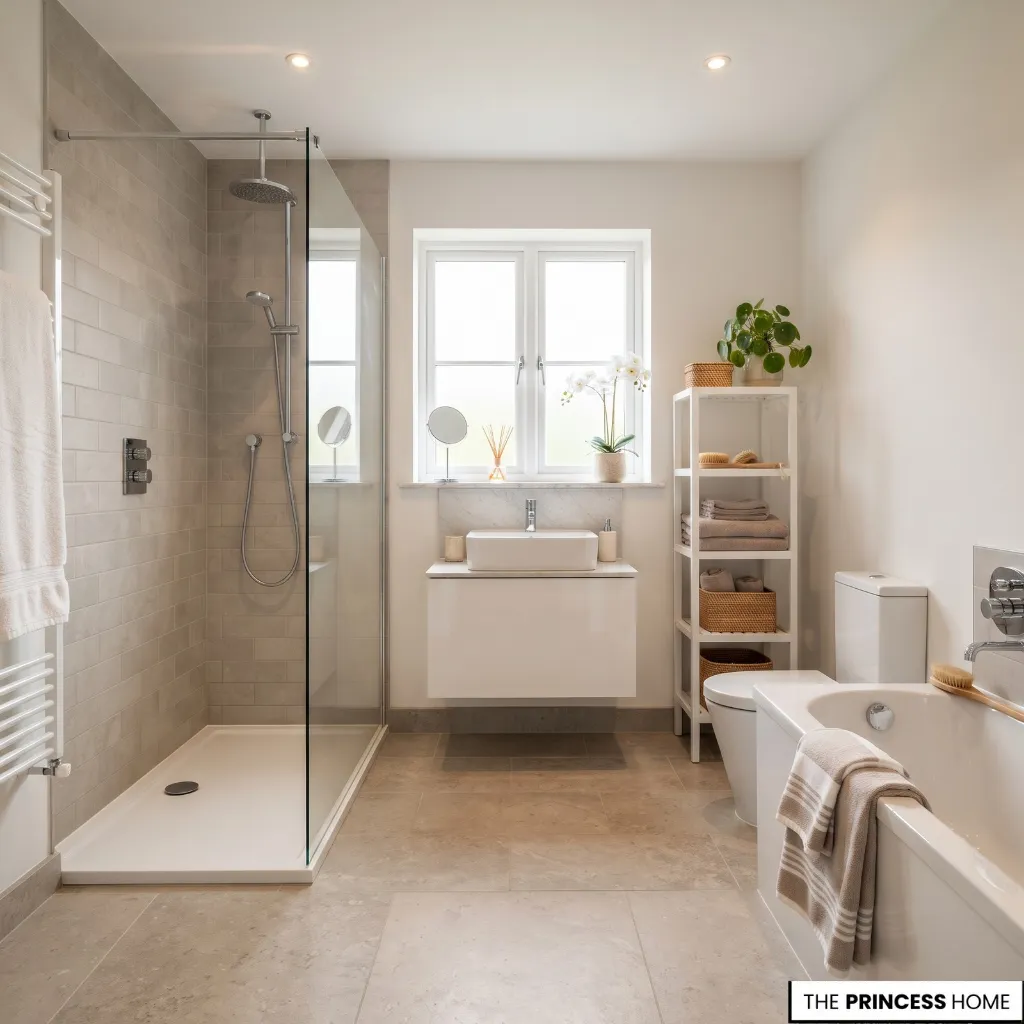
A bathroom’s dimensions and existing conditions determine which design choices are realistic. Accurate measurements help prevent unsuitable purchases, while an early inspection can reveal construction issues that should be addressed before new finishes are installed.
Measure the Room
Begin with a measured floor plan. Record the room’s length, width, and ceiling height, then mark the position and dimensions of every door and window.
Include the existing fixtures, plumbing connections, drainage points, wall recesses, columns, and any sloping ceilings. Note the direction in which doors open and the space required for drawers, cabinets, and shower doors.
Measure the fixtures themselves rather than relying on general product descriptions. Two vanities with the same appearance may have different depths, while shower enclosures can require more entrance space than expected.
The plan should show not only where each fixture fits, but also how people will approach and use it. Include the space needed to stand at the vanity, enter the shower, open storage, and move between the main areas.
Inspect Existing Conditions
Before choosing new materials, examine the condition of the bathroom.
Look for leaking taps, damaged pipes, loose tiles, deteriorating grout, failing sealant, poor drainage, swollen cabinetry, and signs of persistent condensation. Check whether the floor and walls appear sound and whether previous repairs may have concealed a problem.
Existing plumbing and electrical services also influence renovation decisions. Moving a toilet or shower drain can require more extensive work than replacing a vanity or changing a wall finish. The feasibility depends on the building structure, pipe routes, drainage, and access to the services.
A visual inspection can identify obvious concerns, but concealed leaks, waterproofing failures, and electrical problems may require professional assessment. Do not assume that a surface is sound simply because the visible finish appears intact.
Evaluate Natural Light
A bathroom window can provide daylight and, when conditions allow, help with ventilation. Its position also affects privacy and the arrangement of fixtures.
Consider the direction of the light, the possibility of overlooking from neighboring buildings, and whether the window interferes with a shower, bathtub, or storage unit.
Privacy treatments should suit the moisture conditions. Frosted glazing, suitable window film, and moisture-resistant blinds can help preserve daylight while limiting visibility.
In a bathroom without a window, the lighting plan becomes more important. Artificial lighting must provide sufficient visibility at the vanity and throughout the room, while mechanical ventilation must address humid air.
Check Available Services
The location of water supplies, waste pipes, electrical circuits, and ventilation routes can influence the cost and complexity of the project.
Keeping fixtures close to existing services may simplify a renovation. However, retaining an unsuitable layout merely to avoid moving a pipe can compromise the result. Compare the practical benefit of a proposed change with the additional construction work it requires.
Before finalizing the design, ask a qualified professional to assess changes involving structural walls, drainage, waterproofing, or electrical installations. Confirming these conditions early helps prevent design decisions that cannot be carried out as planned.
Planning the Layout
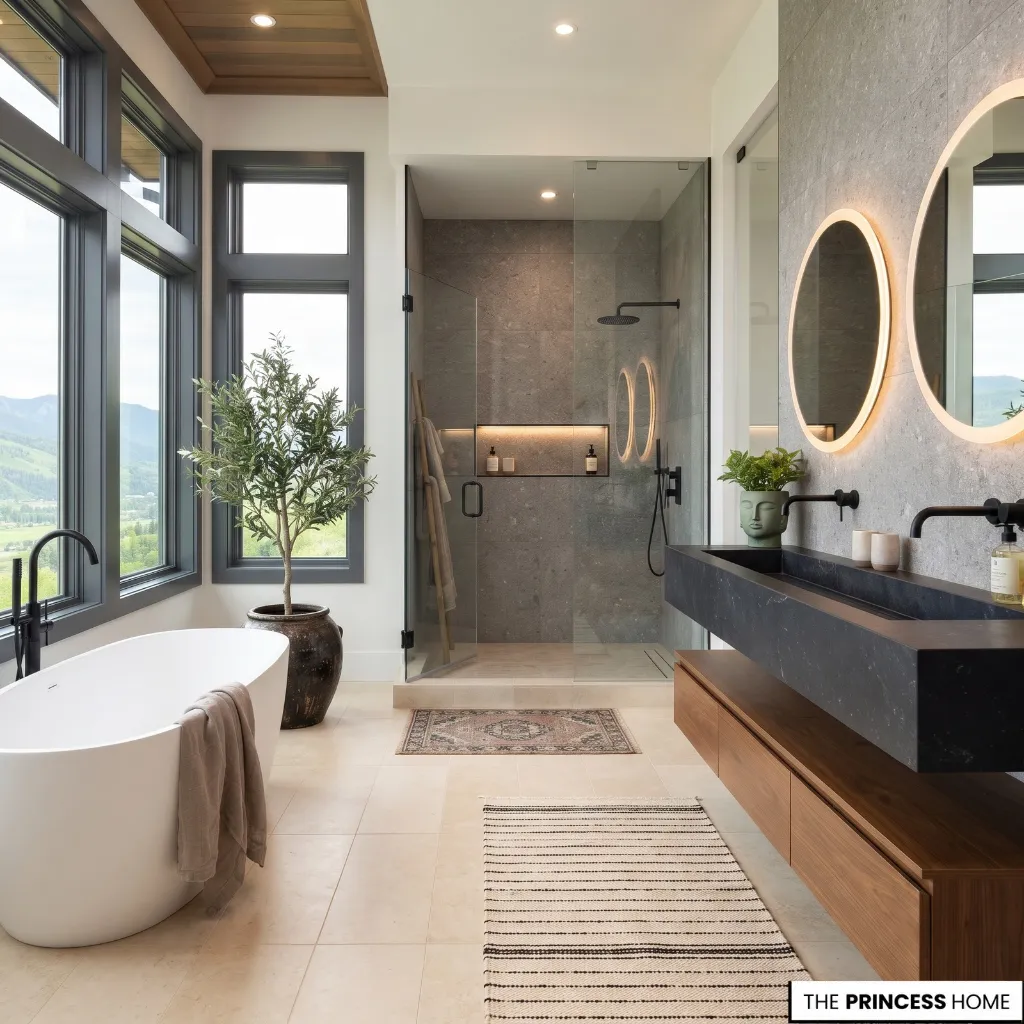
The layout determines how the bathroom functions. It establishes the relationship between the toilet, basin, shower, bathtub, entrance, and storage. A good arrangement allows each fixture to be used comfortably without creating unnecessary obstacles.
Position Main Fixtures
Start by placing the toilet, basin, and bathing area on the floor plan. These are the main functional elements, and their positions influence the rest of the room.
Where possible, avoid placing the toilet directly in the main sightline from the entrance. A vanity near the doorway can be convenient for quick routines, while a shower farther into the room may help separate the wet area from the entrance.
However, no single arrangement suits every bathroom. A narrow room, an irregular floor plan, or a window on the main wall may require a different solution.
Test several arrangements before choosing one. Consider the relationship between the fixtures, the door, and the available wall space. Check whether the proposed positions leave enough room for storage, towel access, and cleaning.
Compare Layout Options
Do not judge a bathroom layout only by how many fixtures it accommodates. Compare complete arrangements according to how well they support everyday activities.
For each option, examine:
Movement: Can users move between the entrance, vanity, toilet, and bathing area without unnecessary detours?
Access: Can people approach and use each fixture comfortably?
Door and drawer openings: Do the entrance door, shower door, vanity drawers, and storage cabinets interfere with one another?
Privacy: Is the toilet visible from the doorway, and can windows or glazed shower panels expose private areas?
Wet and dry areas: Does the arrangement limit unnecessary water reaching the vanity, entrance, and storage?
Storage: Is there practical space for towels, personal care products, and cleaning supplies?
Services: Can the plumbing, drainage, electrical work, and ventilation be installed without disproportionate construction changes?
A layout that accommodates more fixtures is not necessarily the better choice. An arrangement with fewer elements may provide more comfortable movement, easier cleaning, and better storage access.
Compare the options on the same measured floor plan, using the actual dimensions of the proposed fixtures. This makes differences easier to identify before purchasing products or starting construction.
Protect Movement Space
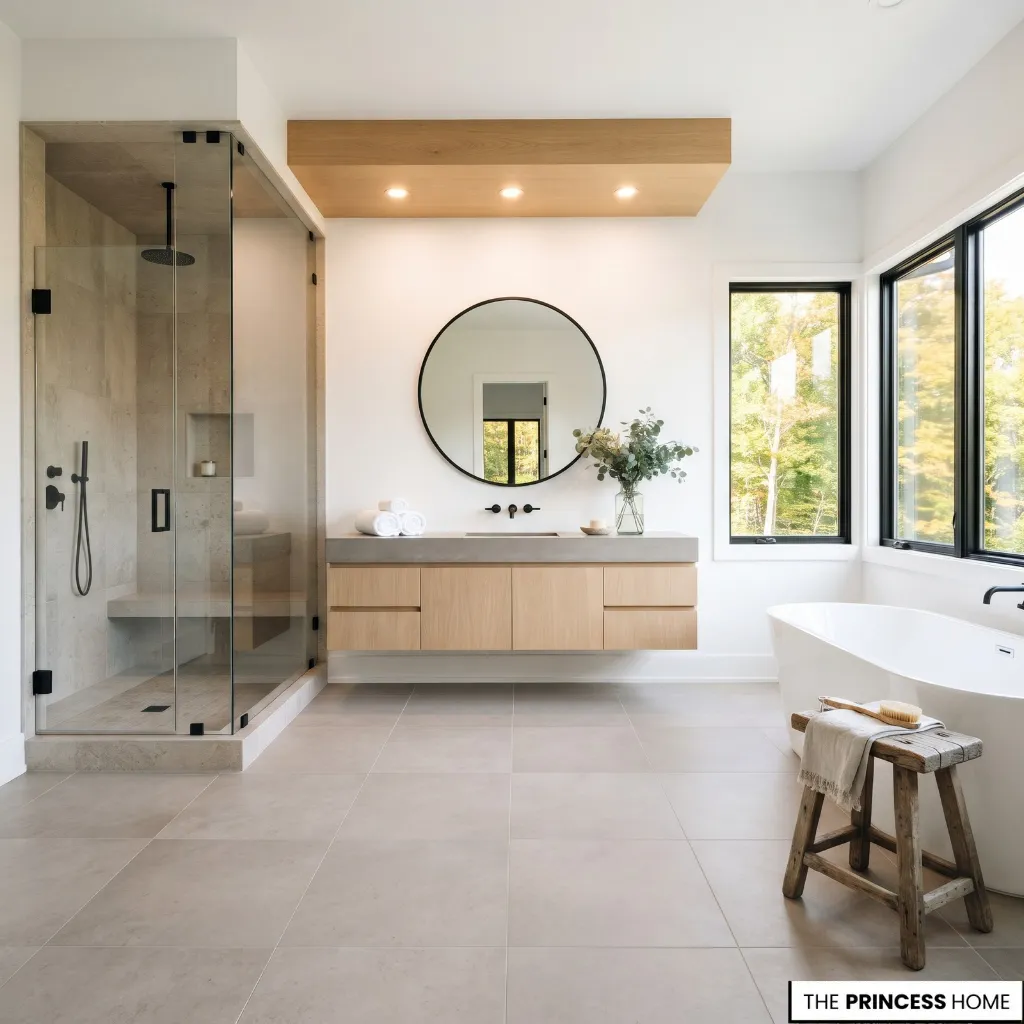
The space around fixtures is part of the layout, not leftover space to be filled with storage or decoration.
Someone using the vanity needs room to approach the basin, stand comfortably, and open drawers. A shower needs an entrance that is easy to reach, while a toilet requires sufficient space for use and cleaning.
Check whether doors, drawers, and shower enclosures interfere with one another. A door that opens into the vanity may obstruct the basin, while a shower door may conflict with a nearby toilet.
The required clearances depend on the fixture dimensions, intended users, and applicable building requirements. Do not rely on a generic floor plan as proof that a bathroom meets local regulations. Where accessibility is important, check the relevant access requirements before fixing the layout.
Choose Between a Shower & Bathtub
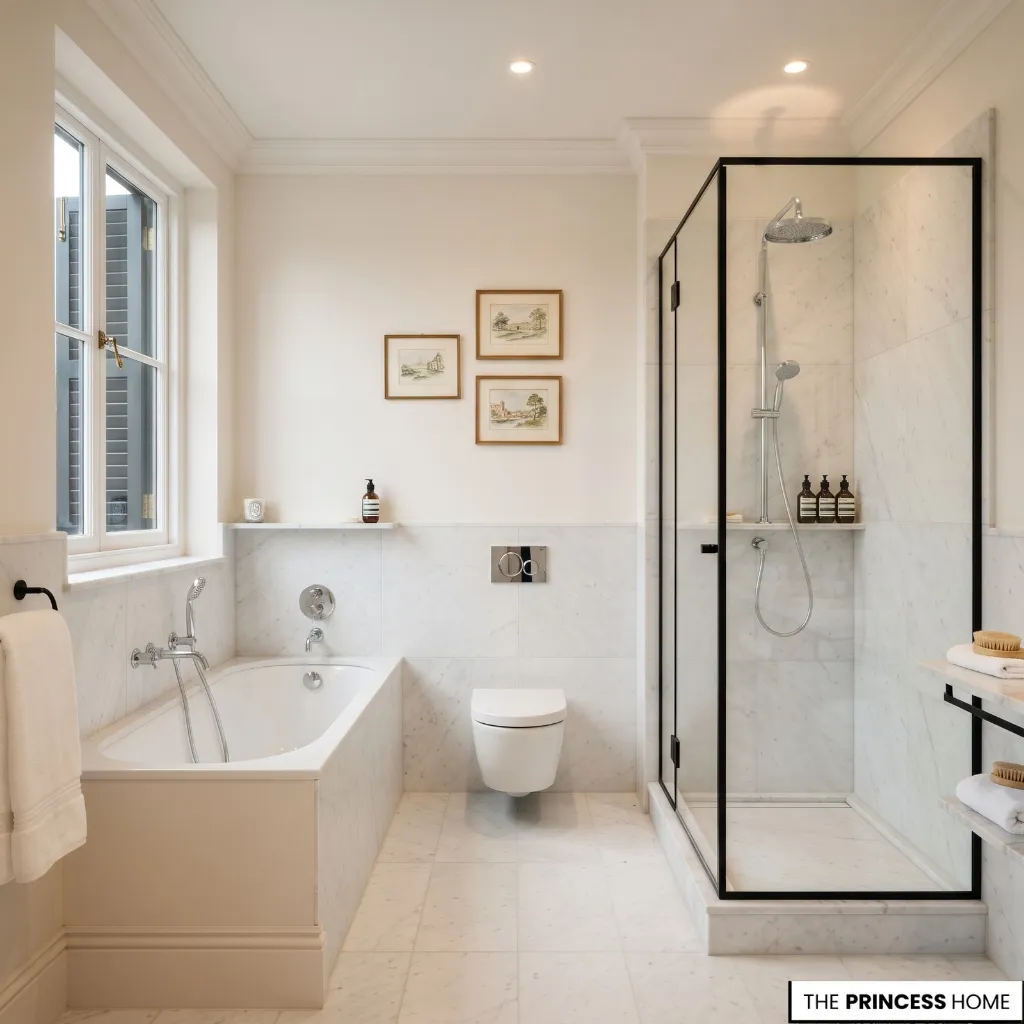
The choice between a shower, bathtub, or combination should reflect household routines and the available space.
A shower is often more practical for quick daily use and may suit a compact bathroom. A walk-in arrangement can provide easier entry when designed with appropriate drainage, waterproofing, and slip-resistant flooring.
A bathtub may be valuable for households that regularly use it, families with young children, or people who enjoy bathing. However, it occupies more floor area and requires comfortable access around its entrance.
A combined bath-shower can serve several purposes when space is limited, although the tub’s height may make entry less convenient for some users.
If the bathroom has room for both, compare their actual value to the household before allocating space to each. Keeping a bathtub simply because it is traditionally expected in a primary bathroom may not be the best use of the available area.
Consider Small Bathrooms
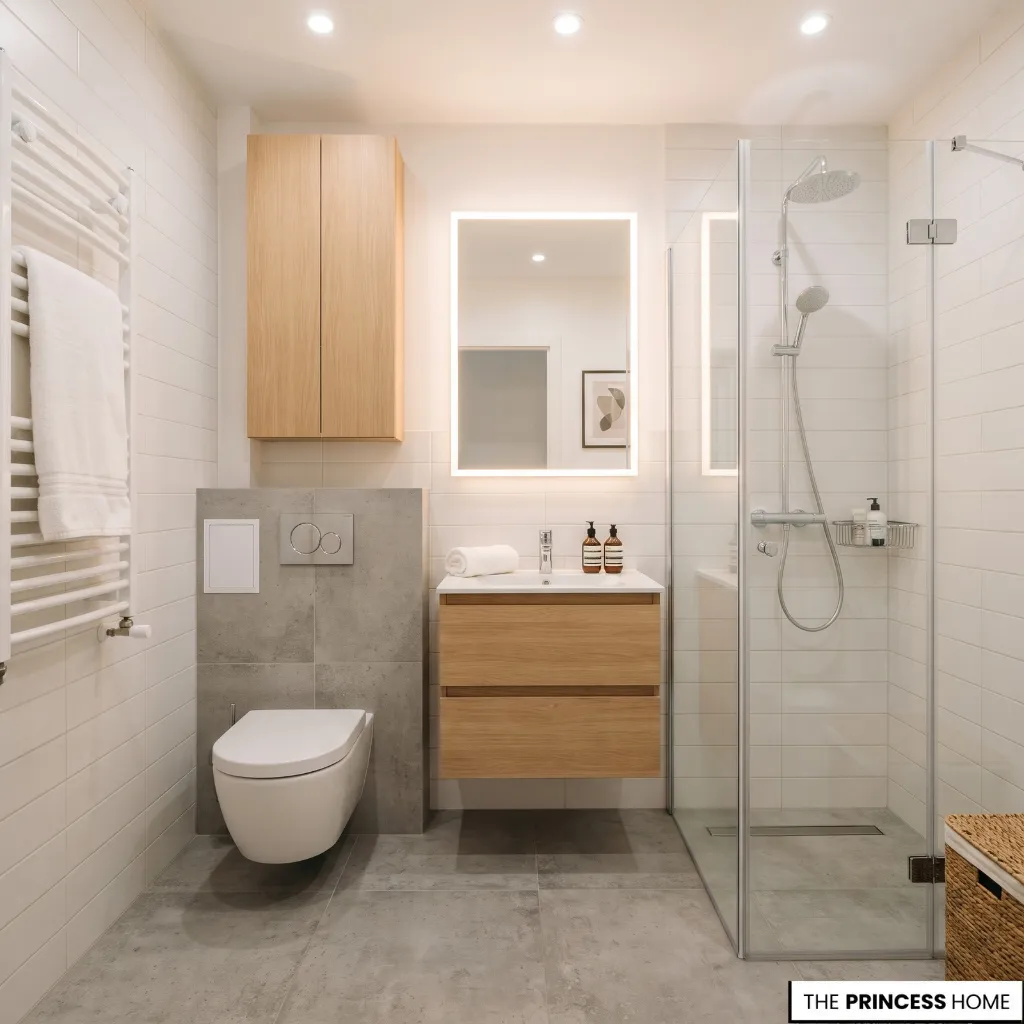
Small bathrooms benefit from careful fixture selection and a clear circulation route. The aim is to make the essential features work comfortably rather than squeeze in as many fittings as possible.
A compact wall-mounted vanity can expose more floor area. A sliding or outward-opening door may help when a conventional door conflicts with the fixtures, provided the alternative suits the building and safety requirements.
Other useful decisions include:
- Choosing a basin and vanity with suitable depth.
- Using a shower enclosure that does not obstruct the main route.
- Placing storage vertically where it remains accessible.
- Considering recessed niches when the wall construction permits them.
- Keeping the floor plan free from unnecessary furniture.
- Selecting mirrors and lighting that serve a practical purpose.
- Using clear shower glazing where privacy requirements allow it, so the enclosure does not create an unnecessary visual division.
A small bathroom does not need to be stripped of character. It needs an arrangement in which the fixtures, surfaces, and storage are proportionate to the available space. Avoid assuming that smaller fixtures are always better: a basin that is too small or a shower that is difficult to enter can reduce everyday comfort.
Coordinate Construction
The final layout must work with the building’s plumbing, drainage, electrical services, ventilation, and wall construction.
For example, a recessed shower niche may require a suitable wall depth, while a wall-hung toilet needs an appropriate concealed support system. A new shower location may require changes to the drainage route and floor construction.
Check these requirements before purchasing fixtures or starting demolition. A layout that looks convincing on paper may not be practical to build without changes to the services or structure.
The layout should also guide decisions in the next stages. Fixture dimensions determine the available counter and storage space; the position of the shower affects waterproofing and ventilation; and the location of mirrors and task areas influences the lighting plan.
Resolve these relationships before ordering products or approving construction work.
Choosing Bathroom Fixtures
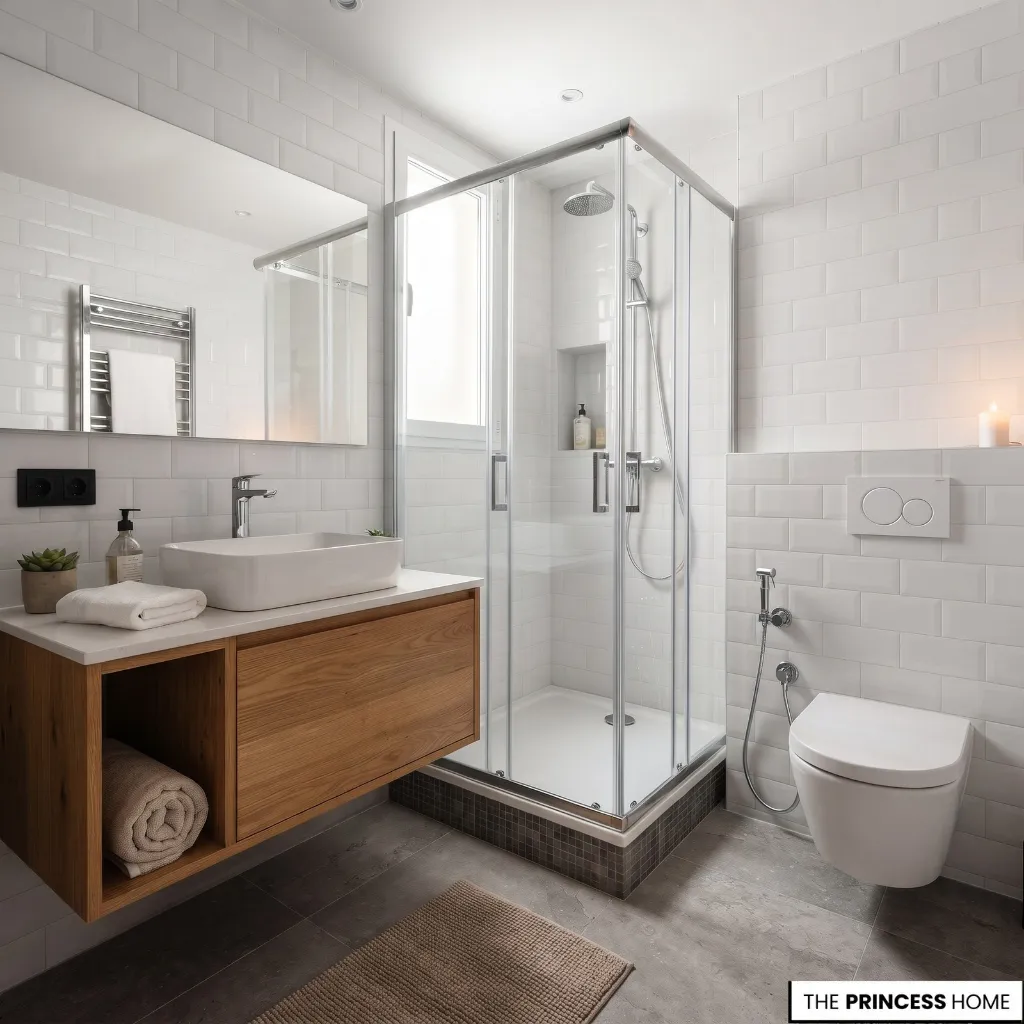
Bathroom fixtures should suit the room’s dimensions, the users’ routines, and the installation requirements. Their appearance is important, but comfort, performance, water use, and maintenance should guide the final selection.
Select the Toilet
Common toilet configurations include close-coupled, back-to-wall, and wall-hung models.
A close-coupled toilet has a visible cistern positioned above the pan. It is a familiar option and can be relatively straightforward to install when the existing connections suit it.
A back-to-wall model conceals the cistern while keeping the pan on the floor. A wall-hung toilet lifts the pan above the floor and can make cleaning beneath it easier, but it requires a suitable support frame and planned access to concealed components.
Compare the overall projection, waste outlet, water connection, installation requirements, and cleaning access. Also consider how the toilet’s position affects privacy and movement.
Check the availability of replacement parts and access to the cistern mechanism. A concealed installation should still allow future maintenance without unnecessary damage to finished surfaces.
Choose the Basin
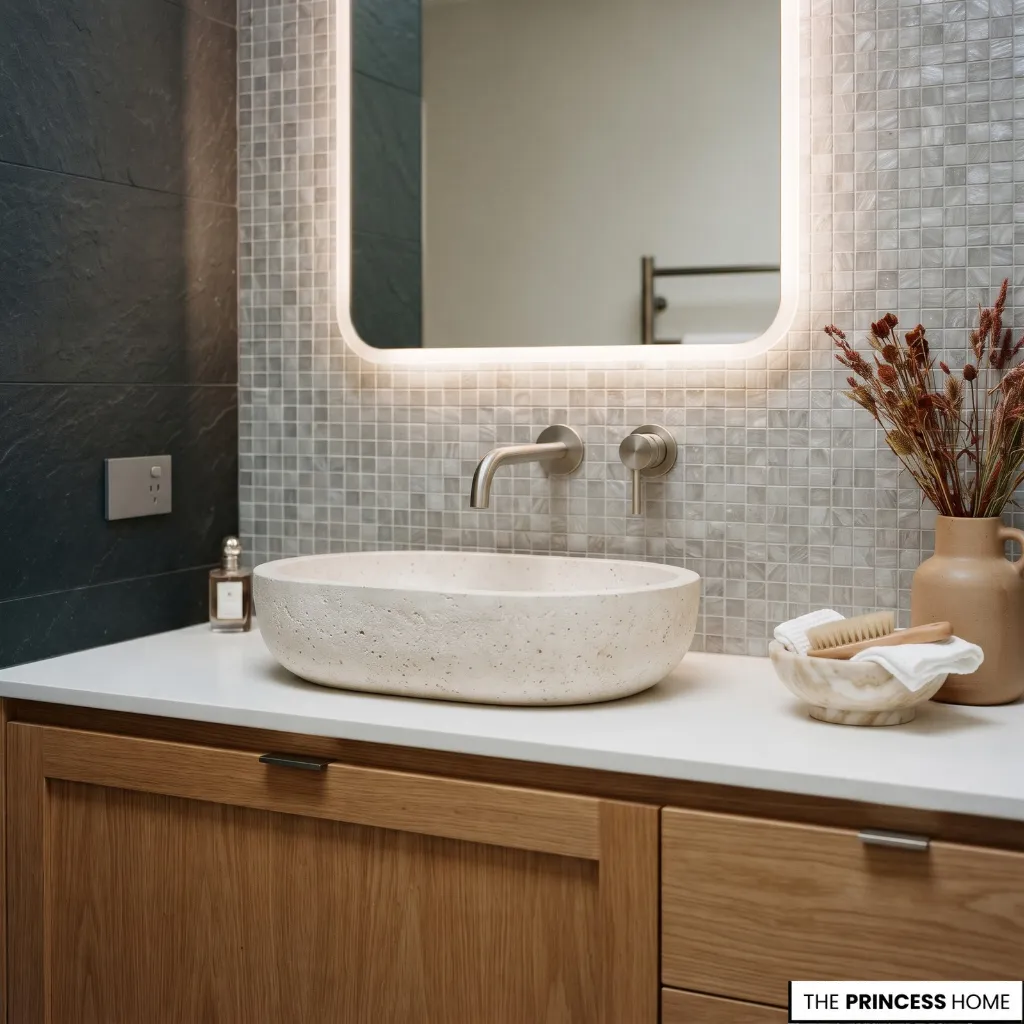
The basin should fit the vanity and leave enough useful counter space.
An inset basin sits within the countertop, while an under-mount basin is fixed beneath it. Both can provide a relatively integrated surface, although their installation and countertop requirements differ.
A countertop basin can become a distinctive feature, but its height must be considered together with the vanity and tap. A wall-mounted basin can suit a compact room, although it may provide little built-in storage.
Check the basin’s depth and shape as well as its width. A shallow basin may cause more splashing, while an oversized bowl can take space away from everyday counter use.
Choose Single or Double Vanities
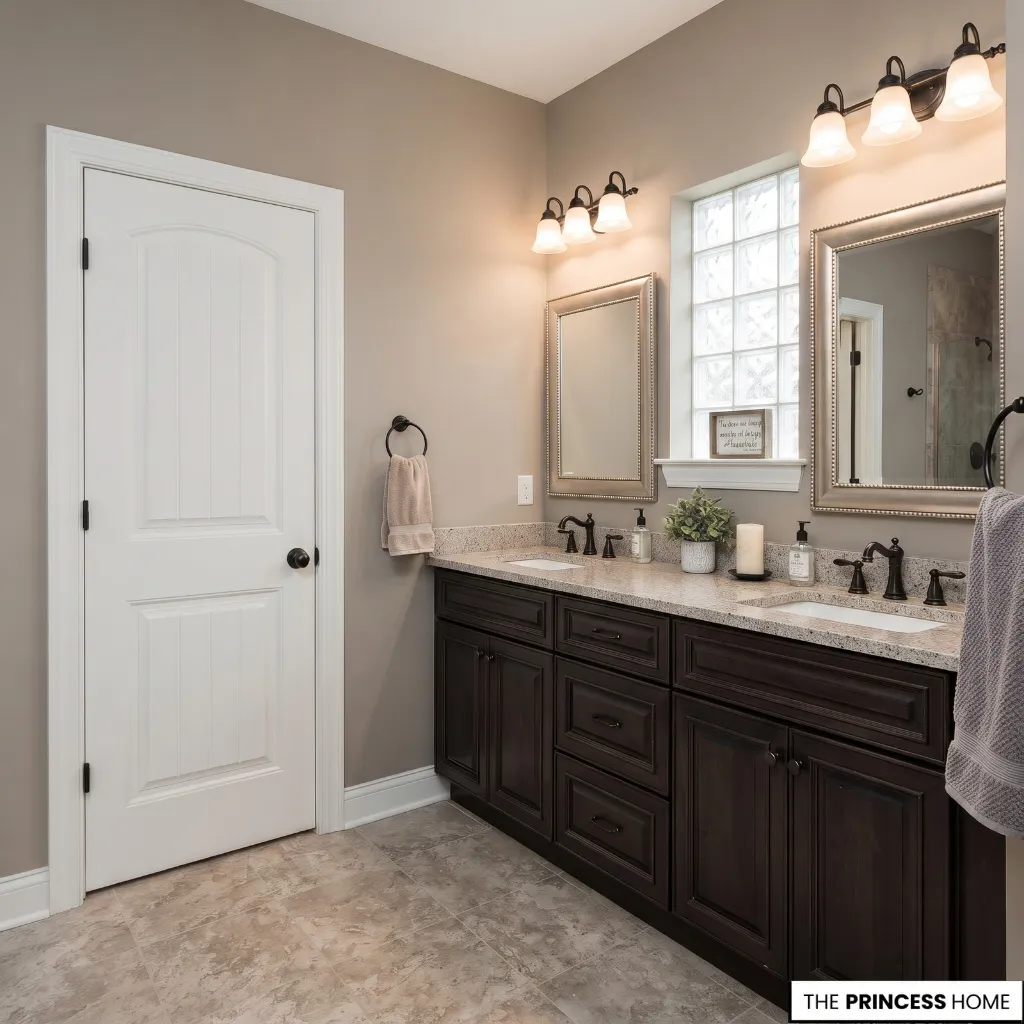
A single vanity often provides a better use of space in a compact bathroom. It can leave more room for drawers, a wider counter area, or comfortable circulation.
A double vanity may be useful when two people regularly use the bathroom at the same time. It can reduce waiting during busy routines, but it also requires sufficient width and two compatible tap positions.
Do not choose a double vanity simply because it looks more substantial. Consider whether both basins will be used regularly and whether the arrangement leaves enough room for storage and movement.
Select Taps and Controls
Taps should suit the basin’s tap holes, countertop, or wall installation. Their spout reach must direct water into the bowl without causing unnecessary splashing.
The handles should be comfortable to operate and positioned within easy reach. In a shared bathroom, simple controls may be more convenient for different users.
For showers, check the water pressure and plumbing system before choosing the fittings. A thermostatic valve can help maintain a more consistent water temperature, while a handheld shower can make rinsing and cleaning easier.
The manufacturer’s specifications should determine compatibility with the water system and the selected basin or shower. Also check whether the chosen finish requires particular cleaning products or care.
Choose Shower Fittings
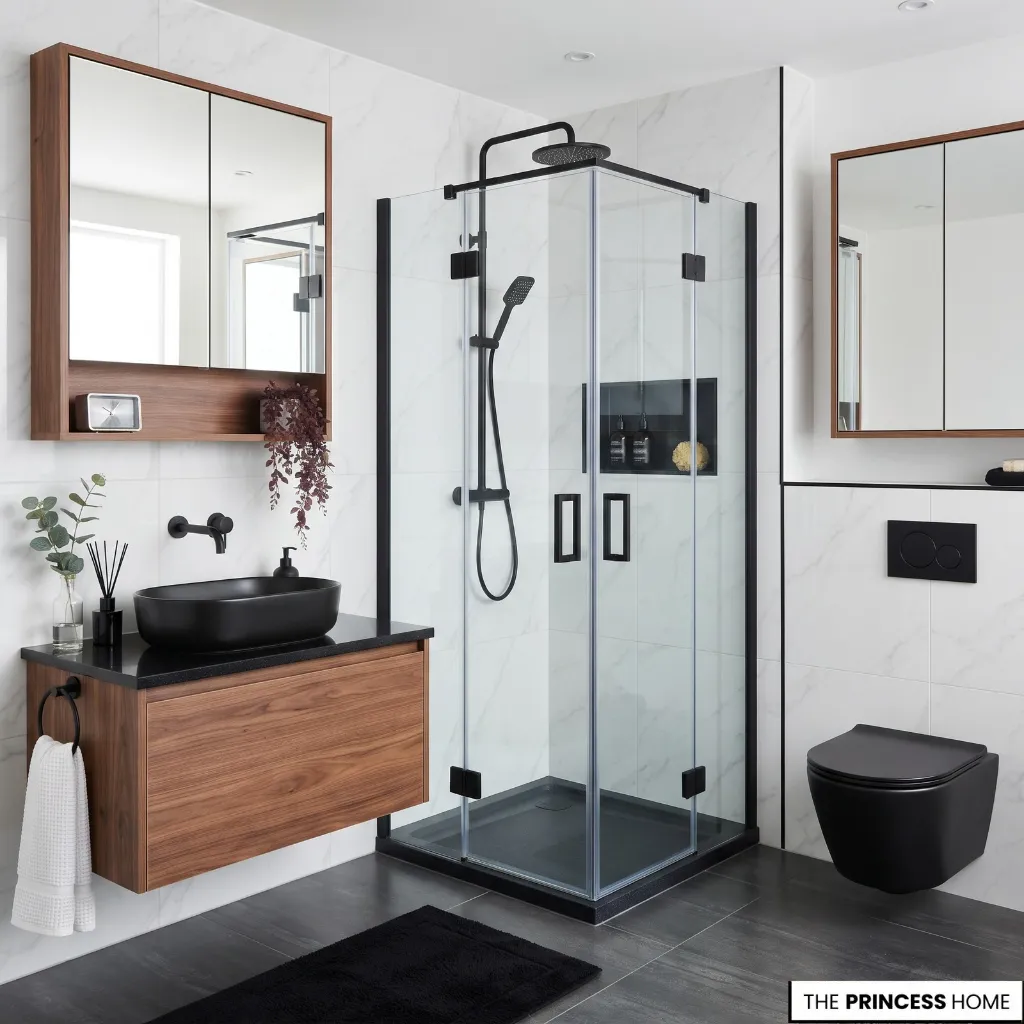
Showerheads vary in spray pattern, size, mounting position, and water requirements. A fixed overhead shower can provide a simple arrangement, while an adjustable rail and handheld shower offer more flexibility.
Consider who will use the shower and how much control they need. The height and reach of the fittings should suit the users, and the controls should be accessible without requiring someone to stand directly beneath the water.
Also consider cleaning and replacement. A fitting that is difficult to reach or maintain may become inconvenient after installation. Check that the shower system is compatible with the available water pressure and that its components can be serviced.
Match Fixtures to the Budget
Allocate the budget according to function and installation complexity rather than appearance alone.
Waterproofing, drainage, plumbing, electrical work, and reliable fixtures deserve attention before optional decorative upgrades. A more expensive tap or statement bathtub cannot compensate for poor installation or inadequate ventilation.
Compare products by their warranty, replacement-part availability, maintenance requirements, water use, and compatibility with the planned services. Keep a contingency for unexpected conditions discovered during renovation, especially when the existing bathroom is old or has signs of water damage.
When comparing prices, consider the complete installed cost rather than the purchase price alone. A fixture may require additional fittings, specialist installation, changes to plumbing, or extra finishing work.
Selecting Materials
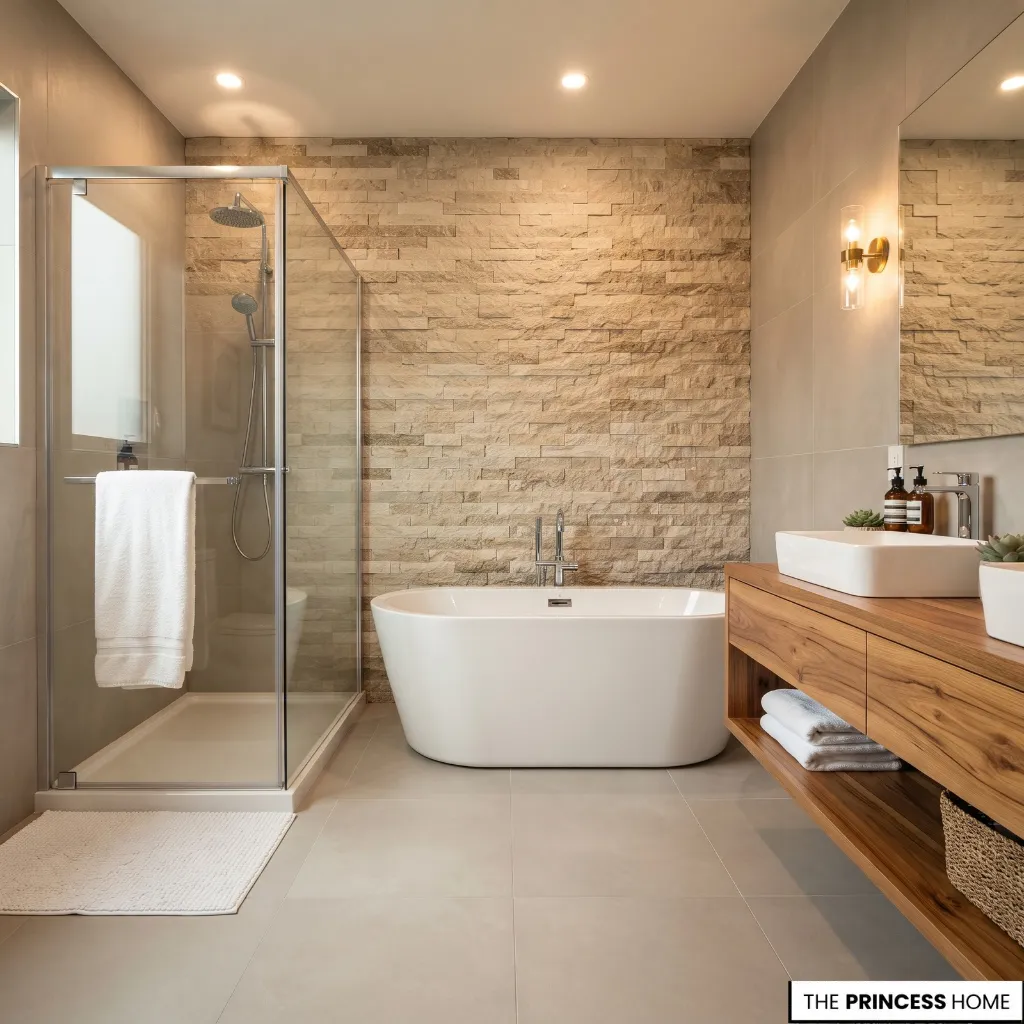
Bathroom materials must tolerate water exposure, humidity, cleaning, and frequent use. The right choice depends on where each material will be installed. A finish suitable for a dry wall may not be appropriate inside a shower.
Choose Flooring
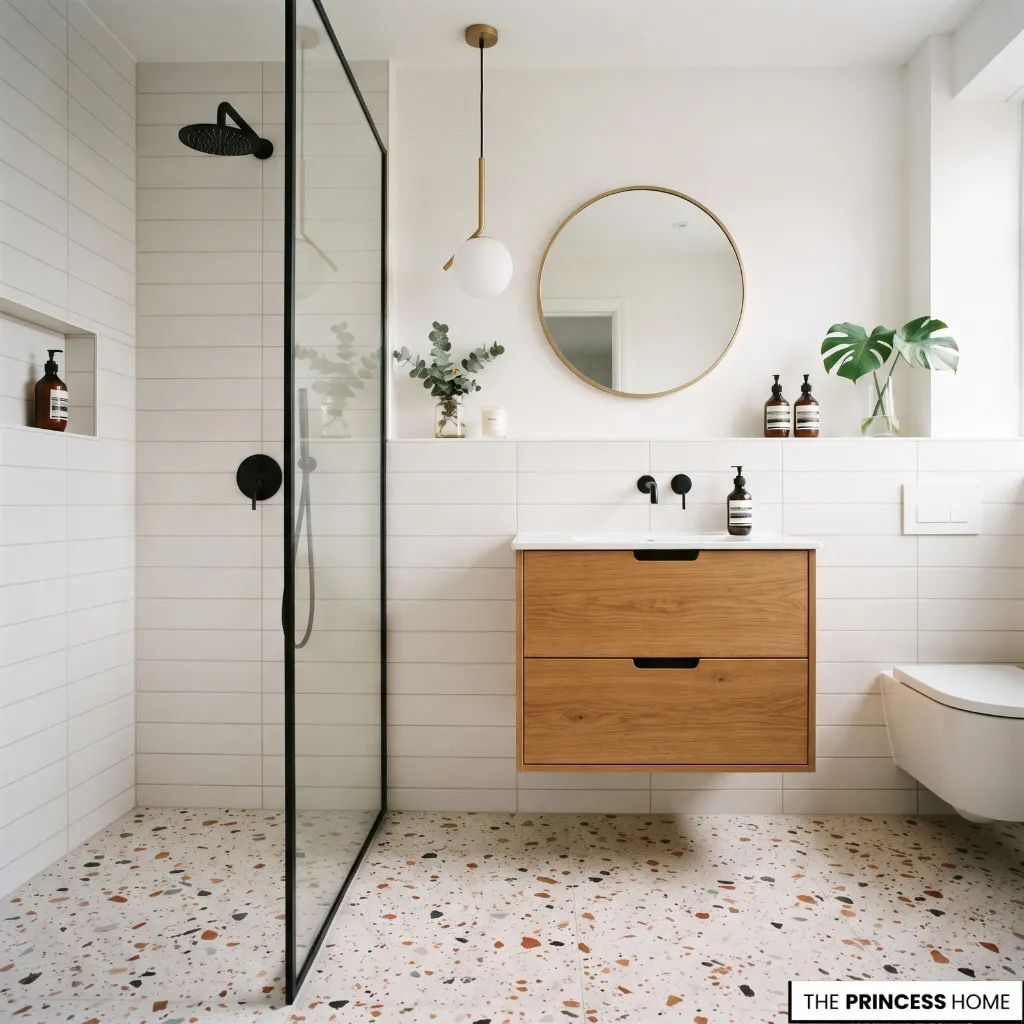
Bathroom flooring should provide a stable surface that is suitable for wet conditions.
Porcelain and ceramic tiles are common options because they offer a wide range of colors, sizes, and finishes. However, their surfaces differ in texture and slip resistance. A highly polished tile may be unsuitable for a floor that becomes wet frequently.
Other possibilities include bathroom-rated vinyl and specialist flooring systems. Their suitability depends on the product specification, subfloor, installation method, and exposure to water.
When comparing flooring, consider slip resistance, cleaning, grout maintenance, water resistance, and compatibility with any planned underfloor heating.
Do not select a floor tile by appearance alone. Ask for the manufacturer’s performance information for the intended use and check that the installation system is appropriate. The tile, adhesive, grout, substrate, and waterproofing details should be considered as parts of a complete floor assembly.
Select Wall Finishes
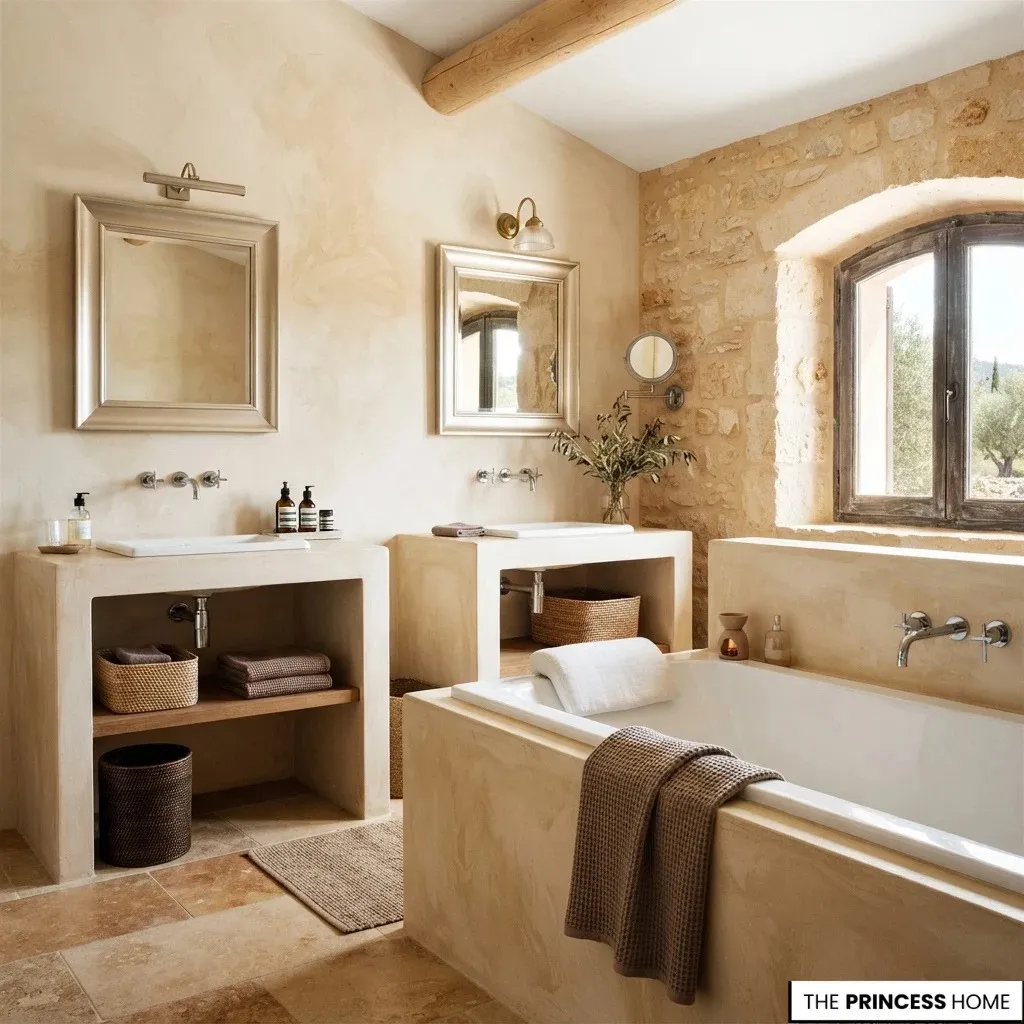
Wall finishes should match the level of water exposure.
Porcelain and ceramic tiles are common around showers and bathtubs. Natural stone can provide distinctive patterns and texture, but its maintenance requirements vary. Some stones need sealing and careful cleaning to protect their surfaces.
Paint can work in areas outside direct wet zones when the product is suitable for bathroom conditions and the wall is properly prepared. Decorative wallpaper may also be appropriate in selected low-splash areas when its specification and installation support that use.
Distinguish between walls exposed to regular water contact and those exposed mainly to humid air. This distinction helps prevent unsuitable finishes from being used in the wrong location.
Choose Countertops
The vanity countertop is exposed to water, soap, cosmetics, and cleaning products. Its surface should be practical to maintain and compatible with the basin and tap installation.
Engineered stone, natural stone, porcelain, and solid-surface materials are possible options. Their characteristics differ in resistance to staining, heat, scratching, and cleaning products.
Some natural stones need regular sealing. Solid-surface materials can allow integrated basin designs, while porcelain may offer a range of patterns and finishes. Check the manufacturer’s instructions for the specific product rather than assuming that all surfaces behave alike.
The countertop’s thickness and edge profile also affect its appearance. A substantial edge may suit a traditional vanity, while a slimmer profile can work with a more restrained design.
Consider Cabinet Materials
Bathroom cabinetry is exposed to humidity and occasional splashes, particularly around the vanity.
Choose cabinet construction and finishes designed for the intended environment. Pay attention to exposed edges, joints, the underside of the countertop, and the area around the basin, where water can collect.
Wood and wood-effect finishes can work well when the product, finish, and installation are suitable for bathroom use. However, no cabinet should be treated as waterproof simply because its surface looks sealed.
Good ventilation and prompt attention to leaks help protect cabinetry regardless of the material. Check whether the cabinet manufacturer specifies any restrictions on installation near showers or other wet areas.
Compare Maintenance Needs
A material should be judged by the care it requires as well as its appearance.
Before choosing, check whether it needs sealing, whether it tolerates common cleaning products, whether it shows water spots easily, and whether matching replacement materials are available.
A low-maintenance finish may be preferable in a family bathroom used throughout the day. A more delicate material may still be suitable in a primary bathroom when the household is prepared to maintain it.
The aim is to choose materials that can retain their appearance under the actual conditions of use. Compare the complete care requirements of the floor, walls, countertop, and cabinetry rather than assessing each finish in isolation.
Coordinating Colors
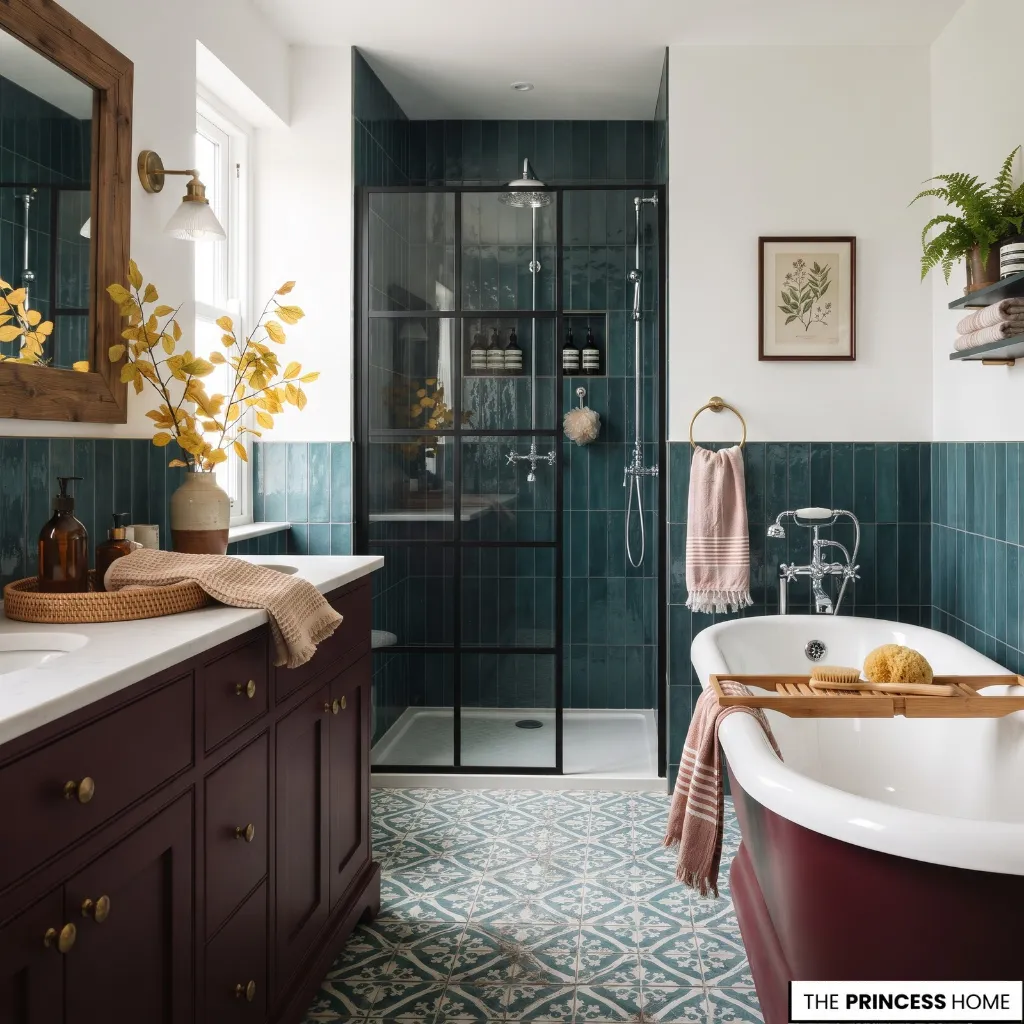
Color connects the floor, walls, vanity, countertop, fixtures, and accessories. A successful palette considers the fixed finishes first, then introduces color through the larger surfaces and smaller details.
Start with Fixed Finishes
Identify the materials that will be difficult or expensive to replace, such as floor tiles, wall tiles, stone countertops, and built-in cabinetry.
Look at their undertones and patterns together. Warm stone may work with cream, muted green, brown, or natural wood, while cooler gray surfaces may suit blue, charcoal, white, or selected metal finishes.
These combinations are starting points rather than fixed rules. The actual result depends on the color variation, surface texture, and lighting.
Compare physical samples in the bathroom whenever possible. A finish can look different under daylight than it does beneath artificial lighting. View samples together rather than choosing each material separately.
Establish a Main Palette
Choose whether the bathroom will have a light, dark, natural, or more expressive color direction.
Light colors can help a room with limited daylight feel brighter, particularly when paired with suitable lighting and a clear layout.
However, a pale palette does not automatically make a small bathroom appear larger. Large patterns, excessive contrast, and poorly positioned fixtures can still make the room feel crowded.
Darker colors can create a more intimate atmosphere. Deep green, navy, burgundy, charcoal, and brown can work in bathrooms when their use is balanced with the available light and the surrounding materials.
A strong color can also be introduced through a vanity, tiled wall, or floor rather than applied across every surface.
Balance Color and Texture
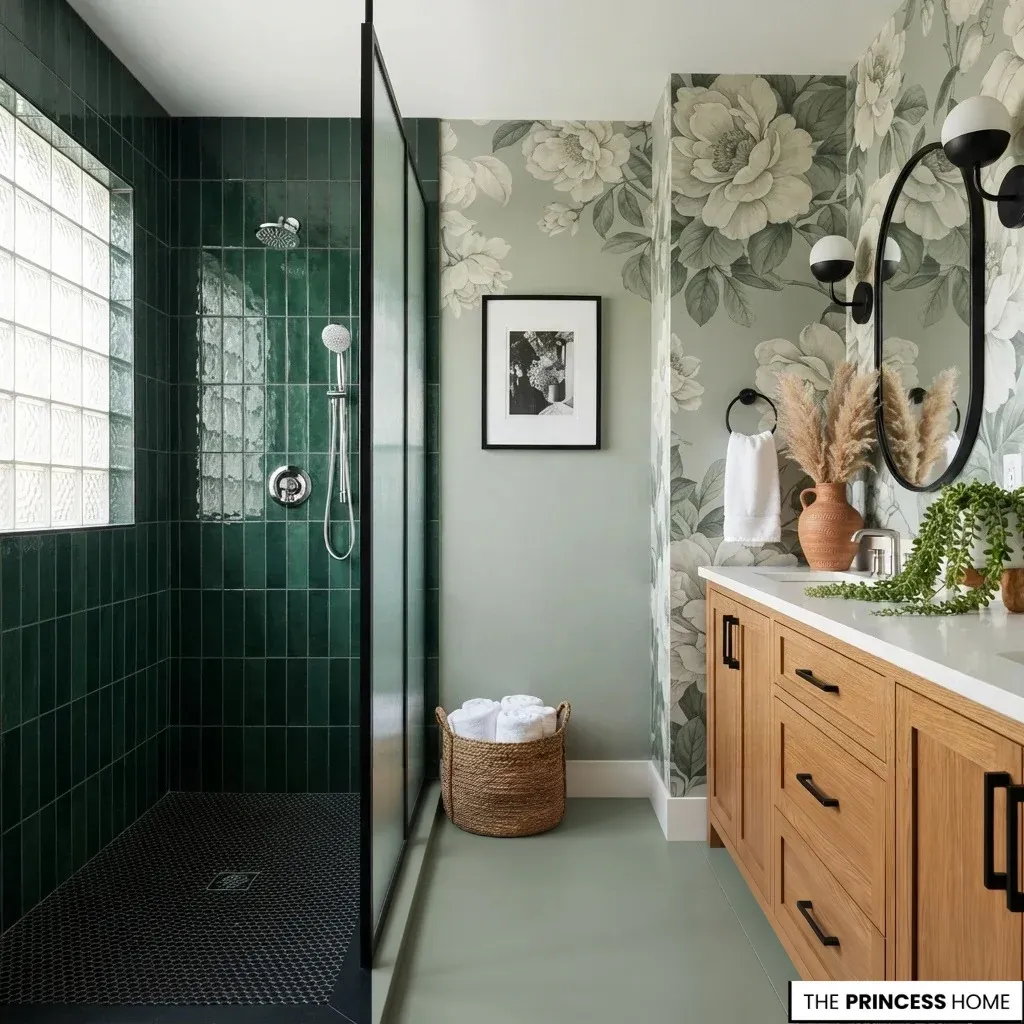
A bathroom does not need many colors to feel distinctive. Differences in surface finish can provide enough variation.
Smooth tiles may work alongside a textured floor, natural wood cabinetry, or a stone countertop. A patterned floor can become the main feature when the walls remain simpler.
Consider the scale of the pattern as well. Large, busy patterns can dominate a compact bathroom, while a smaller repeated pattern may provide detail without overwhelming the room. The decision should respond to the size of the surfaces and the overall composition.
Coordinate Metal Finishes
Taps, shower fittings, handles, towel rails, and lighting details contribute to the bathroom’s overall finish.
Chrome, brushed nickel, brass tones, stainless-steel finishes, and matte black can each suit different palettes. Repeating one finish across several elements creates continuity, but every fitting does not need to match exactly.
If combining finishes, establish a dominant one and use the second selectively. Consider the difference in color and sheen, and check the manufacturer’s cleaning instructions. Some finishes show fingerprints or water spots more readily than others.
Planning Bathroom Lighting
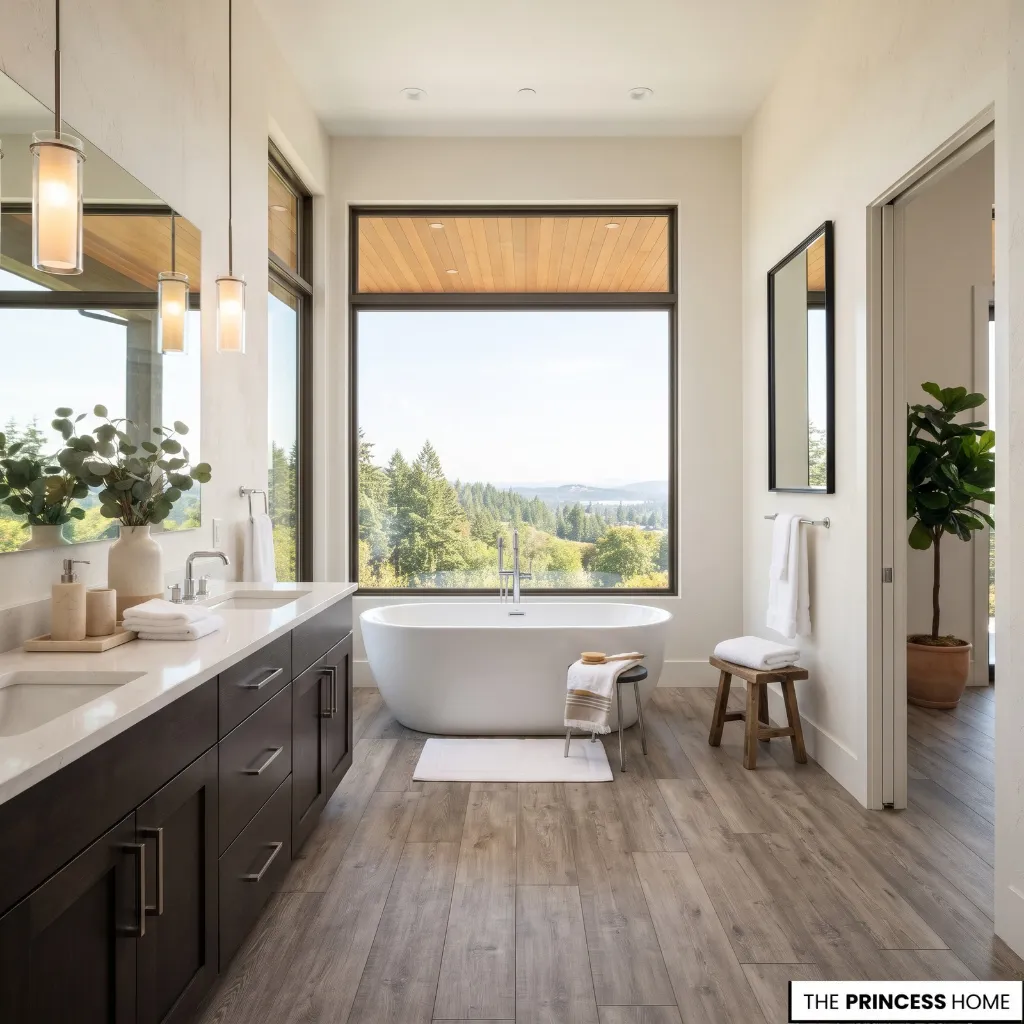
Bathroom lighting should provide clear visibility for daily activities while making the room comfortable to use. A single ceiling fixture rarely provides the best illumination for every area.
Provide General Lighting
General lighting illuminates the main floor area and supports everyday movement.
Recessed ceiling lights, surface-mounted fixtures, or other suitable fittings can provide this foundation. Their placement should respond to the room’s dimensions, ceiling height, and layout.
Avoid relying on a single strong light source if it creates dark corners or uncomfortable glare. Several appropriately placed fixtures may distribute light more evenly.
The chosen fittings must also be suitable for their installation locations and comply with local electrical requirements.
Improve Mirror Lighting
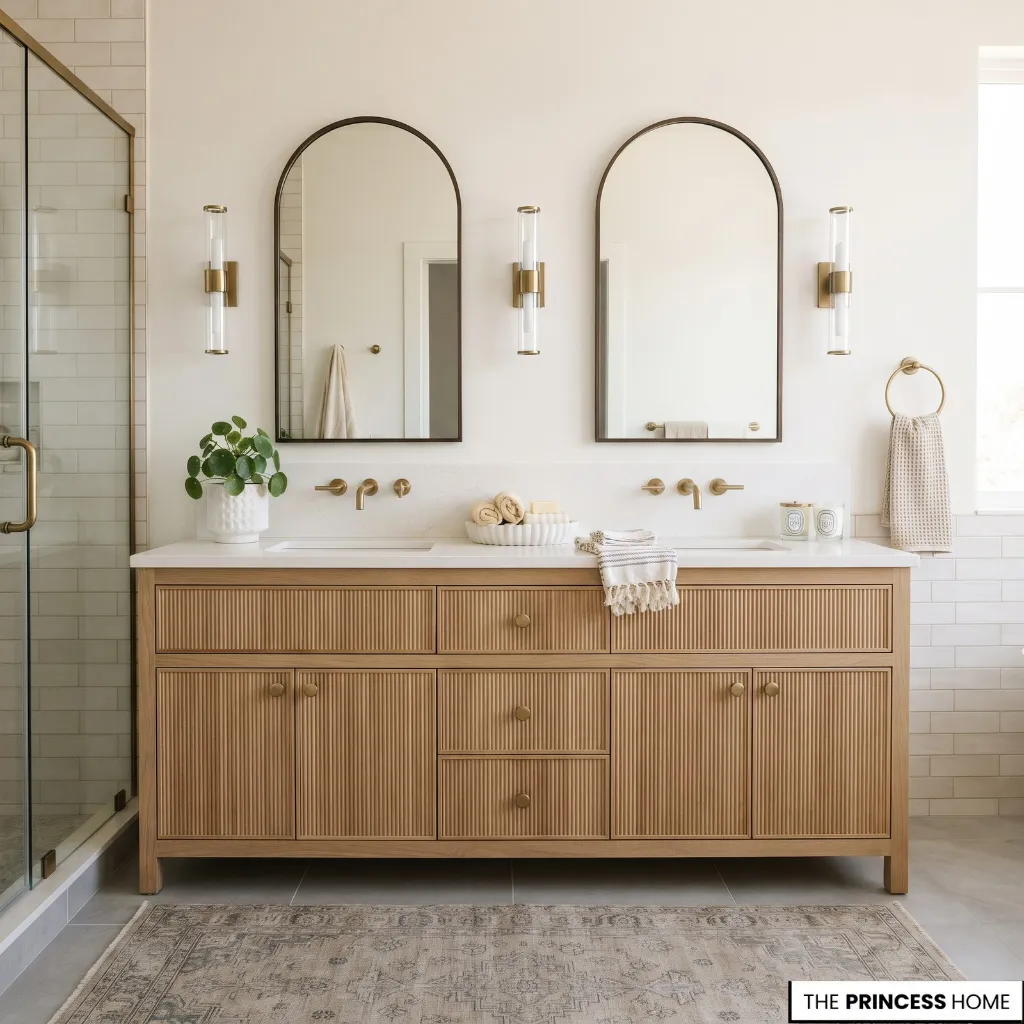
The vanity needs lighting that allows users to see their faces clearly.
A light positioned only above the mirror may cast shadows, depending on its height and design. Vertical lights on both sides can provide more even illumination when the available wall space allows them.
A well-designed mirror light can also work effectively when it distributes light across the face rather than concentrating it in one area.
Consider the light’s color rendering as well. Good color-rendering quality helps skin tones and cosmetic colors appear more natural.
Plan the mirror, vanity, and lighting together. Their dimensions and positions should support the same daily activities. Check that the light does not create glare in the mirror or leave the user’s face unevenly illuminated.
Light the Shower Safely
The shower and bathtub need adequate visibility, but electrical fittings in wet areas must be suitable for their location.
Bathroom electrical requirements vary by jurisdiction and by the installation zone. A fixture that is appropriate in one part of the room may not be suitable above or beside a shower.
Use fittings rated for the intended location and have electrical work carried out by a qualified professional. Electrical Safety First highlights the increased risk of electric shock in wet conditions and recommends using a registered electrician for bathroom electrical installations.
Use Natural Light
A window can provide useful daylight, but privacy must remain part of the design.
Frosted glazing, suitable window film, or moisture-resistant blinds can limit visibility while allowing light into the room. Keep the window area as unobstructed as practical.
In a windowless bathroom, use a layered lighting plan. General lighting, mirror lighting, and suitable accent lighting can create a more comfortable result, while mechanical extraction addresses the separate need to remove humid air.
Coordinate Lighting with Materials and Activities
Lighting affects how bathroom colors and finishes appear. A surface that looks warm in daylight may appear cooler under artificial light, while glossy materials can reflect nearby fittings and create glare.
Consider the lighting before finalizing tile colors, countertop finishes, mirrors, and metal details. Where possible, examine samples under the types of lighting planned for the room.
Accent lighting can highlight a niche, architectural detail, or selected surface, but it should not replace the illumination needed for everyday tasks. Choose fittings and positions that support the room’s function as well as its appearance.
Integrating Storage
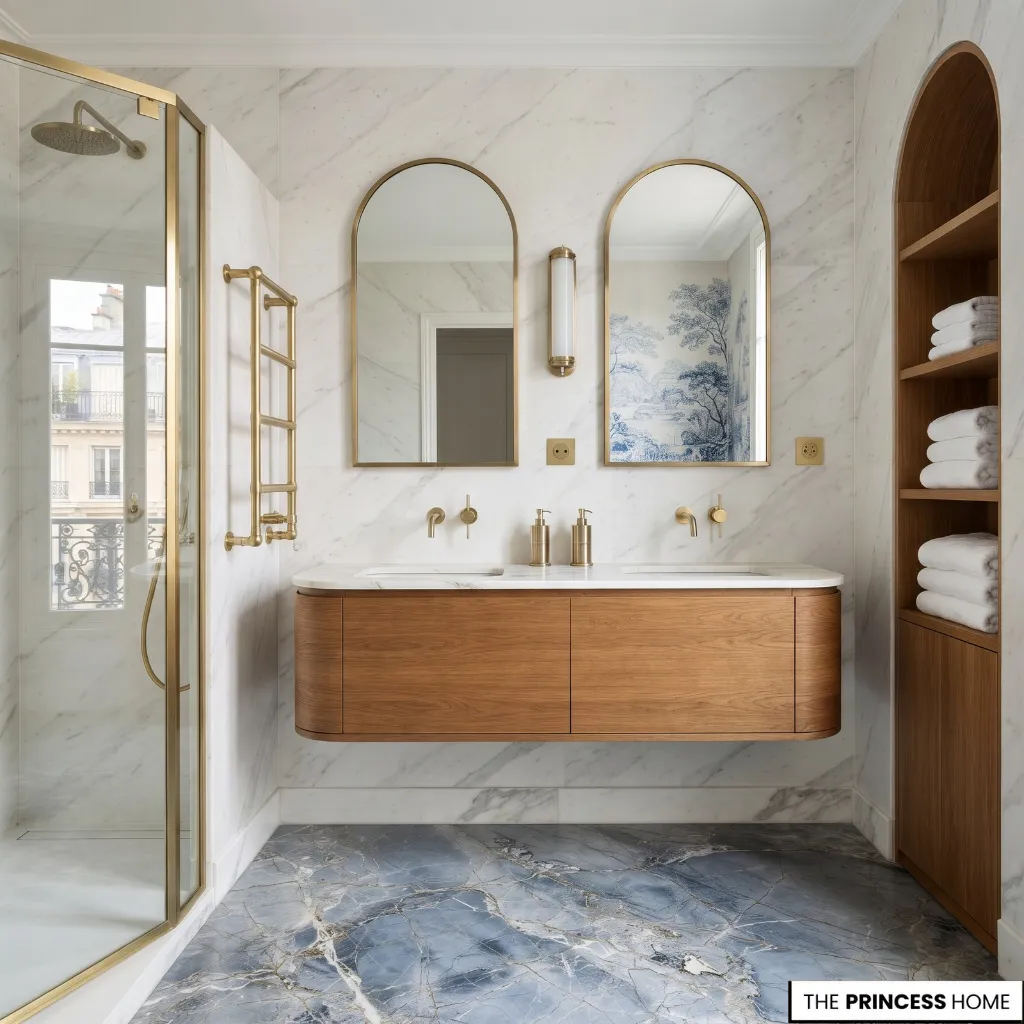
Bathroom storage should keep everyday items accessible without filling the room with cabinets. Its design depends on what needs to be stored, how often those items are used, and where they are needed.
Plan Vanity Storage
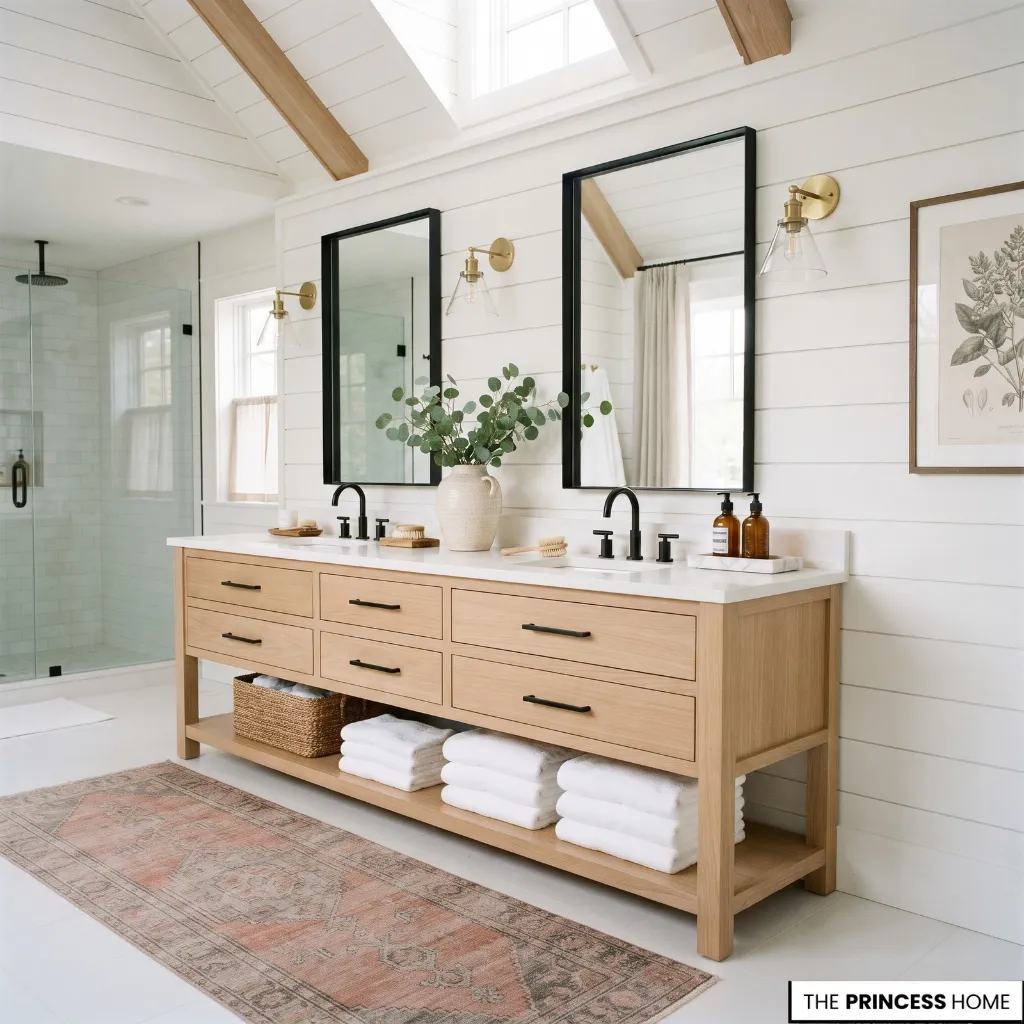
The vanity is often the most convenient place for daily personal care products.
Drawers can organize smaller items, while cabinets can accommodate taller bottles, spare supplies, or cleaning products. Internal dividers help separate items and prevent them from becoming mixed together.
Check the plumbing beneath the basin before choosing the drawer arrangement. The waste trap and water connections may reduce the available space, so the internal design should be checked against the actual fixture.
For shared bathrooms, assign separate areas to different users. This can make the storage easier to maintain and reduce clutter on the countertop.
Add Built-In Storage
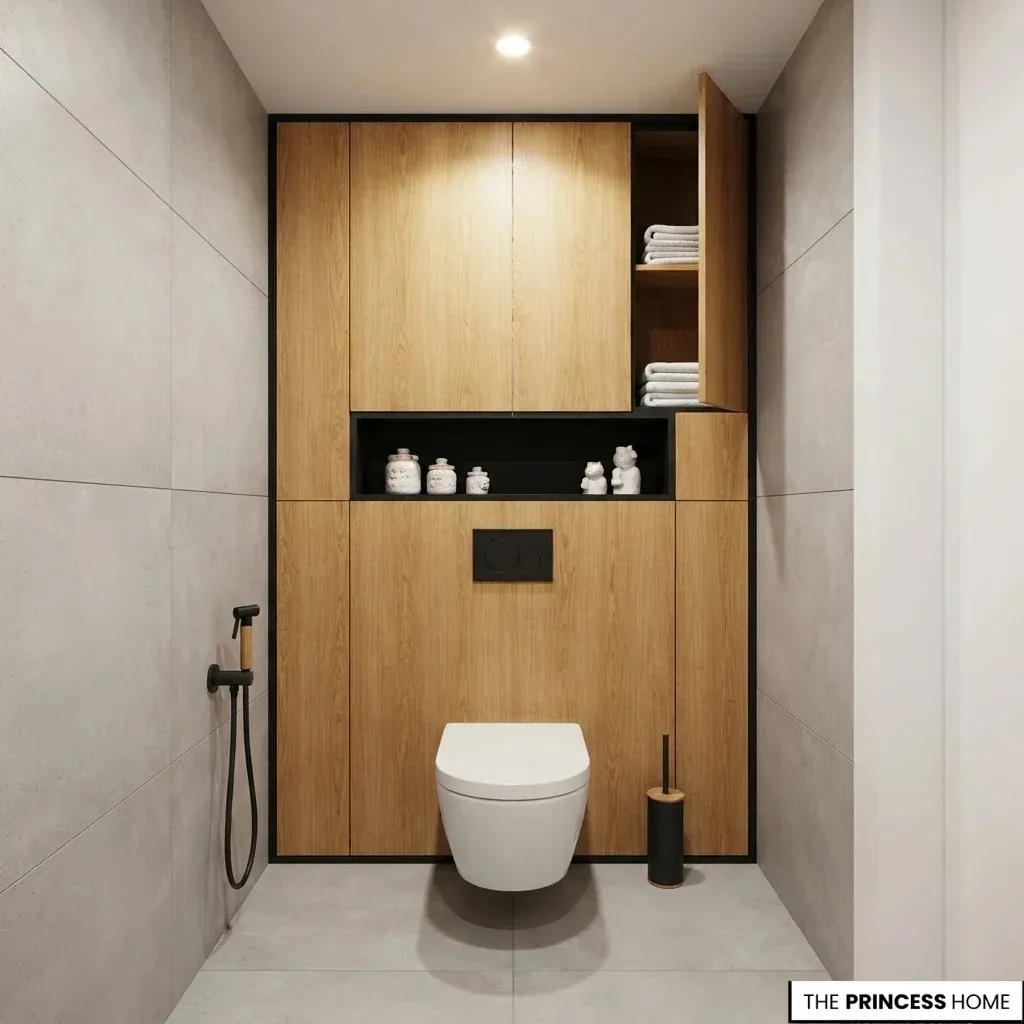
Built-in storage can make use of wall areas without introducing unnecessary furniture.
A recessed shower niche keeps bathing products within reach. Its position should suit the users, shower fittings, and wall construction. Proper waterproofing is essential, particularly around the niche’s corners and edges.
Wall cabinets and tall storage units can provide additional capacity, especially where floor space is limited. However, their depth and position should not obstruct movement or make the room feel crowded.
Before adding recessed storage, confirm that the wall can accommodate it without interfering with structural elements, plumbing, or electrical services.
Use Open Shelves Carefully
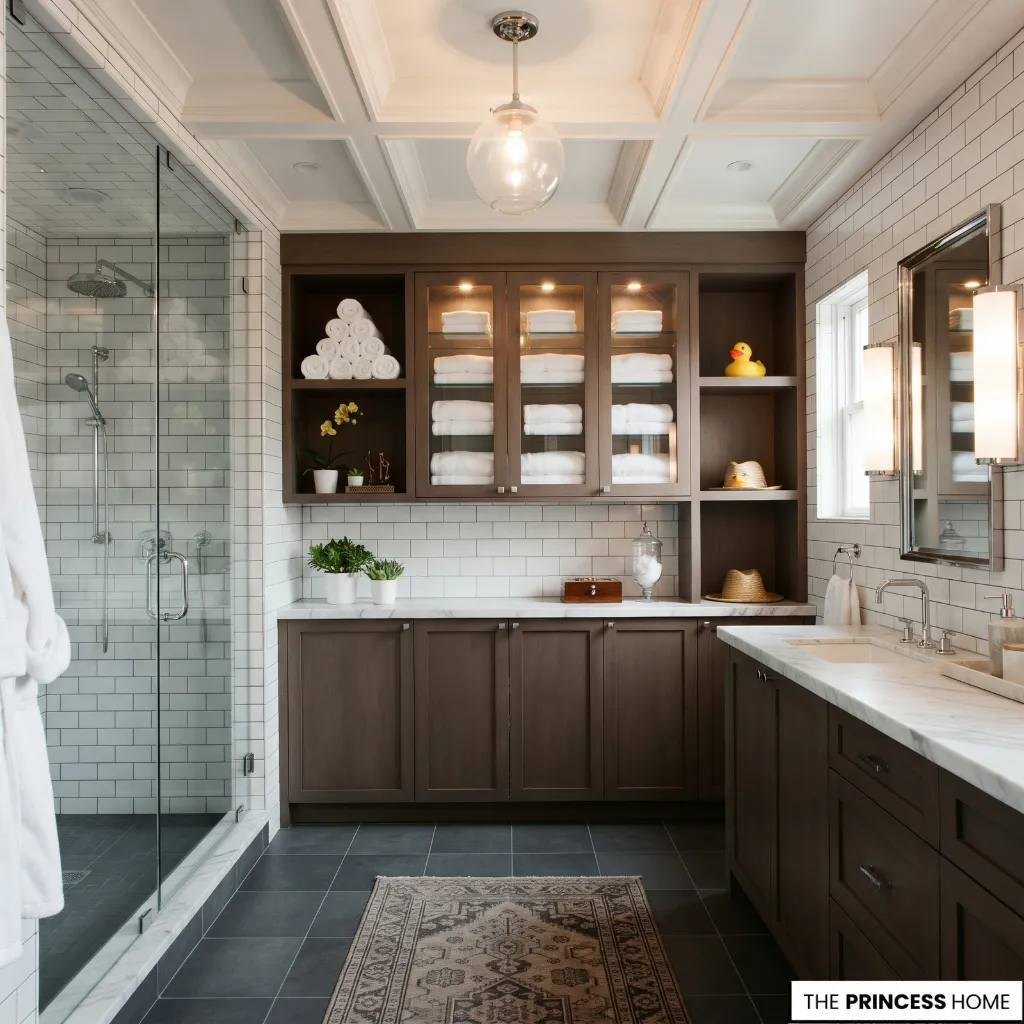
Open shelves provide convenient access to towels and frequently used items. They can also introduce wood, metal, or another material that supports the overall design.
Their limitation is that everything remains visible. Too many products or mismatched containers can make the room look cluttered.
Use open shelving selectively and reserve closed storage for items that do not need to remain on display. In humid areas, choose shelf materials and finishes suitable for the environment.
Organize by Activity
Place storage near the activity it supports.
Keep everyday skincare products and hand towels near the vanity. Store shower products within easy reach of the bathing area. Keep spare towels in a dry location, and separate cleaning products from personal care items.
This arrangement reduces unnecessary movement and makes it easier to maintain order. It also helps determine how much storage the bathroom actually needs before additional cabinets are purchased.
Check Storage Capacity Before Buying
The exterior size of a cabinet does not always indicate how much it can hold. Internal drawers may be reduced by plumbing, hinges, dividers, or the cabinet’s construction.
List the items that need to be stored and consider their dimensions. Check shelf heights for bottles, drawer depth for personal care products, and the available space for towels. This helps prevent the purchase of storage that looks generous but does not accommodate the items the household actually uses.
Managing Moisture
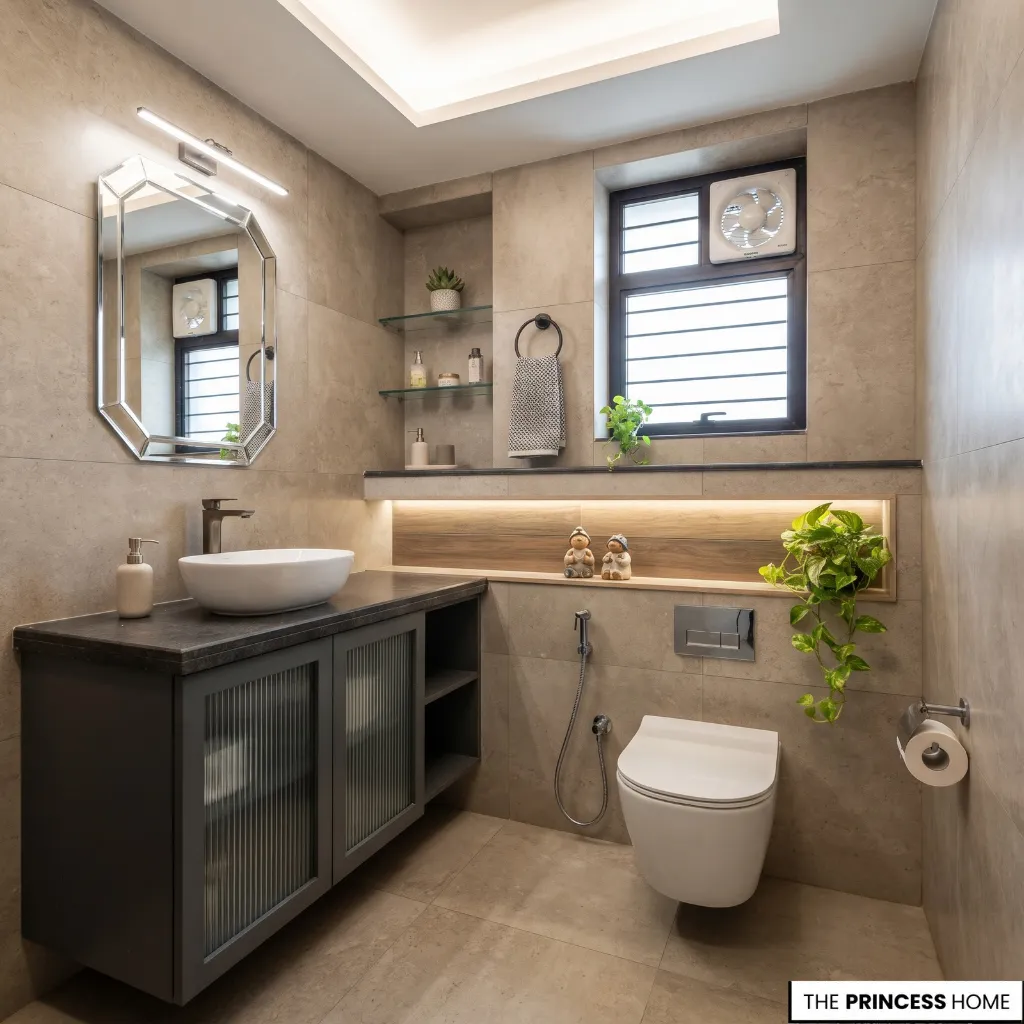
Moisture control protects the bathroom’s finishes, cabinetry, and indoor air quality. Showers and baths release humid air that can condense on cooler surfaces. If moisture remains trapped, it may contribute to mold growth and damage.
A successful bathroom therefore needs suitable ventilation, correctly installed wet-area protection, and prompt attention to leaks.
Provide Effective Ventilation
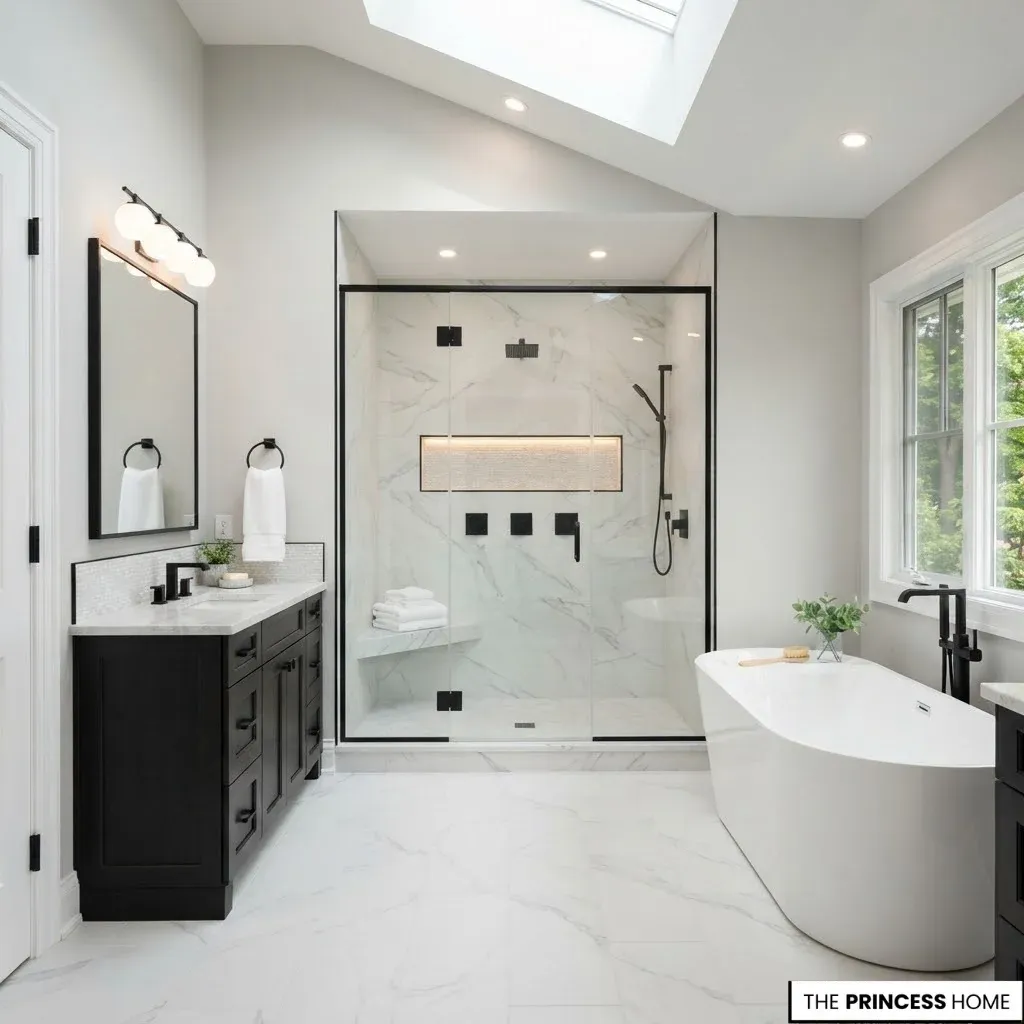
A bathroom window may help release humid air when weather and privacy conditions allow, but mechanical extraction may also be necessary.
An extractor fan should be suitable for the room and installed to discharge humid air outdoors. It should not release the air into an attic, ceiling void, or another enclosed space. The U.S. Environmental Protection Agency recommends venting bathroom exhaust directly outside rather than into an attic or other enclosed area.
The required ventilation capacity depends on the room, its layout, and the applicable local requirements. An enclosed shower or separate toilet area may need particular attention because humid air may not move freely between spaces.
Use the Extractor Correctly
Run the extractor during bathing and for an appropriate period afterward. This helps remove humid air before it settles on walls, ceilings, and cabinetry.
A fan with a timer or humidity sensor can make regular use easier. However, automatic controls do not replace correct installation or maintenance.
Noise is also worth considering. A fan that is excessively loud may discourage regular use, while a quieter model may be more convenient.
Check the fan and its ductwork periodically. Dust and other obstructions can affect performance, and any suspected installation problem should be assessed by a qualified professional. Make sure the room has a suitable route for replacement air to enter when the extractor operates.
Protect Wet Areas
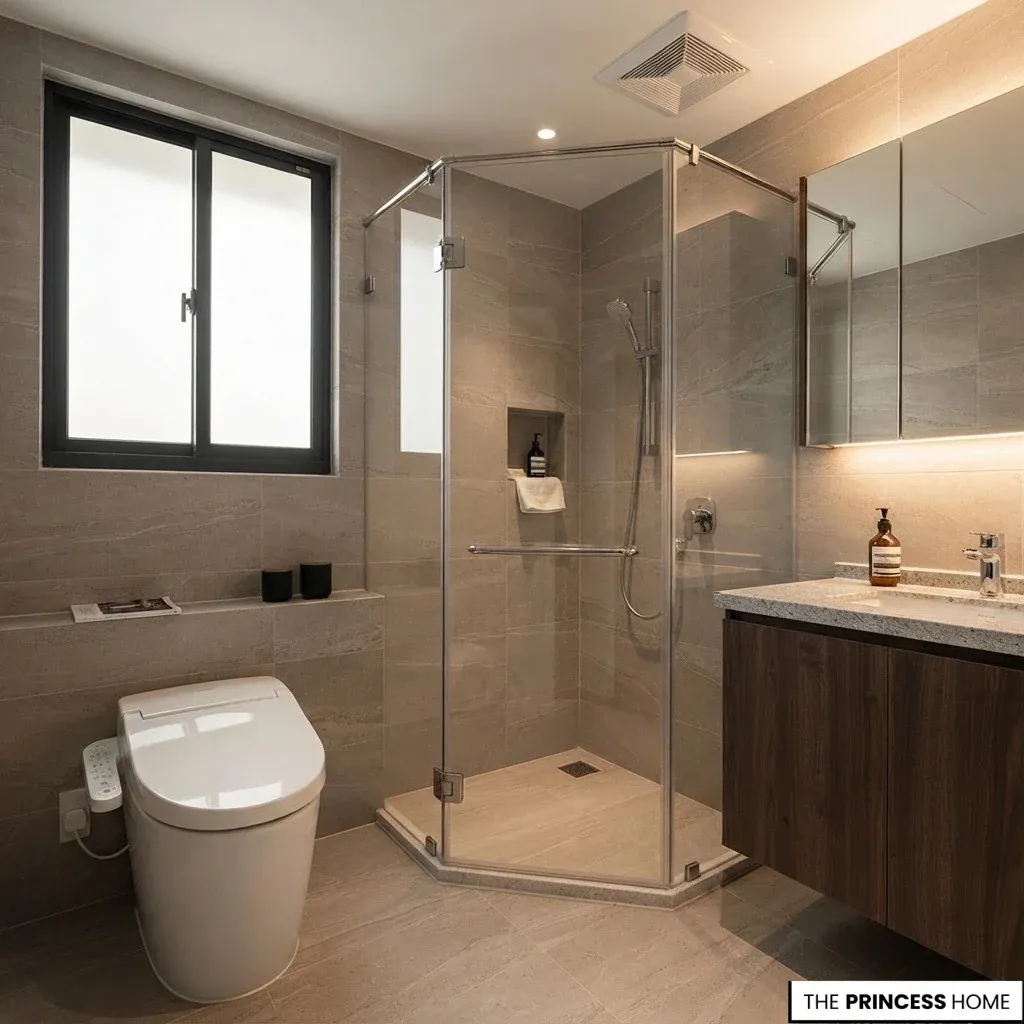
Tiles and grout alone do not create a complete waterproofing system.
Waterproofing depends on the preparation of the substrate, the membrane, joints, corners, penetrations, and drainage details. These elements must work together to protect the building behind the finished surface.
The correct system depends on the construction and the products selected. Follow the manufacturer’s installation instructions and applicable local requirements, especially around showers, bathtubs, and floors exposed to regular water.
Pay particular attention to transitions between walls and floors, shower niches, pipe openings, and the junctions around drains. These details need to be included in the waterproofing design rather than treated as finishing touches.
The shower floor must also direct water toward the drain without creating areas where water remains standing. Drainage, floor falls, waterproofing, and tile installation should be coordinated as one system by suitably qualified installers.
Address Leaks and Condensation
Persistent moisture should not be accepted as a normal condition.
Check around taps, shower fittings, pipes, the toilet, and the basin for signs of leakage. Repeated condensation on windows, ceilings, or walls may indicate that ventilation is insufficient or that surfaces are becoming too cold.
Look for peeling paint, dark spots around sealant, swollen cabinet edges, musty smells, and recurring water marks.
Cleaning visible mold does not solve the underlying problem if the moisture source remains. Identify and repair the cause, and seek professional assessment when the damage is extensive or concealed.
Creating Design Cohesion
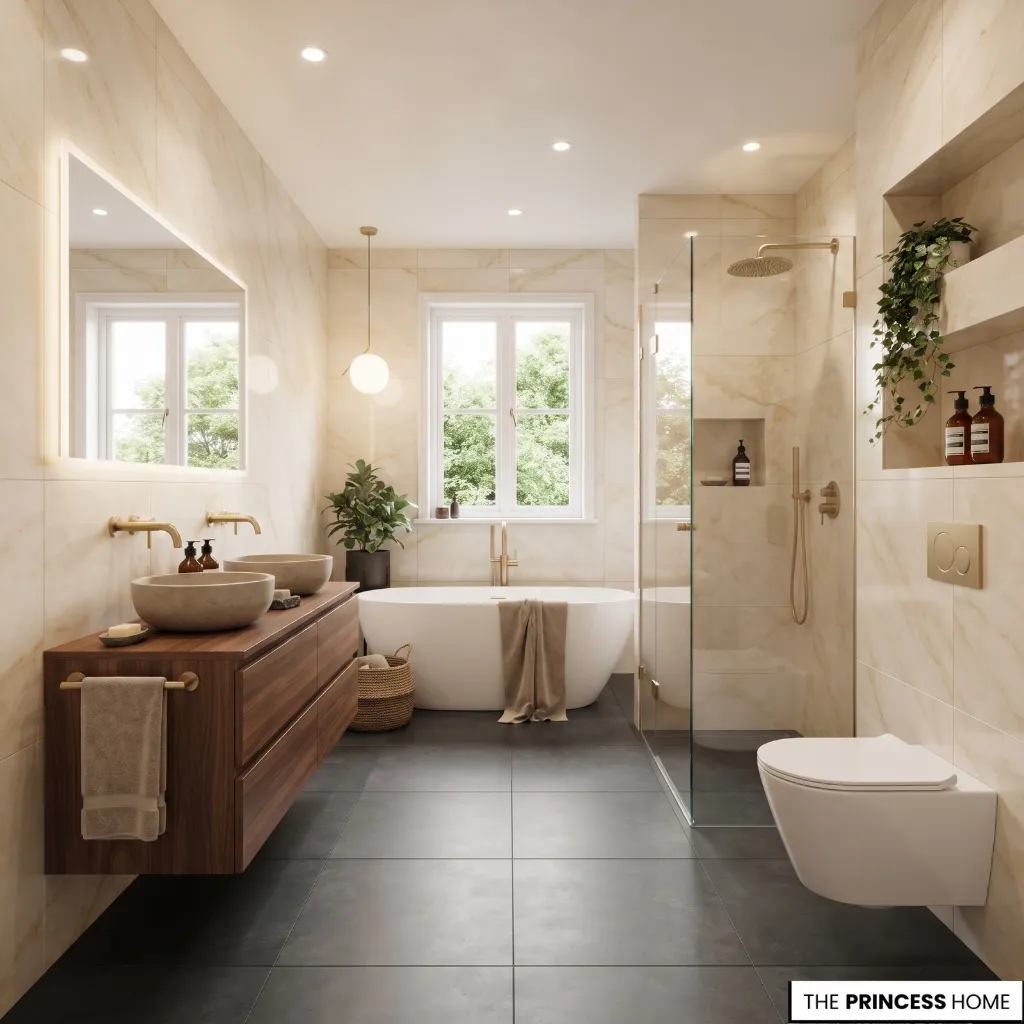
A cohesive bathroom does not require every fixture and finish to match. It needs a clear relationship between the main materials, proportions, colors, fittings, and lighting.
Establish a Design Direction
Decide what character the bathroom should have before finalizing the details. It might be contemporary and restrained, traditional and detailed, natural and relaxed, or bold and expressive.
This direction helps narrow the choices without forcing every element into one rigid style. A traditional vanity can work in a modern bathroom when its proportions, hardware, and finishes relate to the surrounding architecture.
The aim is to create a bathroom that feels connected to the home while meeting the practical needs of its users.
Coordinate Materials and Proportions
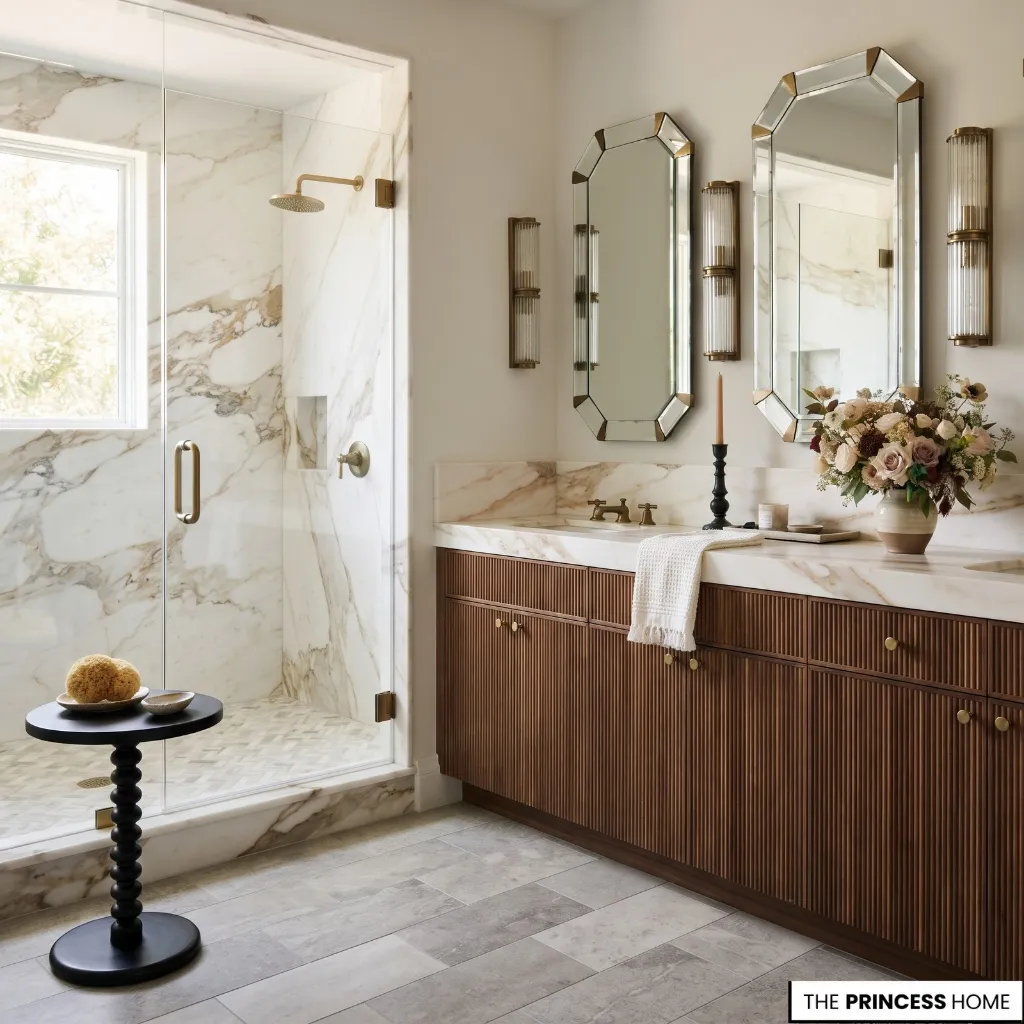
Materials should relate through their color, texture, scale, and finish.
A heavily patterned floor may need simpler wall surfaces, while a quiet stone palette can accommodate a more distinctive vanity or mirror. The relationship between the surfaces matters more than whether each material is attractive on its own.
Proportion is equally important. A small mirror may look lost above a wide vanity, while an oversized light fitting can dominate a compact room.
Repeat selected details to connect the design. A wood finish may appear in the vanity and a small accessory, while one metal finish can link taps, handles, and lighting.
Balance Decorative Features
Decorative details should support the room without interfering with everyday use.
Mirrors, artwork in suitable dry areas, textiles, and selected accessories can add personality. Plants may also work when their light and humidity requirements suit the bathroom’s conditions.
The amount of decoration should respond to the room’s size and storage capacity. A compact bathroom with limited counter space may benefit from a simple arrangement, while a larger room can accommodate more substantial details.
Keep frequently used surfaces practical. The vanity should retain enough clear space for everyday activities, and accessories should not obstruct taps, drawers, or movement.
Make the Design Personal
A bathroom should reflect the people who use it rather than reproduce a photograph without considering its context.
Someone who enjoys long baths may prioritize a comfortable tub and nearby towel storage. Someone who prefers quick showers may devote more space to a generous shower area and an organized vanity.
Personal choices in color, artwork, materials, and fittings can give the room its identity. They work best when they support the function of the space rather than create additional clutter or maintenance.
Common Bathroom Mistakes
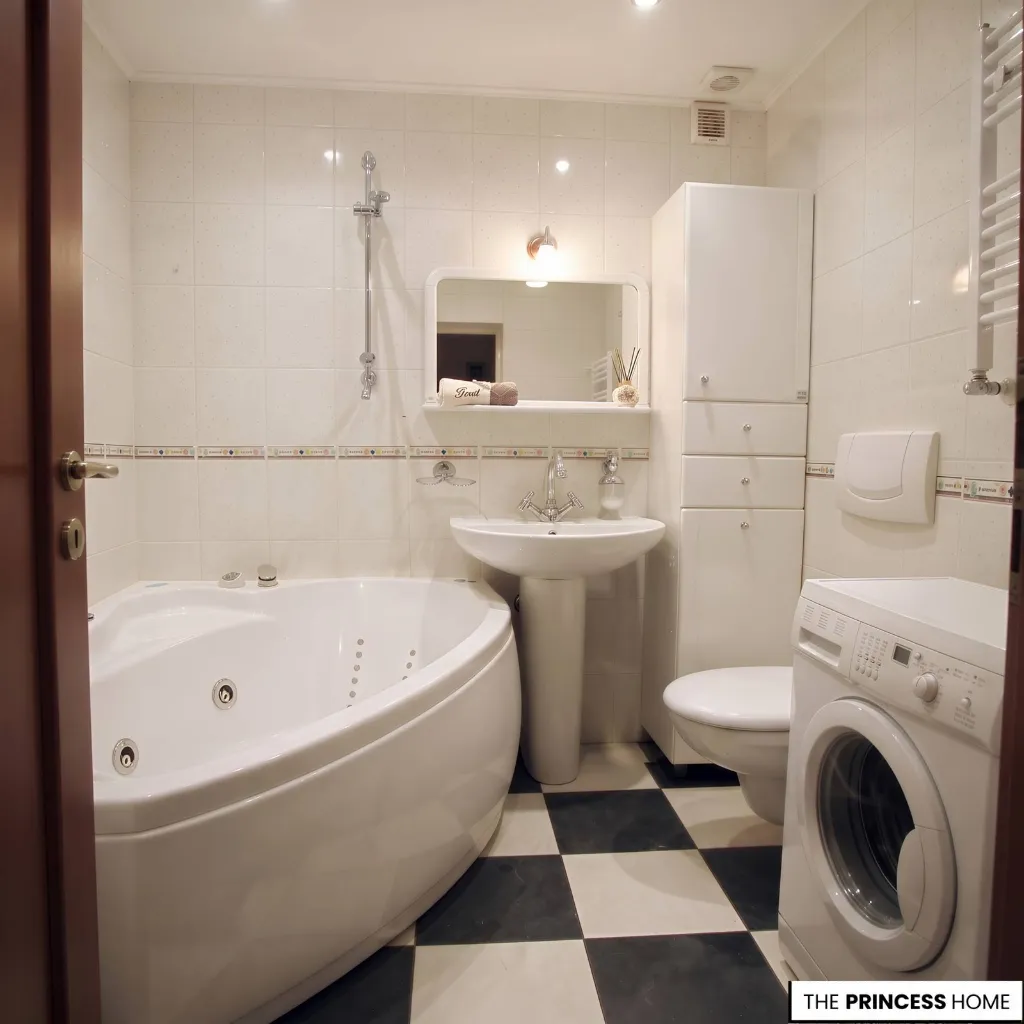
Many bathroom problems begin during planning. A fixture may be attractive but poorly positioned, a material may suit the palette but not the wet area, or a layout may appear spacious until the doors and drawers are opened.
Recognizing these mistakes before construction makes it easier to avoid unnecessary expense and create a bathroom that remains comfortable after the renovation is complete.
Choosing Fixtures Too Early
Buying a bathtub, vanity, or shower enclosure before measuring the room can restrict the layout. A fixture that looks suitable in a showroom may occupy too much space or interfere with another fitting.
Start with the floor plan and the essential movement areas. Compare products using their actual dimensions, including the space needed for doors, drawers, and access. Confirm that the selected fixtures can be installed with the existing plumbing or with the planned service changes.
Ignoring Movement Space
Filling the available floor area with fixtures and storage can make the bathroom difficult to use.
The result may include obstructed doors, inaccessible drawers, narrow shower entrances, or uncomfortable access to the toilet.
Test the layout from the perspective of someone using each fixture. Check the door swing, drawer openings, shower entrance, and route to the towel storage. Make changes before construction begins rather than trying to solve circulation problems after installation.
Prioritizing Appearance Over Performance
A finish may look impressive but fail to suit its location. A slippery floor, delicate countertop, or unsuitable cabinet material can become difficult to maintain.
Evaluate materials according to water exposure, cleaning, durability, installation, and maintenance. A good-looking finish is a suitable choice when it can also withstand the conditions in which it will be used.
Underestimating Ventilation
A bathroom may look complete while lacking an effective way to remove humid air. This can lead to recurring condensation, mold, peeling finishes, and damage to cabinetry.
Opening a window occasionally may not be sufficient, particularly in bathrooms with limited natural ventilation.
Plan the ventilation system alongside the layout and construction work. Check that the extractor is appropriately specified, that its ductwork discharges outdoors, and that the system is practical to operate regularly.
Relying on One Light
A single ceiling light may illuminate the floor while leaving the face poorly lit at the mirror. It can also create strong shadows or uneven illumination.
Plan lighting around the activities performed in each area. Provide suitable general illumination and dedicated mirror lighting, then add other fittings where they improve visibility. Ensure that every fixture meets the electrical safety requirements for its intended location.
Overlooking Storage
Insufficient storage leaves toiletries, towels, cleaning products, and personal items occupying every available surface.
List the items that need to be stored before choosing cabinets. Separate everyday products from occasional supplies, then assign storage near the areas where each item is used. Check the internal dimensions of drawers and cabinets rather than judging capacity by their exterior size.
Selecting Unsuitable Materials
A finish that works on a dry wall may not be appropriate inside a shower. Some natural stones need more care than porcelain or ceramic, while certain cabinet products may not tolerate prolonged exposure to moisture.
Check the manufacturer’s specifications for the exact installation area. Consider direct water exposure, humidity, cleaning products, sealing, and maintenance before making the final choice.
Forgetting Privacy
A toilet positioned directly opposite the entrance or a poorly treated window can make a bathroom uncomfortable, particularly when several people share it.
Review the sightline from the doorway before confirming fixture positions. Consider the location of windows, shower glazing, and any partitions. Use suitable privacy treatments or a separate toilet zone when appropriate, without creating unnecessary obstacles.
Ignoring Accessibility
Narrow access, level changes, difficult controls, and poorly positioned fixtures can make a bathroom harder to use for people with limited mobility.
Consider current needs and possible future changes. Where accessibility is important, plan suitable clearances, practical access, and appropriate support features.
The U.S. Access Board’s ADA guidance explains specific requirements for bathing rooms covered by the ADA; these legal requirements should not be treated as universal residential dimensions. Check the regulations that apply to the project.
Underestimating the Budget
A bathroom budget can become difficult to manage when it accounts only for visible products and finishes. Plumbing changes, drainage, waterproofing, electrical work, ventilation, preparation, installation, and waste removal can all affect the final cost.
Prepare a project budget that distinguishes essential construction work from fixtures, finishes, and optional upgrades. Obtain installation estimates for items that require specialist work, and compare the complete cost of each option rather than the product price alone.
Allow for unexpected conditions, particularly in older bathrooms where concealed leaks, damaged substrates, or outdated services may only become apparent during demolition.
If the budget is limited, prioritize the work that protects the building and supports safe, reliable use before spending on decorative features.
Skipping Construction Checks
Poor waterproofing, unsuitable electrical installations, incorrect drainage, or inaccessible service connections can create expensive problems after the finishes are installed.
Before work begins, confirm the plumbing, drainage, ventilation, waterproofing, and electrical plans with qualified professionals. Keep access to components that may require maintenance, and follow the installation requirements for the selected products.
Check the sequence of work as well. Concealed services, structural supports, drainage, and waterproofing need to be completed and inspected at the appropriate stages, before tiles, cabinetry, and other finishes cover them.
A successful bathroom is not defined by the number of fixtures or the cost of its finishes. It is defined by how well its layout, materials, lighting, storage, and ventilation support the people who use it.
Plan around real needs, compare the available options, coordinate design decisions with construction requirements, and check the practical details before work begins. The result should be a bathroom that feels coherent, functions comfortably, and remains reliable over time.