
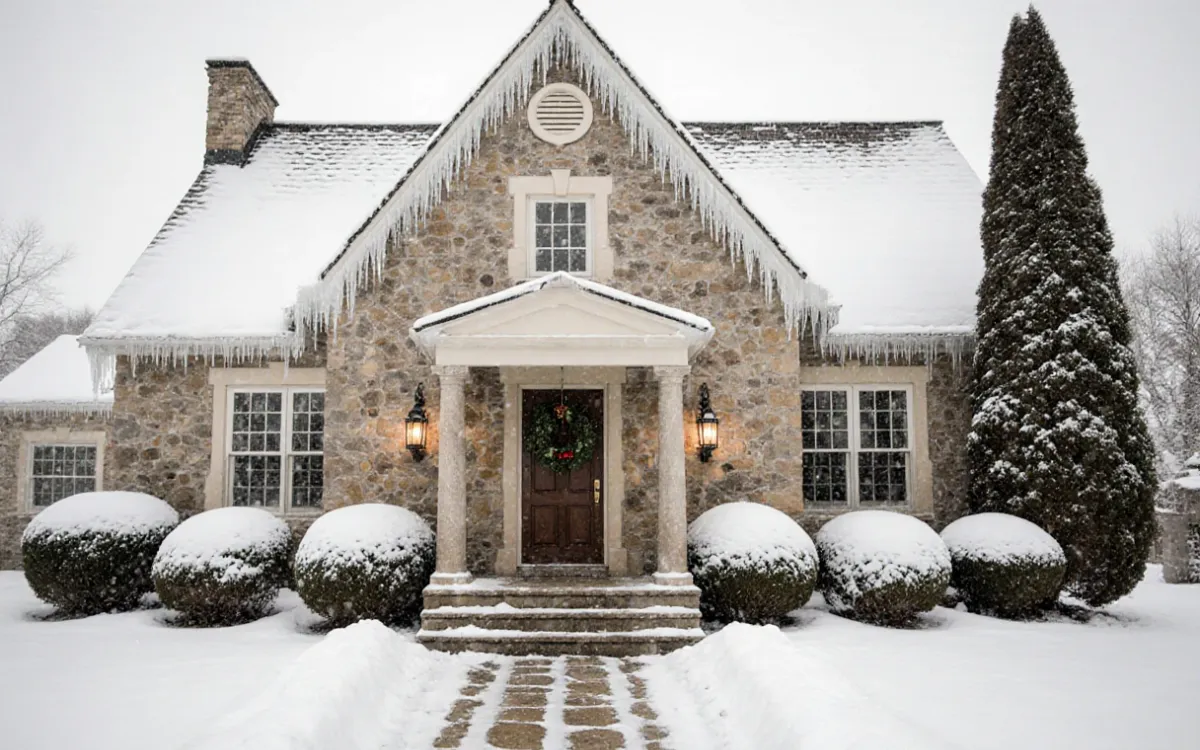
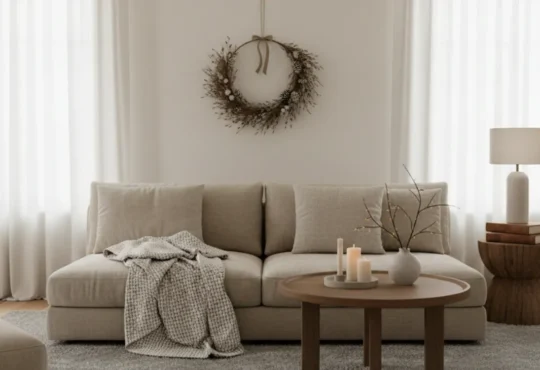
When the air turns crisp and the days grow shorter, your home becomes a cozy haven from the cold. Before winter arrives, a few simple preparations can make a big difference. Winterizing your house protects it from freezing temperatures and high energy bills. It also gives you peace of mind knowing you’re ready for the season ahead. This guide shares practical, budget-friendly tips to keep your home warm, safe, and energy-efficient — with a touch of winter charm.
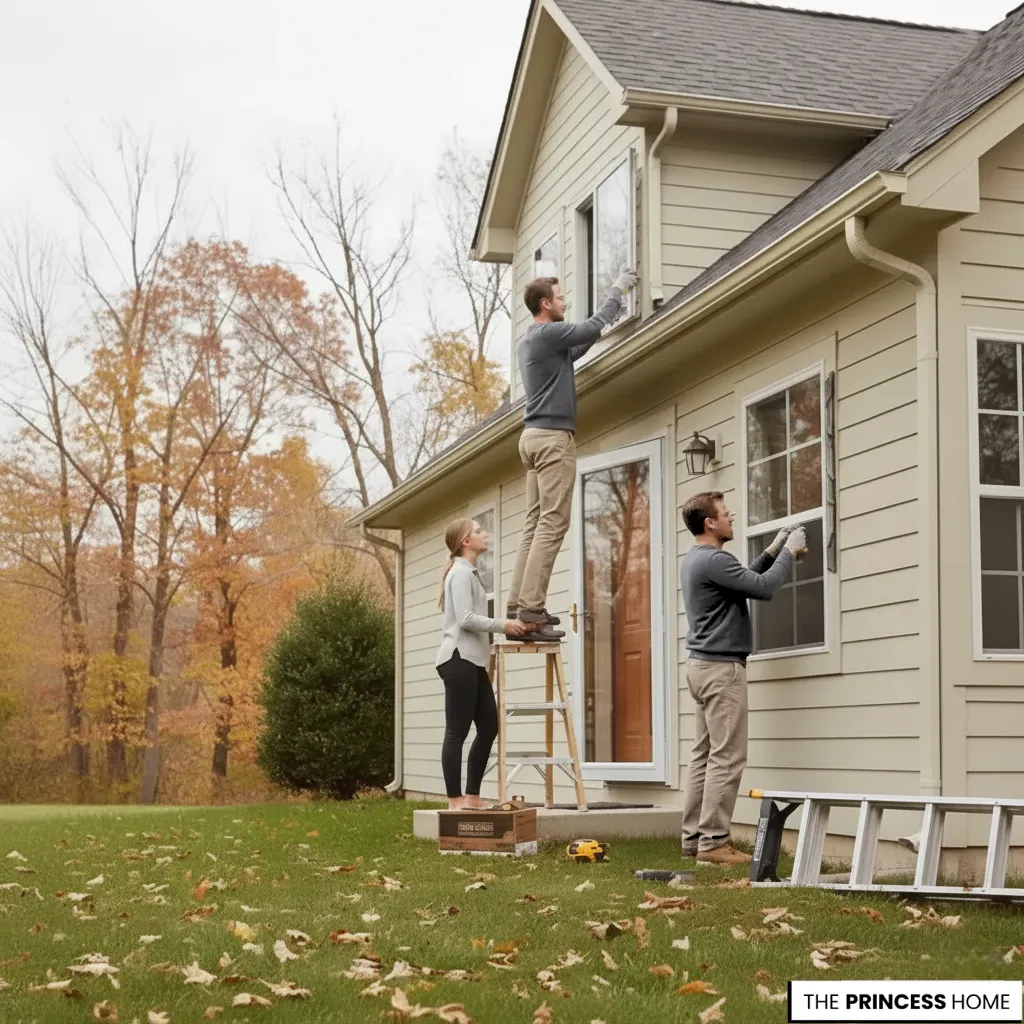
Inspect All Windows

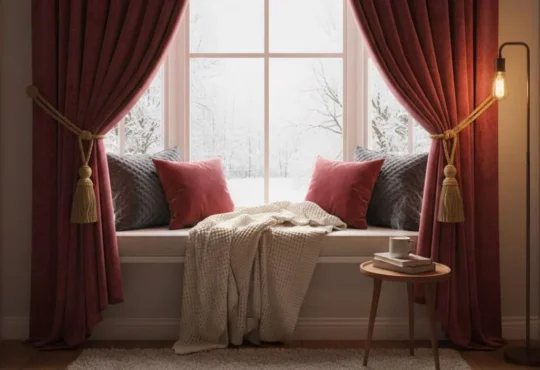
Start by inspecting every window for even the smallest gaps or cracks that allow cold drafts to sneak in. Seal them with high-quality weatherstripping or clear caulk for maximum insulation. For an aesthetic and energy-efficient upgrade, install thermal or insulated curtains—they add warmth, reduce energy bills, and give your home a cozy, elegant feel all winter long.
Window Insulation
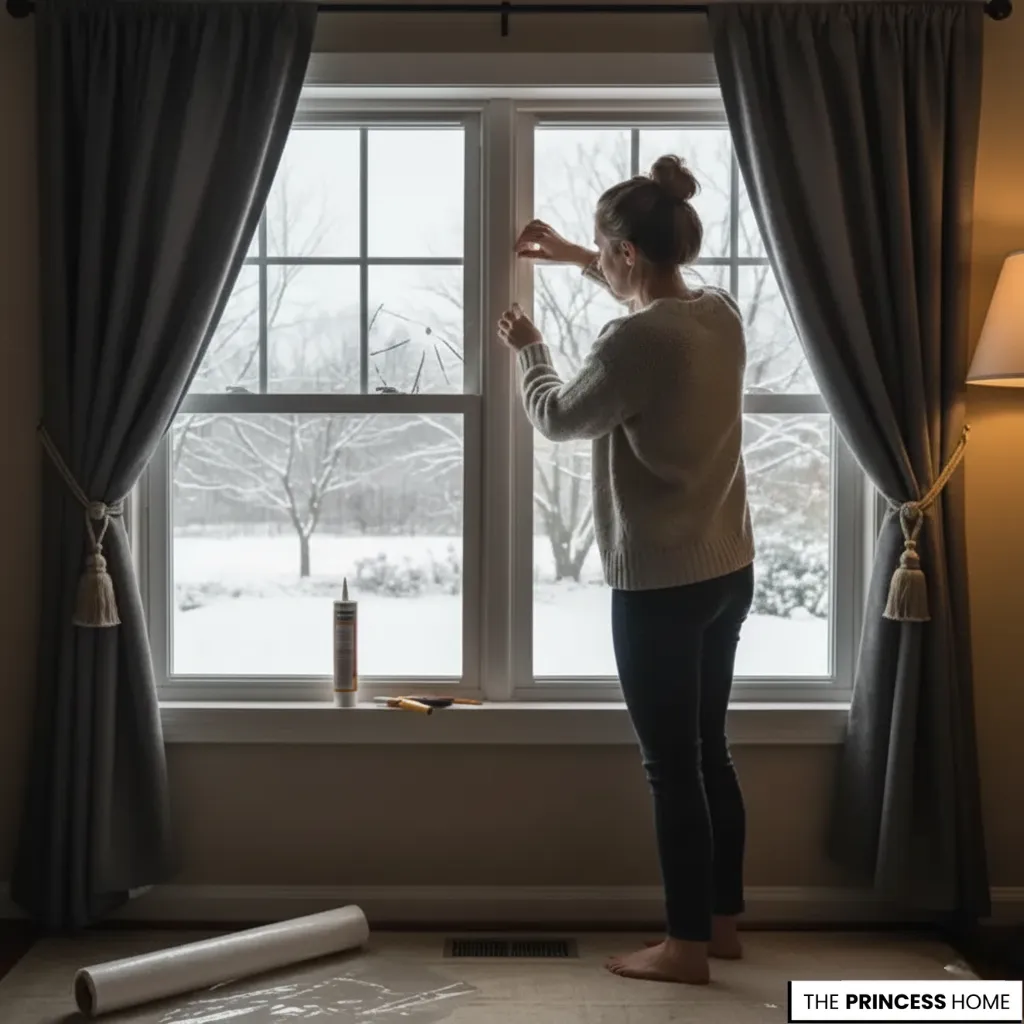
Window insulation is one of the most effective ways to improve energy efficiency during cold weather. Using clear plastic window film helps create an insulating air barrier between the glass and the room, reducing heat loss and blocking drafts. Caulk can be applied around window frames to seal small gaps and cracks, preventing cold air from entering. These simple, low-cost methods make a noticeable difference in comfort and heating bills. By properly insulating windows, homeowners can reduce energy waste, stay warmer throughout winter, and maintain a cozy, efficient indoor environment.
Check Doors

Run your hand along the edges of doors on a breezy day to detect hidden drafts easily. Install door sweeps or rubber seals to block cold air and boost energy efficiency. For an eco-friendly tip, use recycled fabric draft stoppers—they’re budget-friendly, stylish, and help maintain a comfortably warm home throughout winter.
Inspect the Roof
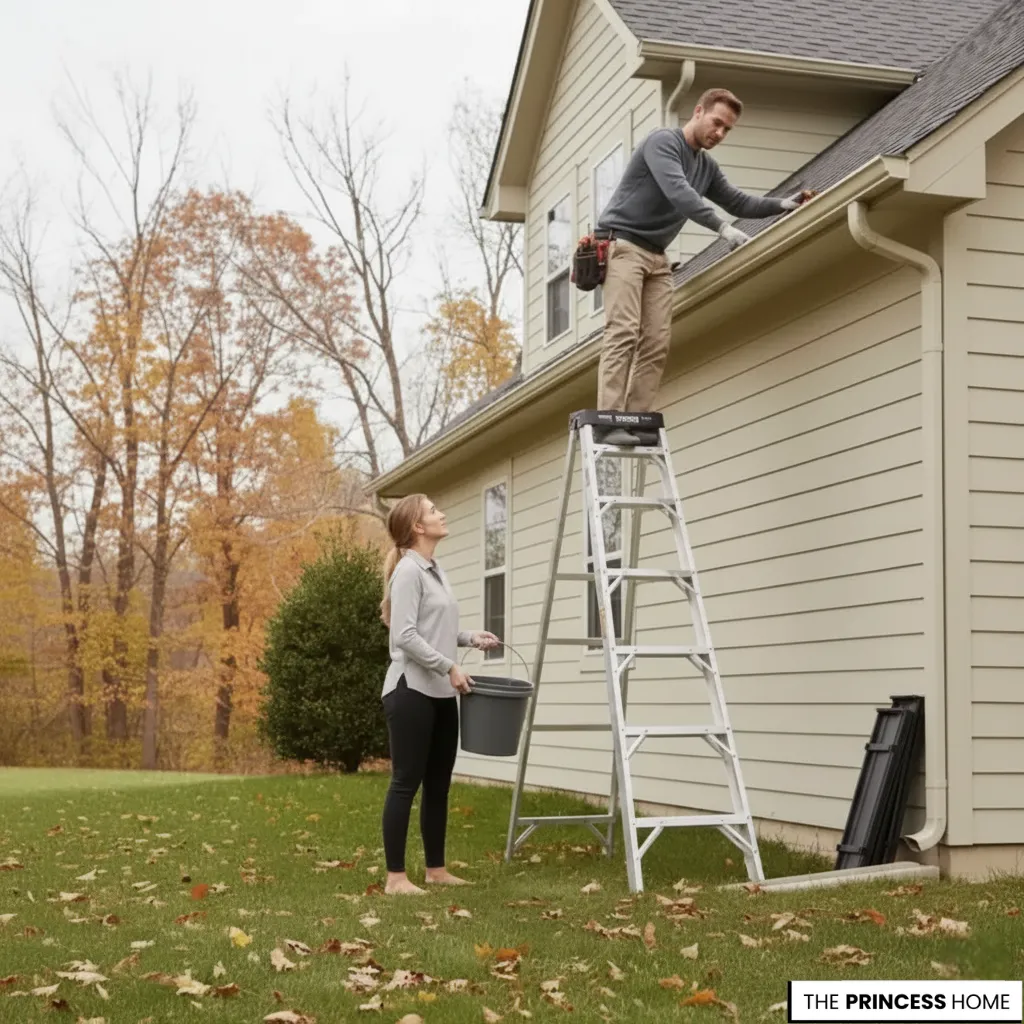
Snow accumulation can put serious strain on your roof, so inspect it carefully for loose, cracked, or missing shingles before winter arrives. Repairing weak spots early helps prevent leaks, ice dams, and costly structural damage. For extra protection, consider adding roof insulation or a waterproof underlayment to boost durability and energy efficiency.
Clean the Gutters
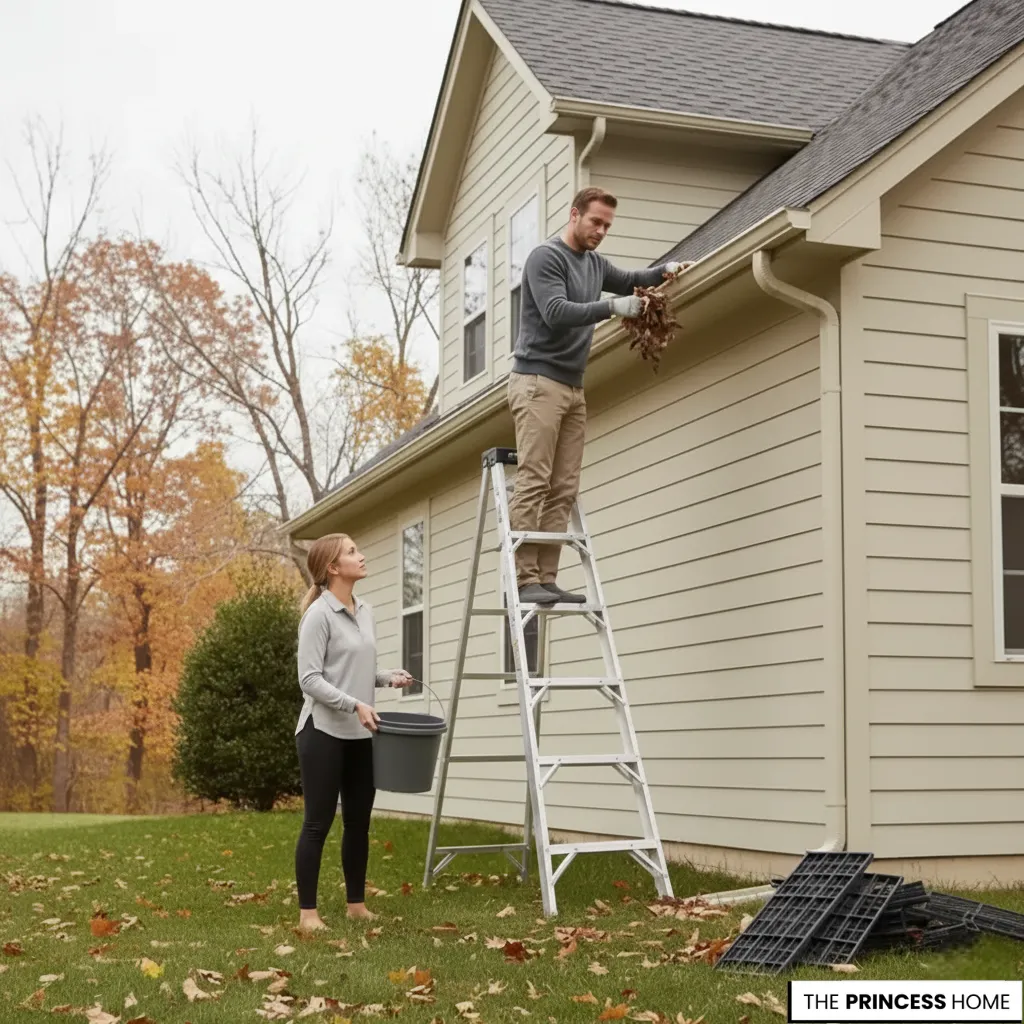
Before the first freeze hits, make sure your gutters are clean and free of debris to prevent ice dams and costly roof damage. Installing gutter guards or heated cables can save you hours of maintenance while keeping water flowing smoothly. This simple step protects your home’s foundation, roof, and walls from winter water buildup.
Ceiling Fans
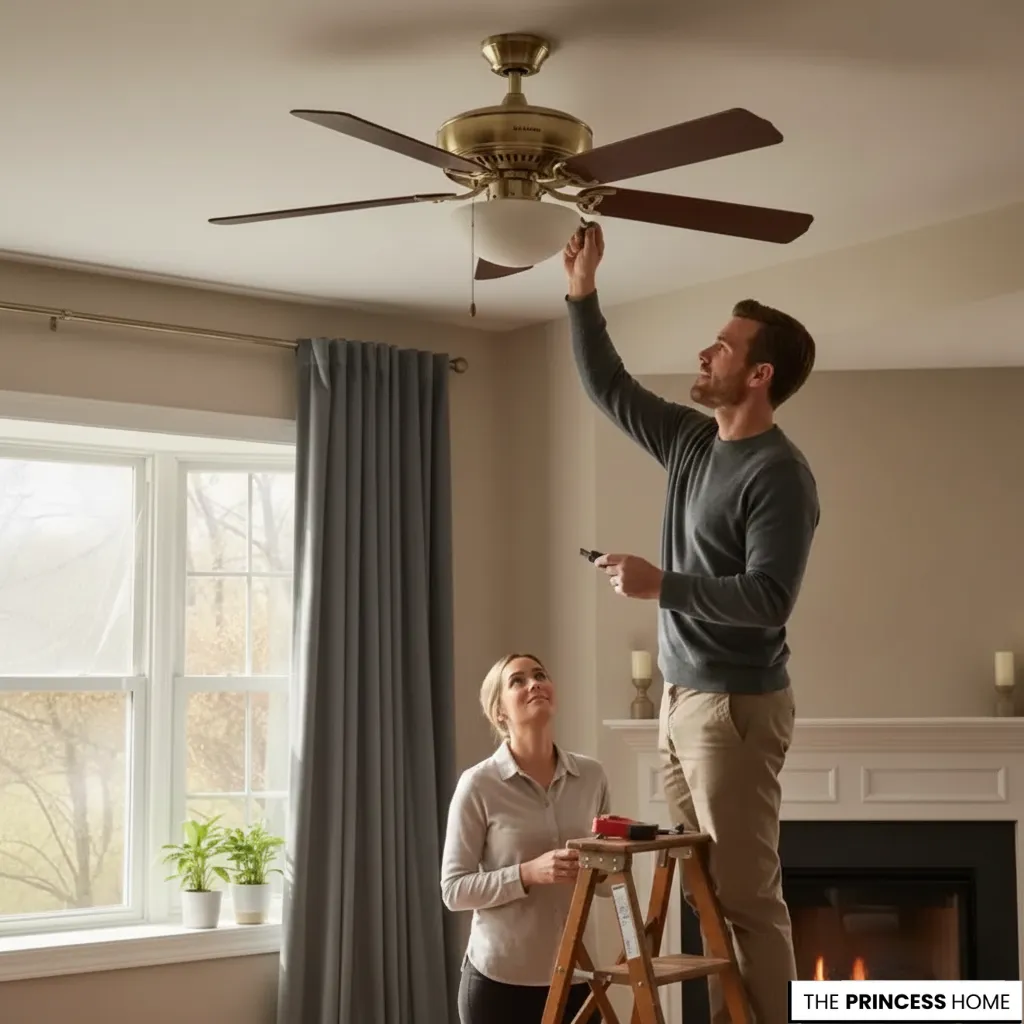
Switch your ceiling fans to clockwise rotation on a low speed during winter to gently push warm air back down into your living space. This simple adjustment can lower heating costs by up to 10% while keeping every corner of your home comfortably warm. It’s an easy, energy-efficient way to make the most of your existing heat.
Insulate Attic & Basement

Since heat naturally rises, a well-insulated attic is essential to keeping warmth inside where it belongs. Don’t overlook your basement or crawlspace—sealing gaps and adding insulation there prevents cold air from creeping in. Together, these upgrades act like a thermal blanket for your home, improving comfort and reducing energy bills all winter long.
Test Heating System
Turn on your heating system early in the season to catch any issues before the cold sets in. If you hear strange noises or feel weak airflow, it’s time for a professional HVAC tune-up. Replacing filters and cleaning vents regularly ensures better air quality, improved efficiency, and lower energy costs throughout the winter.
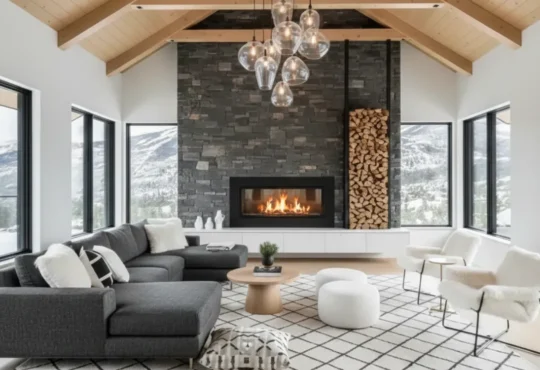
Service Fireplace

A cozy winter fire is one of life’s simple joys—but safety comes first. Have your chimney professionally cleaned and inspected by a certified sweep to remove soot, creosote, and any animal nests. This not only prevents chimney fires and carbon monoxide buildup but also helps your fireplace burn cleaner and more efficiently all season long.
Drain & Store Hoses
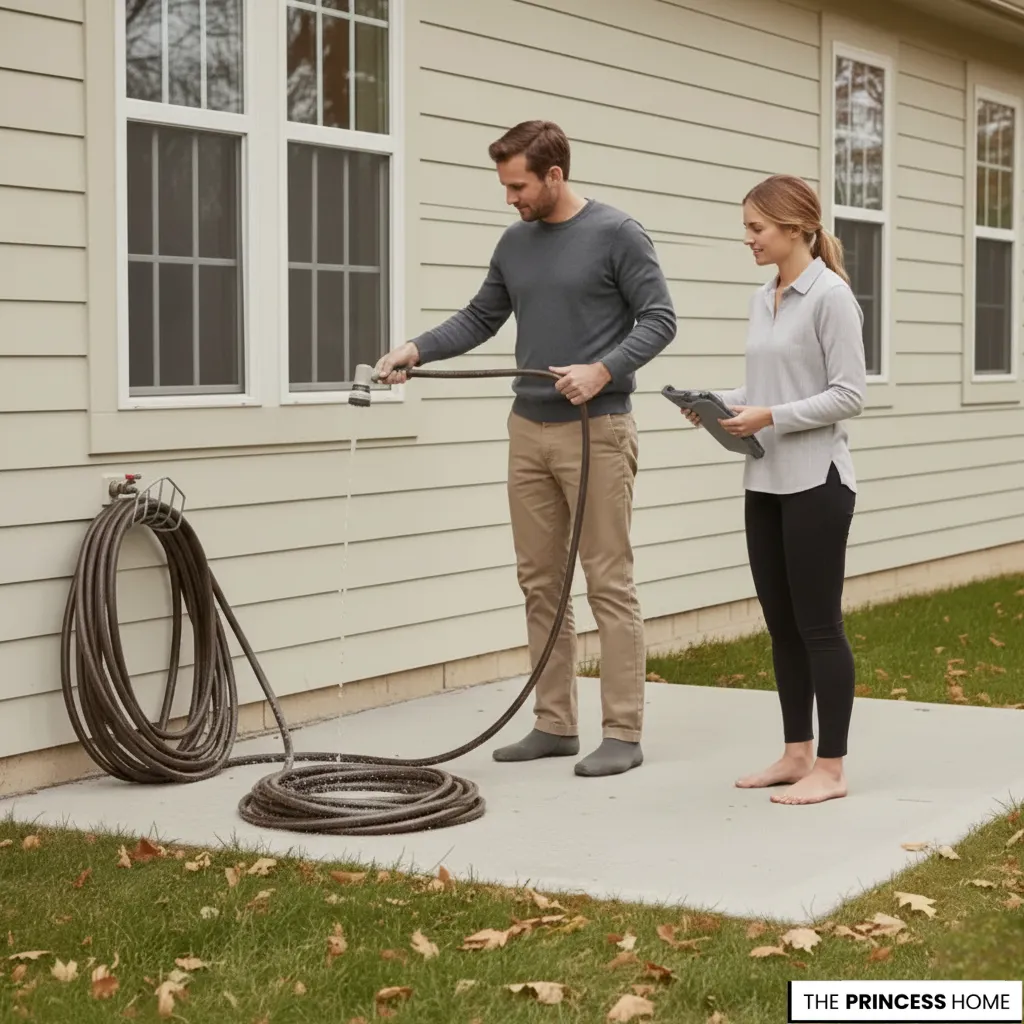
Before temperatures drop, drain and disconnect all garden hoses to prevent freezing and cracking. Store them indoors and shut off exterior water valves to avoid burst pipes. For extra protection, wrap insulated covers or foam sleeves around outdoor spigots—an easy, affordable way to safeguard your plumbing through harsh winter weather.
Check for Leaks

Frozen pipes can cause major water damage and costly repairs. Protect your plumbing by insulating pipes in unheated spaces like basements, garages, and crawlspaces. Even a tiny leak can freeze and burst, so seal cracks and repair drips right away to keep your water flowing safely all winter long.
Clean Dryer Vents
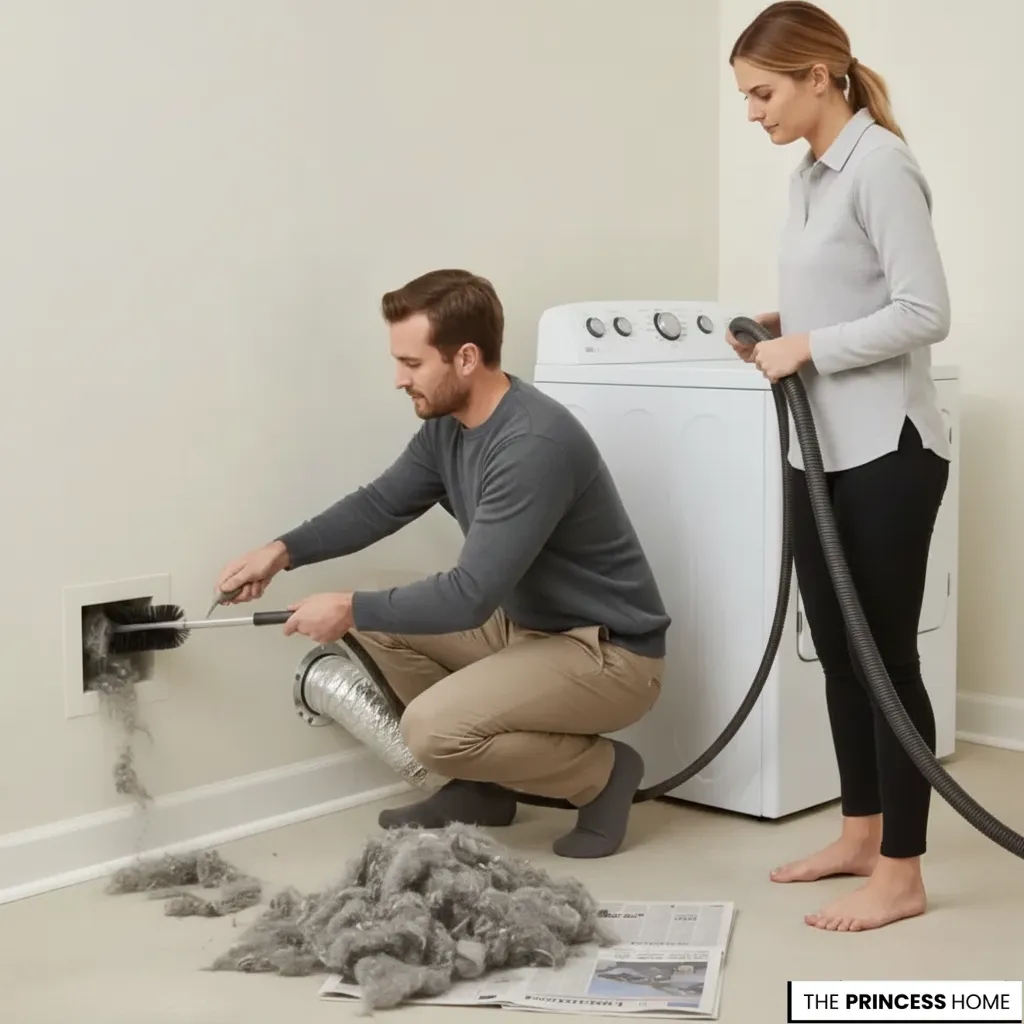
Lint buildup is one of the most overlooked fire hazards in winter, especially when dryers run more often. Clean your dryer vent and lint trap regularly to prevent dangerous clogs and improve airflow. This simple maintenance step boosts energy efficiency, shortens drying time, and keeps your home safer and warmer all season.
Protect Outdoor Furniture
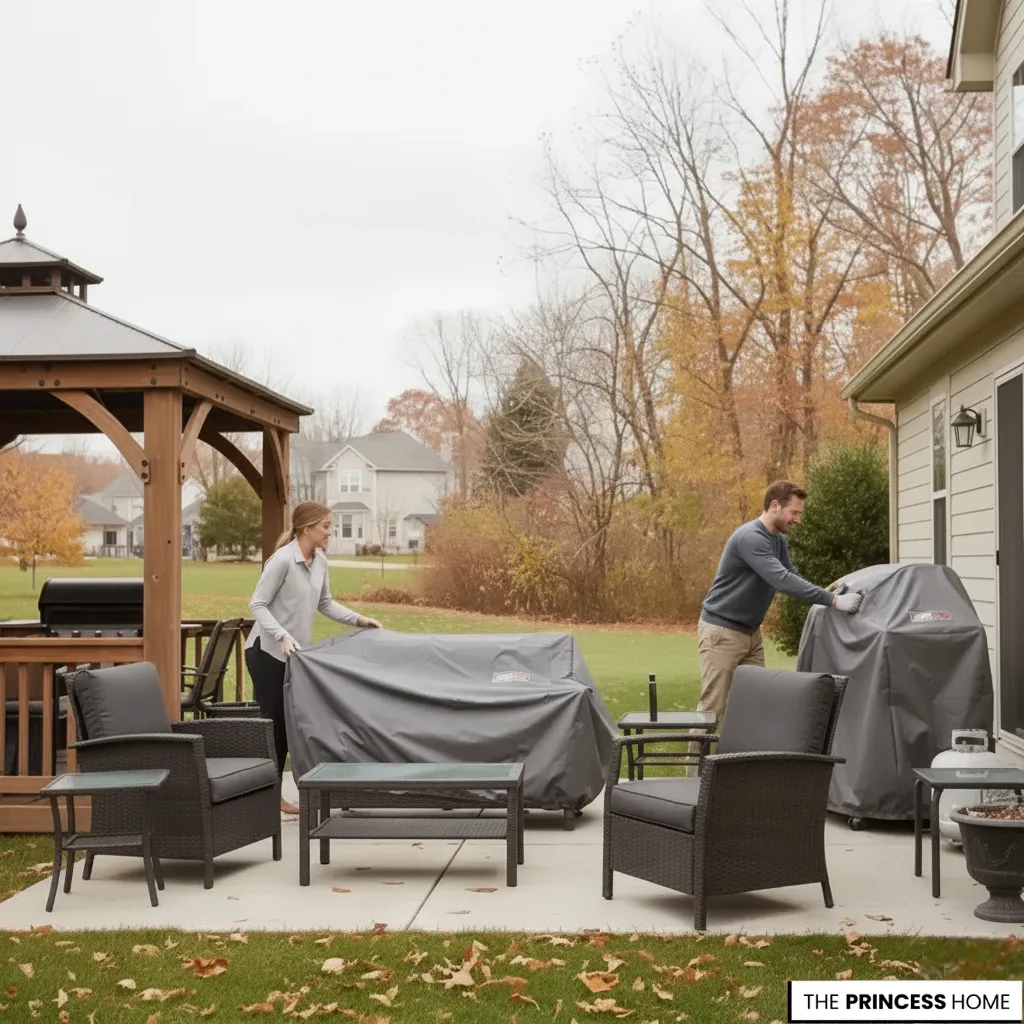
Protect your outdoor furniture and décor from winter’s harsh elements by covering or storing them before the first frost. Use durable, weatherproof covers to guard against moisture, rust, and cracking. Proper storage not only extends the life of your patio pieces but also makes spring setup faster and easier.
Stock Up on Winter
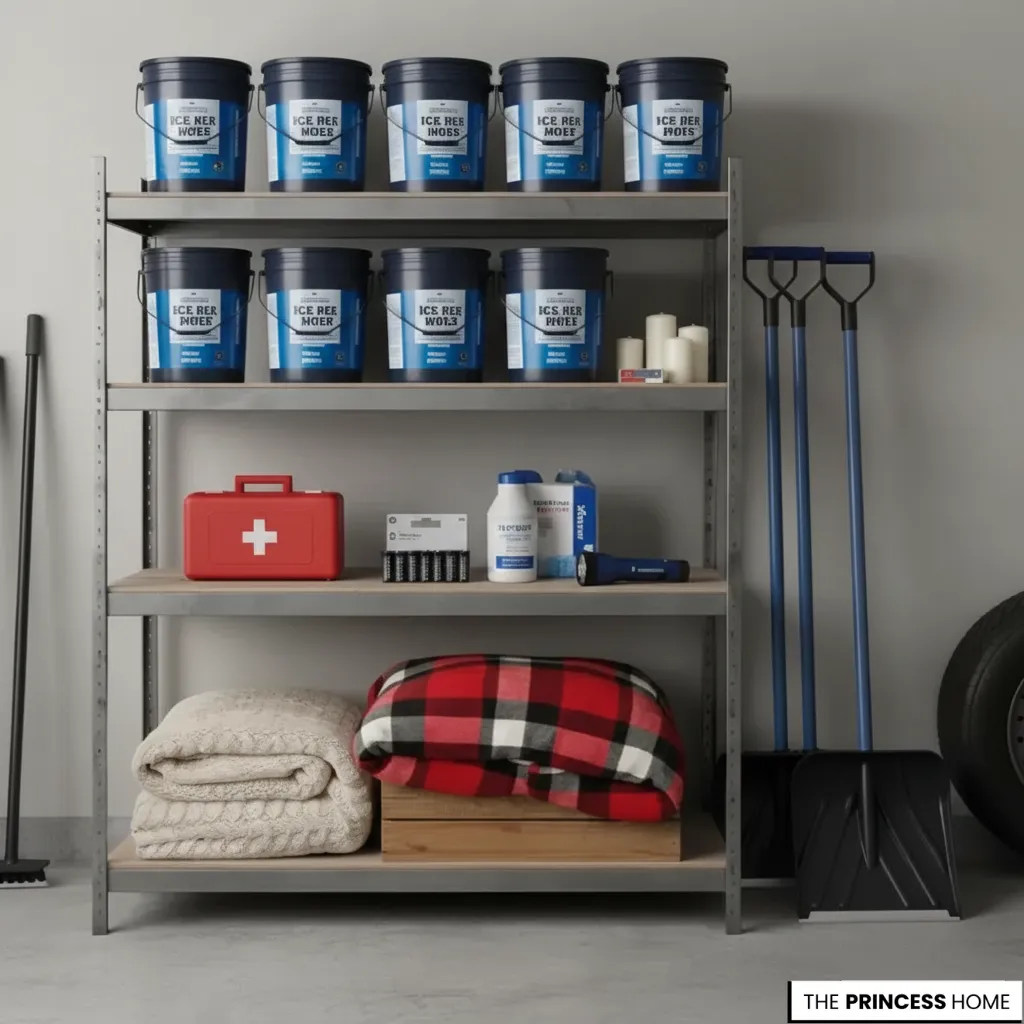
Prepare for winter surprises by assembling a compact emergency kit with salt, shovels, flashlights, batteries, candles, and cozy blankets. Having these essentials on hand ensures safety and comfort during snowstorms or power outages. Consider adding non-perishable snacks and a portable phone charger for extra peace of mind when the weather turns extreme.
Switch Doors & Windows
If you own storm doors or windows, install them before the cold sets in. They provide an extra layer of insulation, locking heat in and keeping drafts out, which can significantly reduce heating costs. Additionally, they protect your primary doors and windows from wear, extending their lifespan through harsh winter conditions.
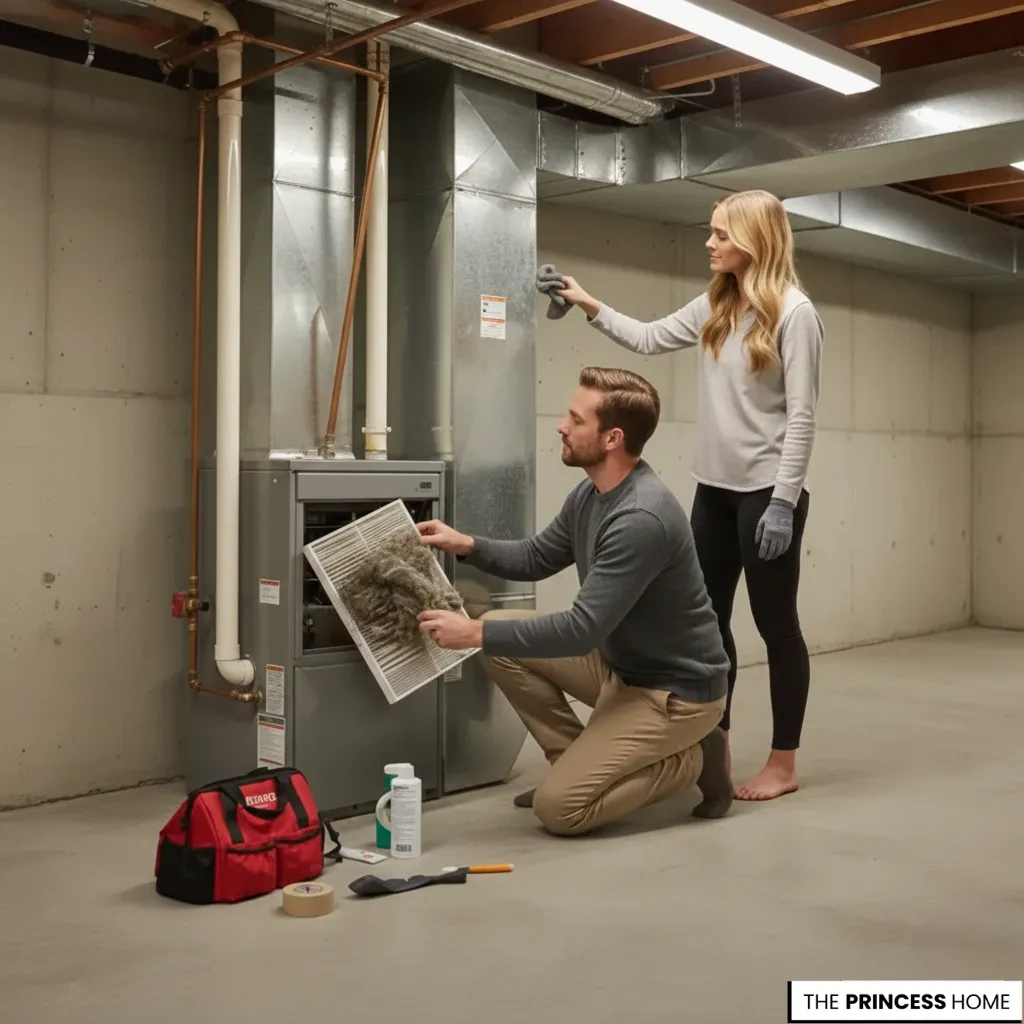
Clean Furnace Filters
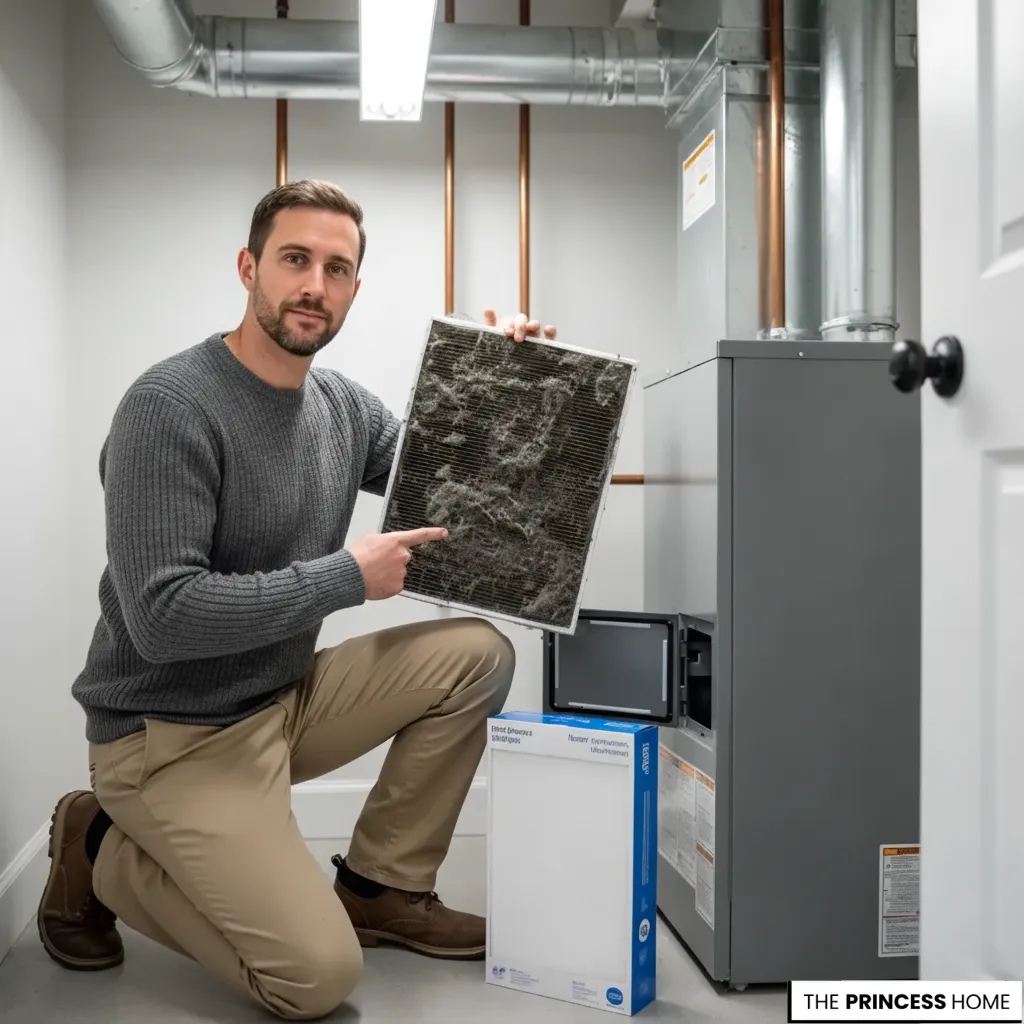
A dirty or clogged filter makes your heating system strain, consuming more energy and reducing efficiency. Replacing filters monthly ensures cleaner indoor air, better airflow, and lower energy bills. For optimal performance, consider high-efficiency or HEPA filters that capture dust, allergens, and winter pollutants more effectively.
Adjust the Thermostat

Programmable thermostats are your winter ally. Lower the temperature while you sleep or when away—it saves energy without sacrificing comfort.This image emphasizes how a programmable thermostat is your best winter ally, allowing you to schedule temperature setbacks (like lowering it 7°–10°F for eight hours a day) while you’re asleep or away. This small adjustment is a powerful way to save energy and keep your heating bills low without sacrificing comfort when you need it most.
Rugs and Textiles

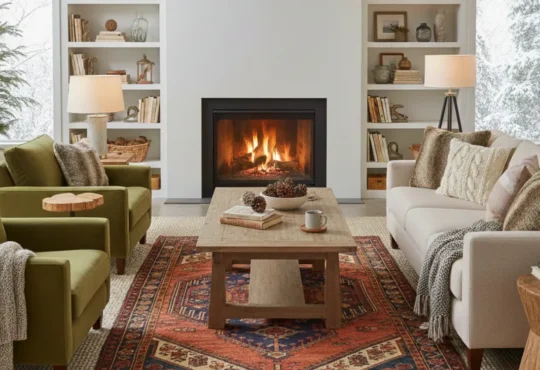
Hardwood and tile floors can feel icy in winter, but layering rugs, throws, and cushions instantly adds warmth and comfort. Choose natural fibers or plush textures to trap heat underfoot, enhance coziness, and elevate your home’s style while keeping energy use in check.
Seal Outlet Gaps

Cold air often seeps through small gaps around electrical outlets and switch plates. Installing foam gaskets or using caulk/insulating sealant can effectively block these hidden drafts. This simple fix improves energy efficiency, reduces heating costs, and keeps your home consistently cozy throughout winter.
Car Winter Prep

Prepare your car for winter by keeping antifreeze levels topped up, checking tire pressure, and keeping an ice scraper within reach. Ensure your garage door seals tightly to block cold air, protecting both your vehicle and your home’s energy efficiency. Small precautions like these prevent costly repairs and make winter driving safer and more comfortable.
Bring Nature Indoors

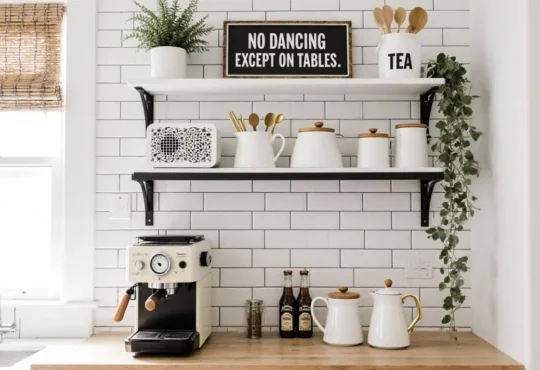
Incorporate evergreens, eucalyptus, or pine-scented candles to bring nature indoors during winter. These natural elements refresh the air, add a calming scent, and create a warm, cozy atmosphere that makes your home feel inviting all season long. For an extra touch, combine greenery with soft lighting for a hygge-inspired vibe.
Winter Sanctuary Space
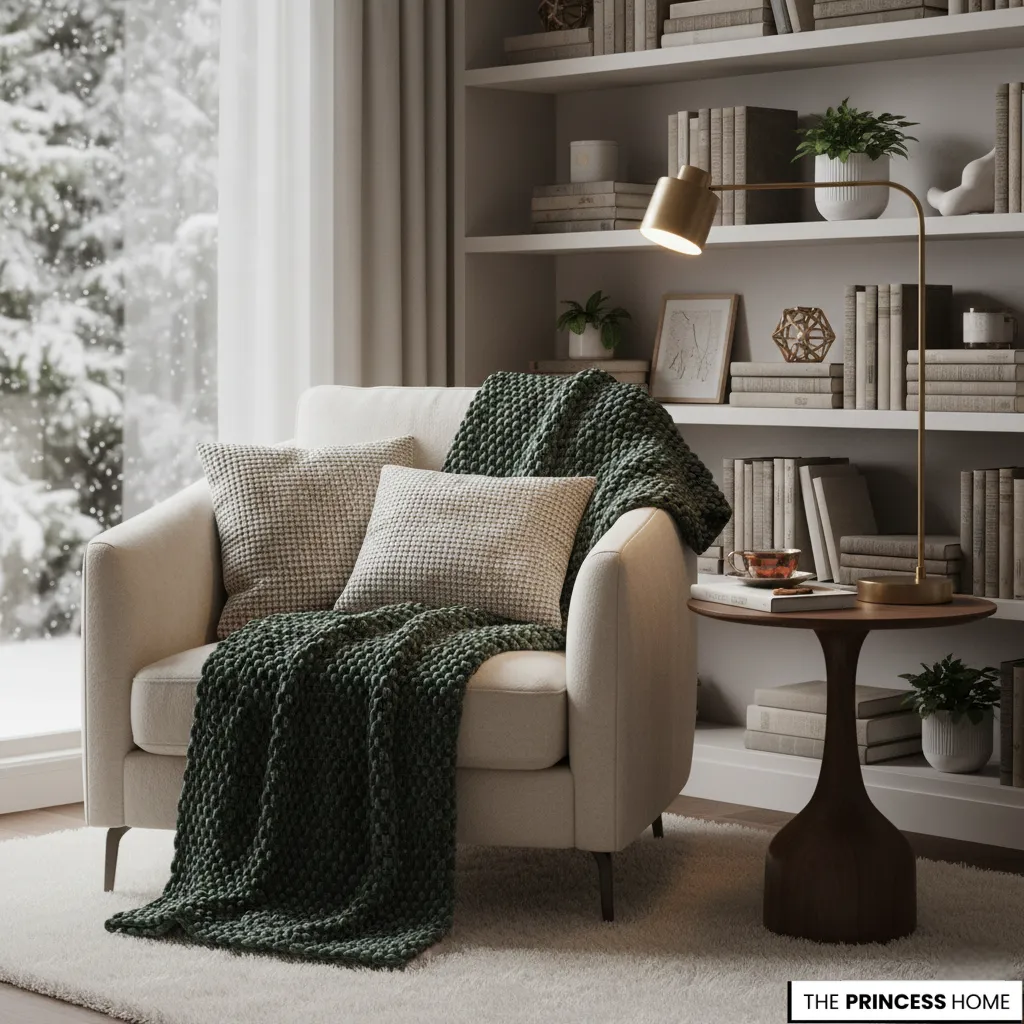
After completing all your winter prep, it’s time to transform your home into a cozy retreat. Layer in warm lighting, scented candles, and a comfy reading nook by the window to create a space that invites relaxation. The aim is to embrace the season fully, turning your home into a sanctuary where comfort and style meet winter warmth.
Conclusion
Winterizing your home doesn’t have to be complicated or expensive. With just a few simple steps, you can protect your house from the cold, lower your energy bills, and enjoy a warm, worry-free season. Start early, follow this step-by-step approach, and your home will be ready to handle whatever winter brings.
Here are some frequently asked questions related to the article :
1. What does it mean to winterize your house?
Winterizing your house means preparing it for cold weather by sealing drafts, protecting pipes, and ensuring heating systems work efficiently. It helps prevent damage and reduces energy costs.
2. When should I start winterizing my home?
The best time to winterize your home is in early fall—around October—before temperatures drop below freezing. Preparing early gives you time to fix leaks and test your heating system.
3. How do I winterize my pipes?
To winterize pipes, wrap them in insulation sleeves or heat tape, disconnect garden hoses, and let faucets drip slightly during extreme cold to prevent freezing.
4. Can I winterize my home myself or should I hire a professional?
Many winterizing steps are easy DIY tasks, like sealing windows or adding weatherstripping. However, for heating system maintenance or roof inspections, hiring a professional is a good idea.
5. How can I make my house more energy-efficient in winter?
You can save energy by sealing air leaks, using thick curtains, setting your thermostat lower when you’re away, and checking attic insulation to retain heat.
6. What are the most common mistakes when winterizing a home?
Common mistakes include forgetting to insulate pipes, neglecting the gutters, or skipping furnace maintenance. Ignoring small drafts can also waste a lot of energy
7. How much does it cost to winterize a house?
DIY winterizing costs can be as low as $50–$150 for materials like caulk, insulation, and door seals. Hiring professionals for full service may cost $300–$600, depending on home size.
The princess home on Pinterest

