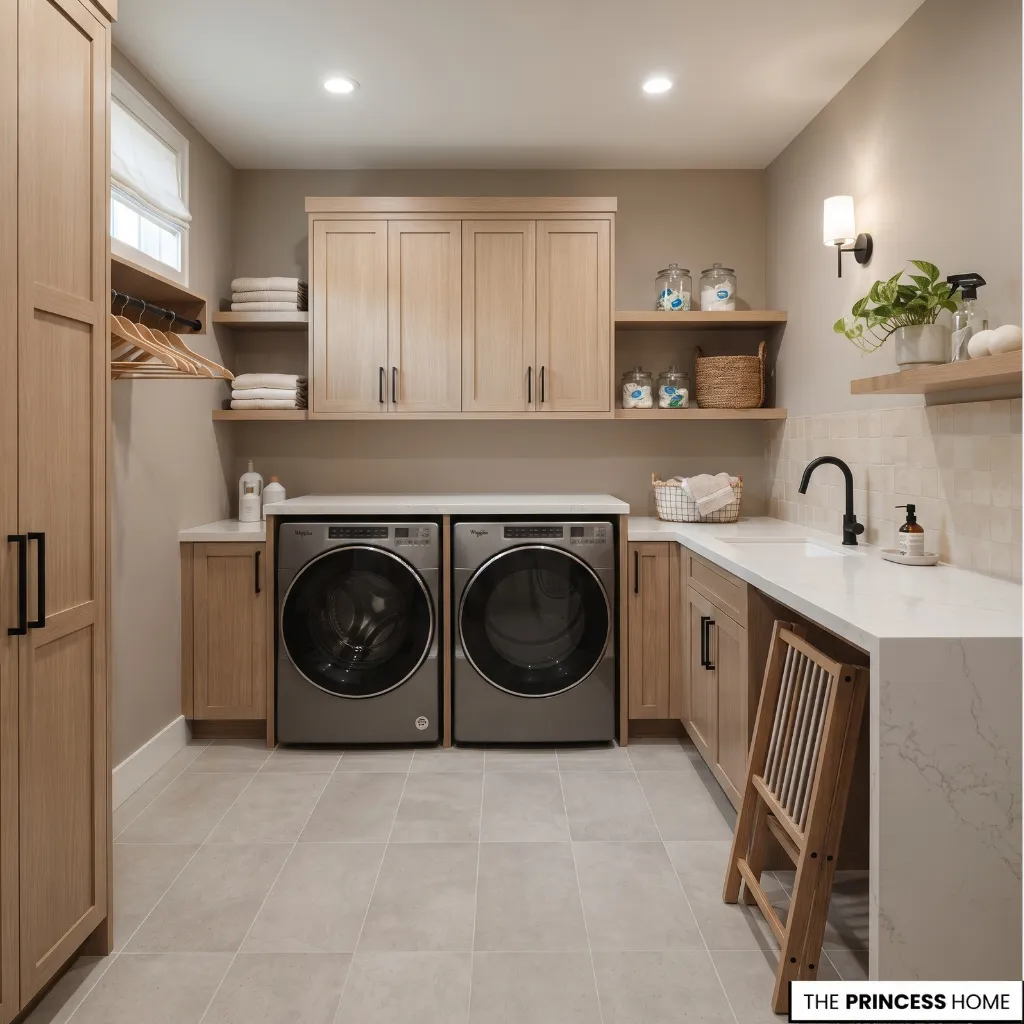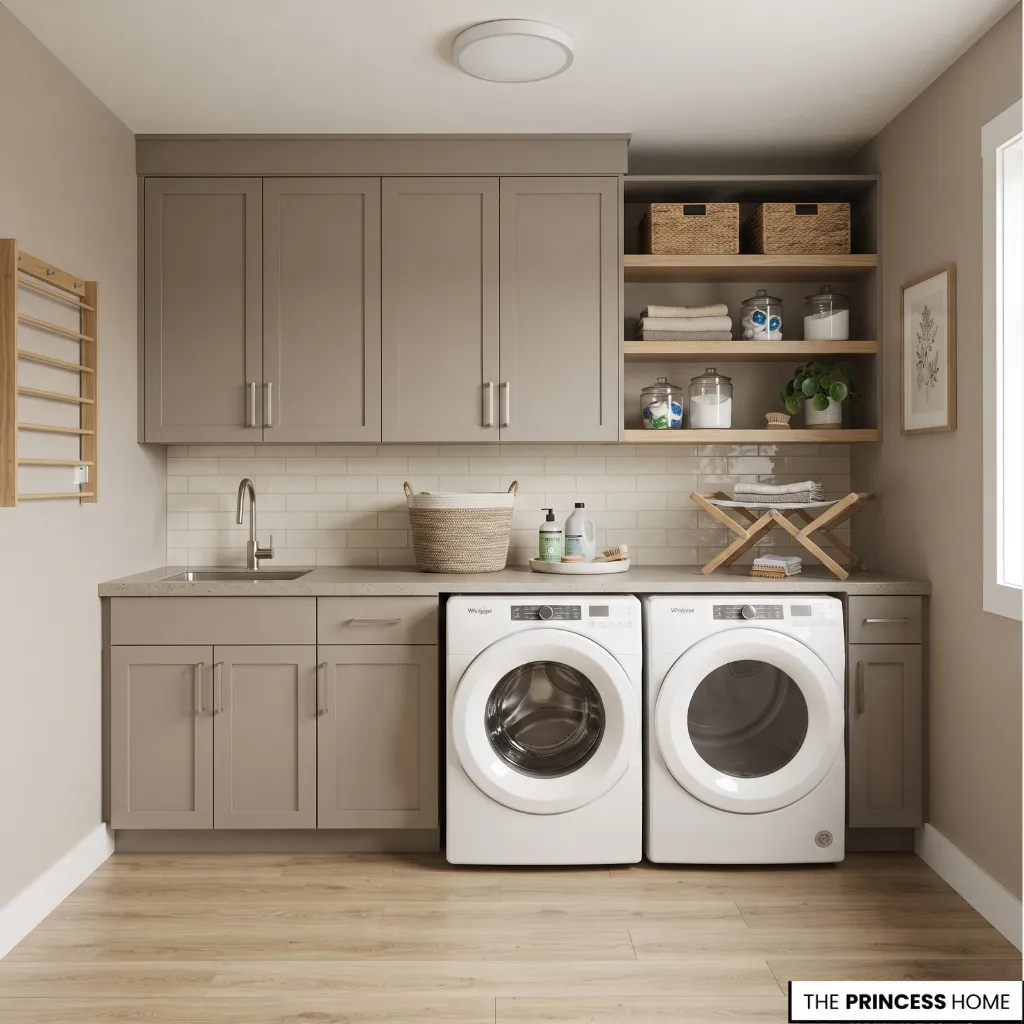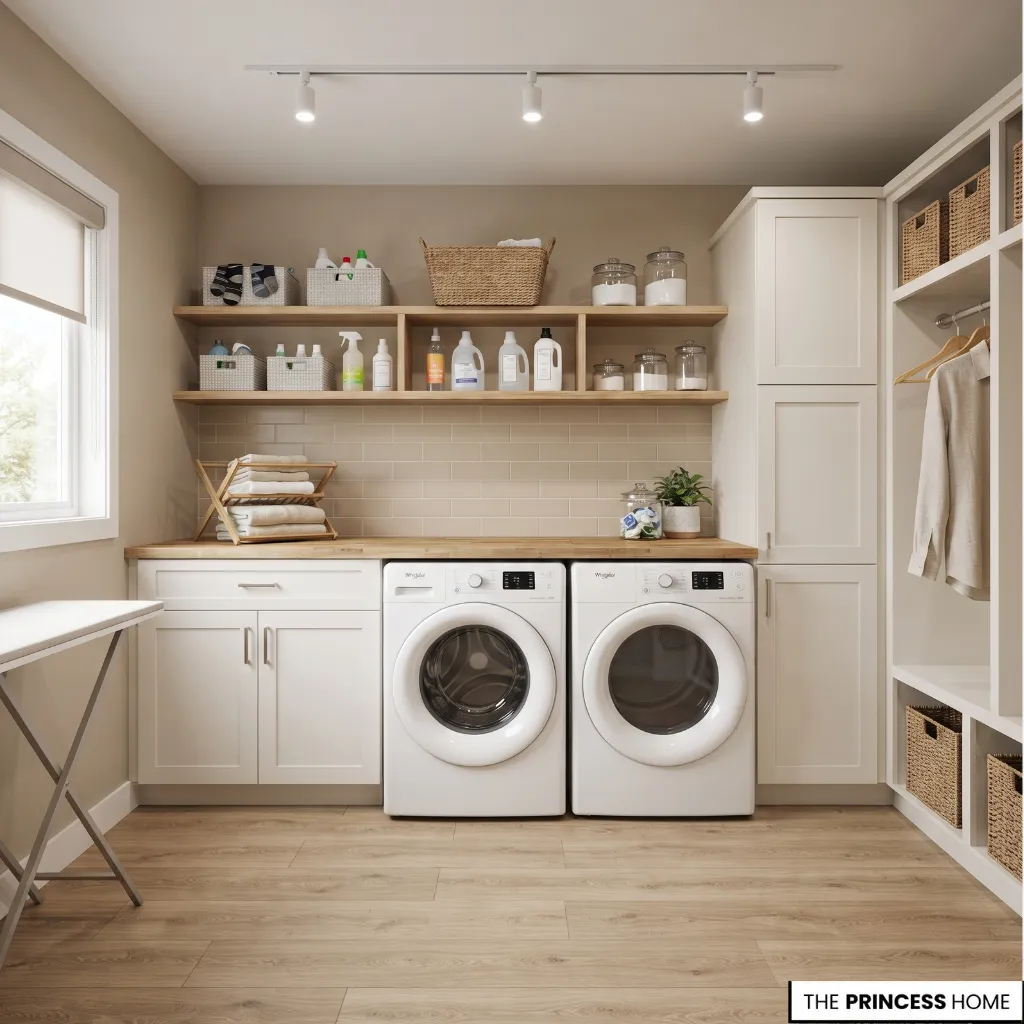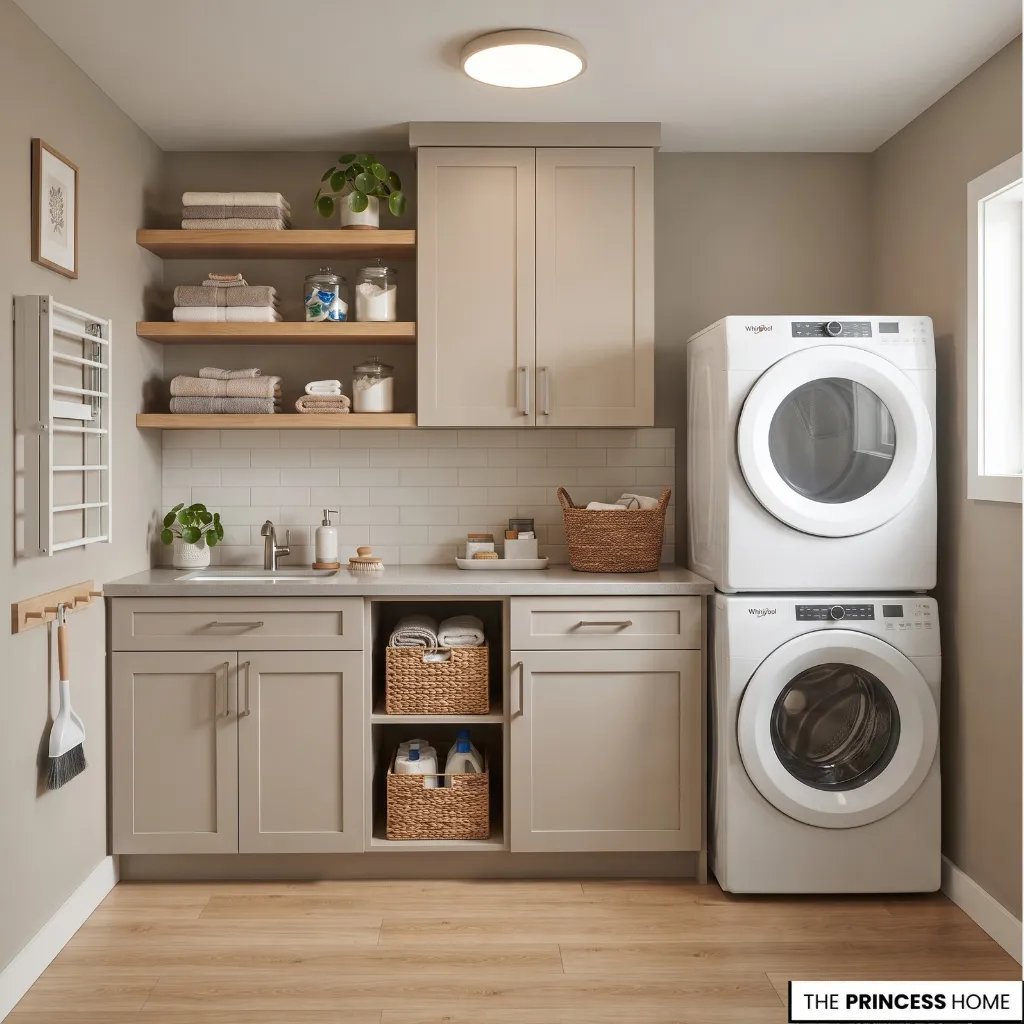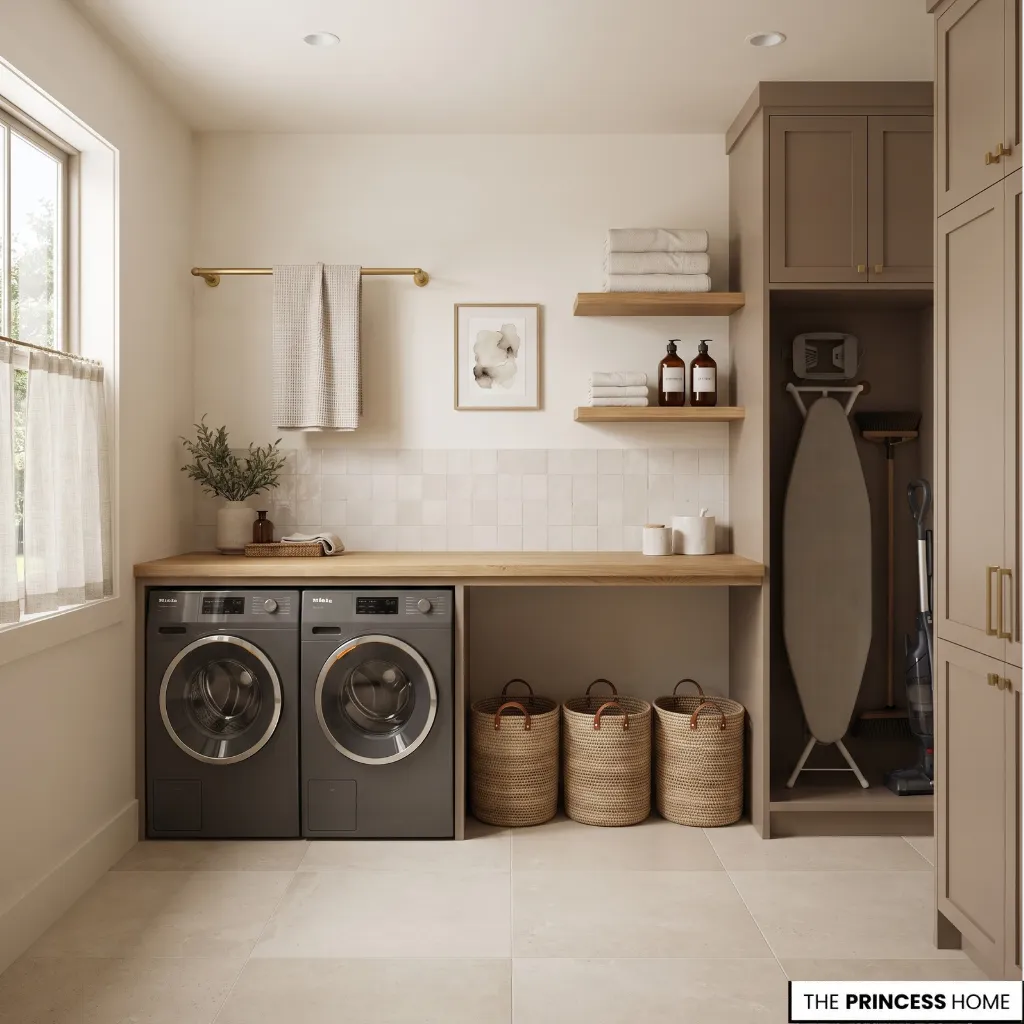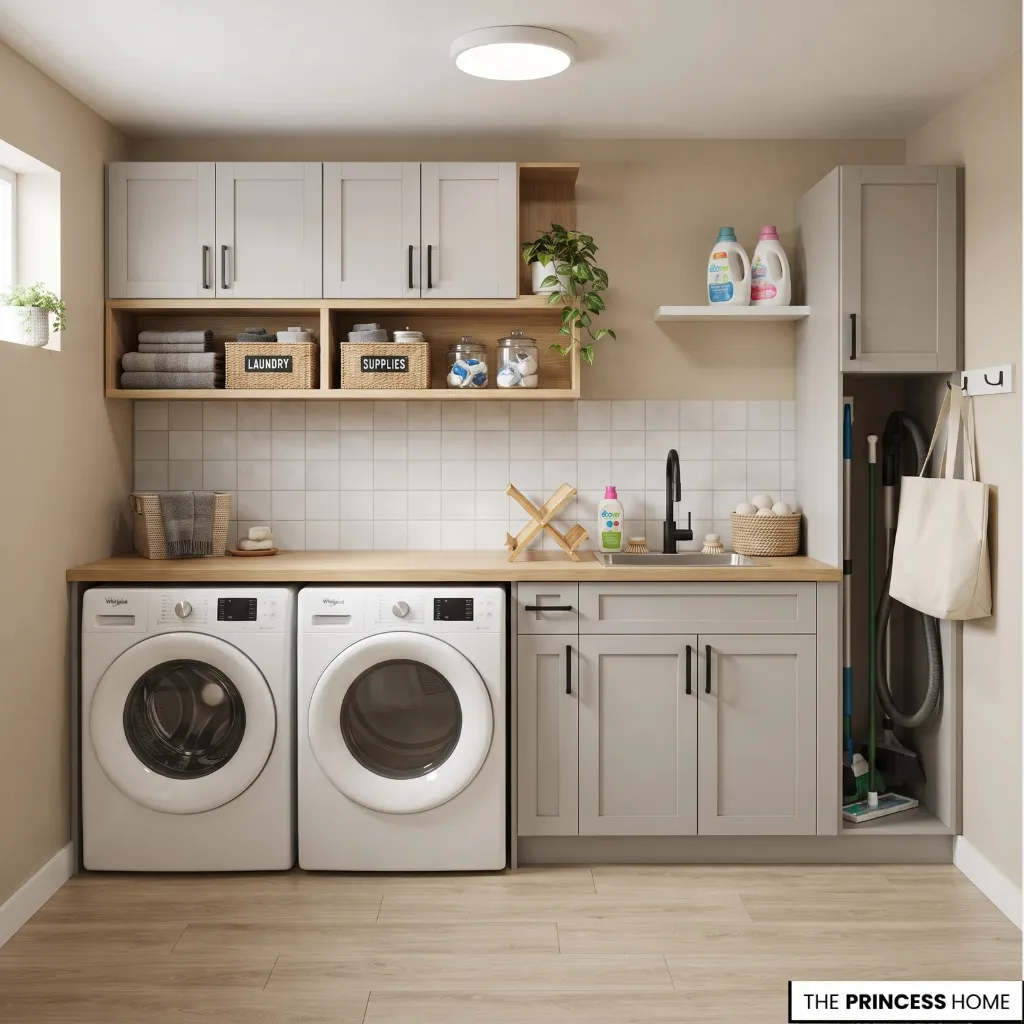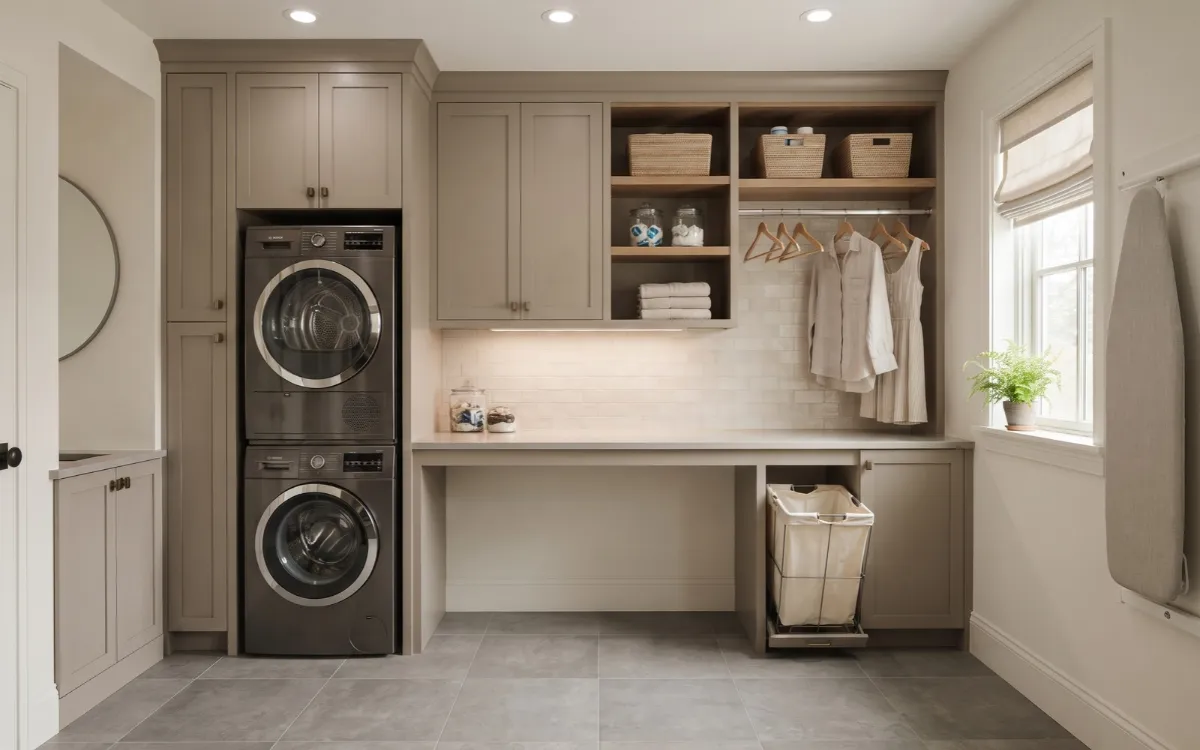
A well-designed laundry room should make everyday tasks easier while still feeling like a considered part of the home. The challenge is balancing appliances, storage, folding, drying, ventilation, and working space without making the room feel crowded or purely utilitarian.
These 17 laundry room design tips explain how to plan the space around real laundry tasks, choose practical materials and finishes, and add style without sacrificing function.
Assess Your Space
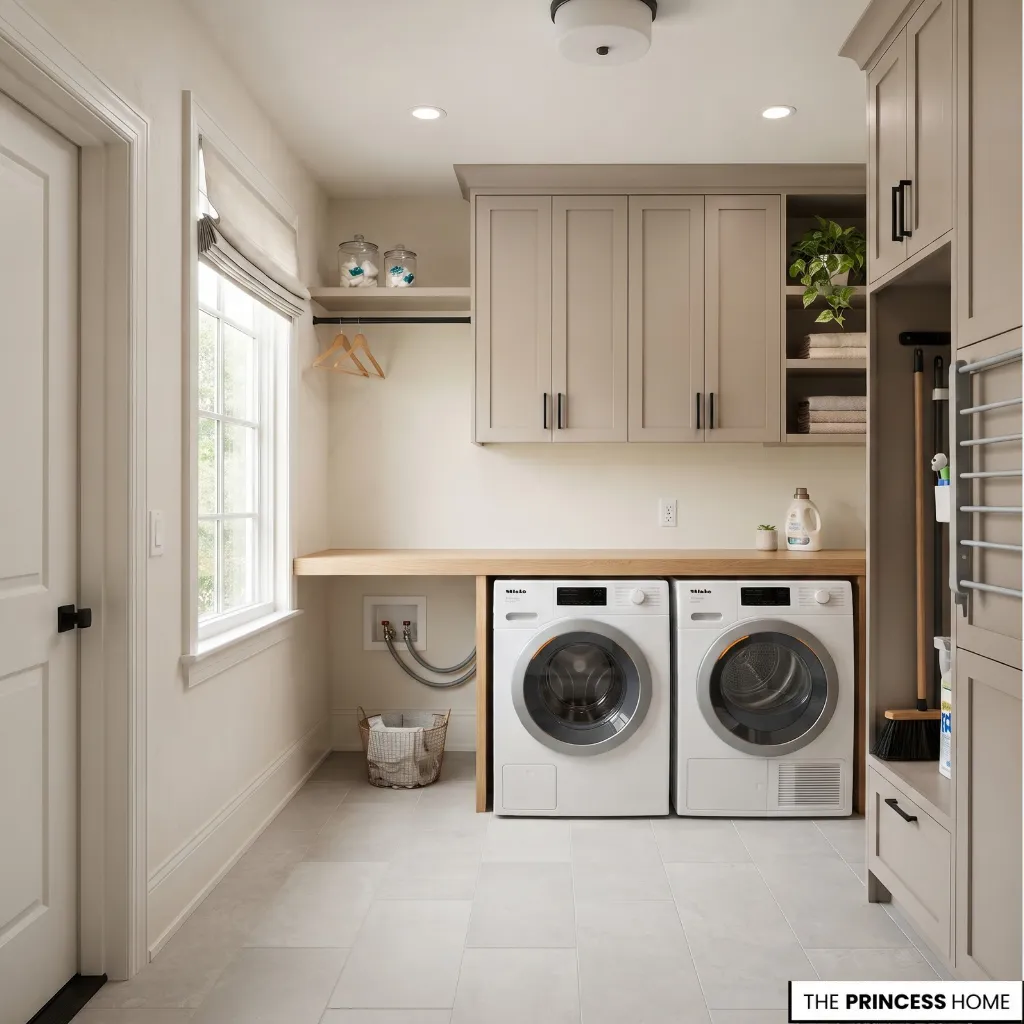
Start with the room itself before choosing appliances, cabinets, or finishes. Measure the width, depth, and height of the space, along with the doorway and the path the appliances will take when they are brought into the room.
Identify the existing plumbing, electrical connections, dryer vent, doors, windows, and any architectural features that cannot easily change. Also consider whether the room is dedicated to laundry or must accommodate another function, such as household storage or cleaning supplies.
Do not measure only the space occupied by the washer and dryer. Allow for appliance doors to open, connections behind the machines, comfortable movement in front of them, and access for future servicing. Appliance dimensions and installation requirements vary by model, so the manufacturer’s specifications should determine the final layout.
Check how the appliances relate to nearby doors and windows as well. A door should not interfere with an appliance door when both are open, and windows should not prevent the practical placement of cabinets, counters, or drying solutions.
A useful starting point is to keep the main circulation path clear rather than using every available section of wall. Establish what must remain, what can change, and which functions matter most. This prevents the design from being built around attractive cabinetry that later limits the room’s practical use.
Plan The Workflow
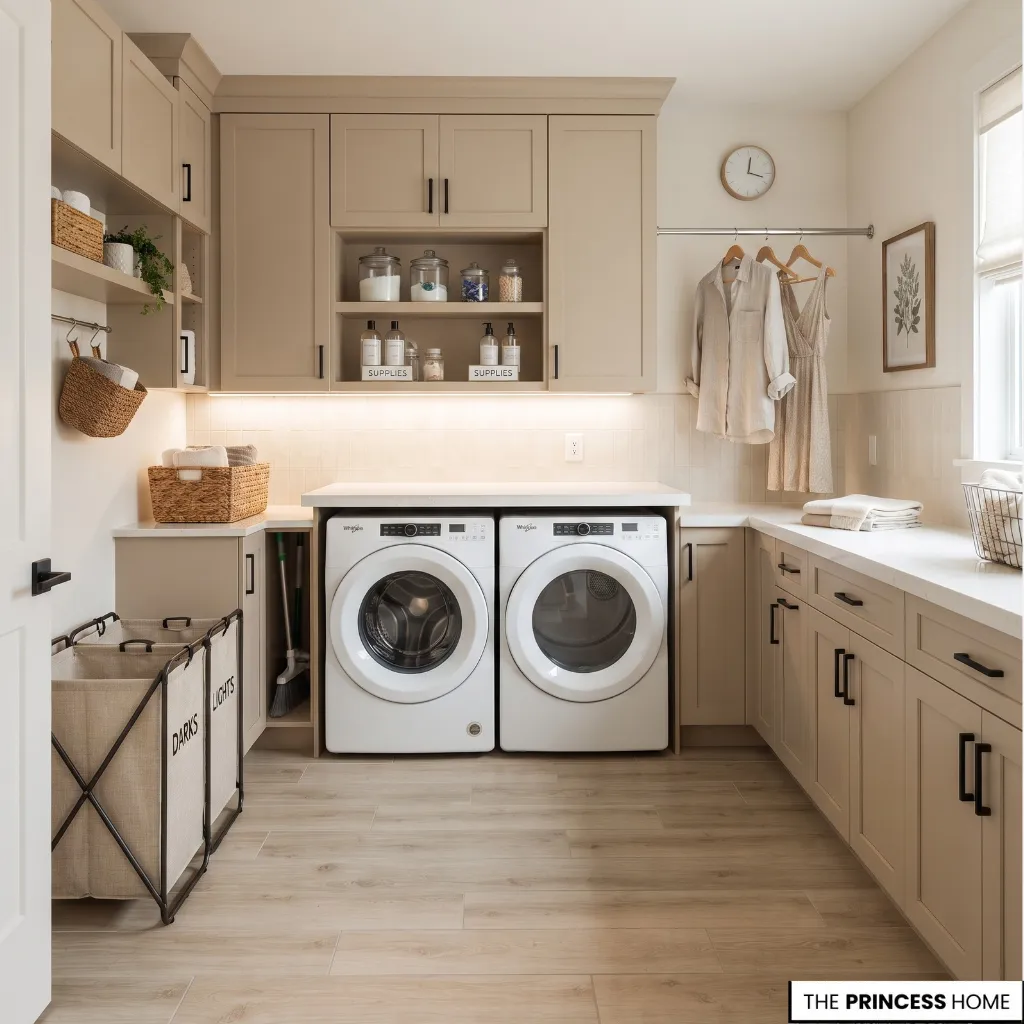
A laundry room works best when its layout follows the way laundry actually moves through the room. Think through the sequence: Sort → Wash → Dry → Hang → Fold → Store The exact order can vary between households, but the principle remains useful.
Sorting should be easy to access, the washer and dryer should be convenient to load and unload, hanging space should be reasonably close to the drying area, and the folding surface should sit where clean laundry can be handled without unnecessary movement.
A laundry basket or sorting area should also have a defined place in this sequence. It can be positioned near the room entrance, close to the washer, or inside a cabinet or pull-out section, depending on how laundry enters the room. The goal is to prevent baskets from becoming obstacles in the main working path.
For example, if clean clothes come out of the dryer and immediately need to be folded, placing the folding counter near the machines reduces carrying. If delicate clothing is often air-dried, a hanging rail or drying rack should be close enough to make that step convenient.
The goal is not to create a perfect linear sequence in every room. Existing plumbing, doors, windows, and room proportions may prevent that. Instead, use the workflow to decide which functions should be closest together.
Choose Appliance Layout
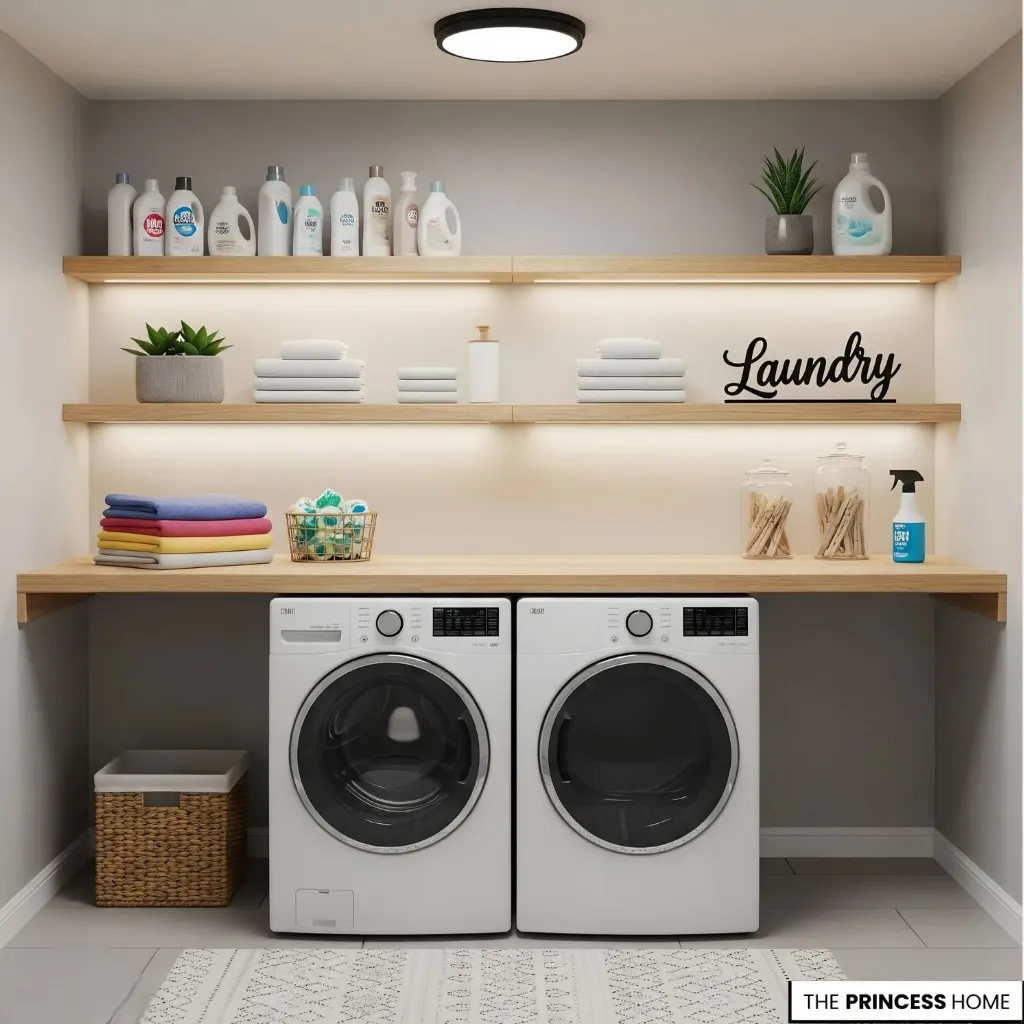
The main appliance choices are usually side-by-side, stacked, or compact configurations. Side-by-side machines work well when the room has enough wall width.
They can create an opportunity for a continuous counter above front-load machines, giving the room a useful folding surface without requiring another section of floor space.
Stacked machines are useful when floor area is limited but vertical space is available. They can free part of the floor or wall for storage, a sink, or another laundry function. The specific stacking requirements must follow the manufacturer’s instructions.
Compact appliances can be appropriate for apartments, laundry closets, and unusually small rooms. Their smaller footprint can make the difference between a workable laundry area and one that is difficult to use.
The choice between front-load and top-load machines also affects the surrounding design. Front-load machines allow a counter to extend above the appliances and can make the space below or around them easier to coordinate with cabinetry.
Top-load machines need sufficient clearance above the washer lid, so a fixed counter or cabinet directly above the machine may not be practical.
Allow enough working space in front of the appliances for loading, unloading, and opening their doors comfortably.
Around 4 feet of clear space can be a useful planning starting point for many front-load configurations, but the actual requirement depends on the appliance, door swing, room layout, and household use.
Avoid choosing the configuration simply because it looks best in a photograph. Check the actual dimensions, door swings, loading height, connections, ventilation requirements, and available working space. The right layout is the one that fits both the room and the way the household uses it.
Create Folding Space
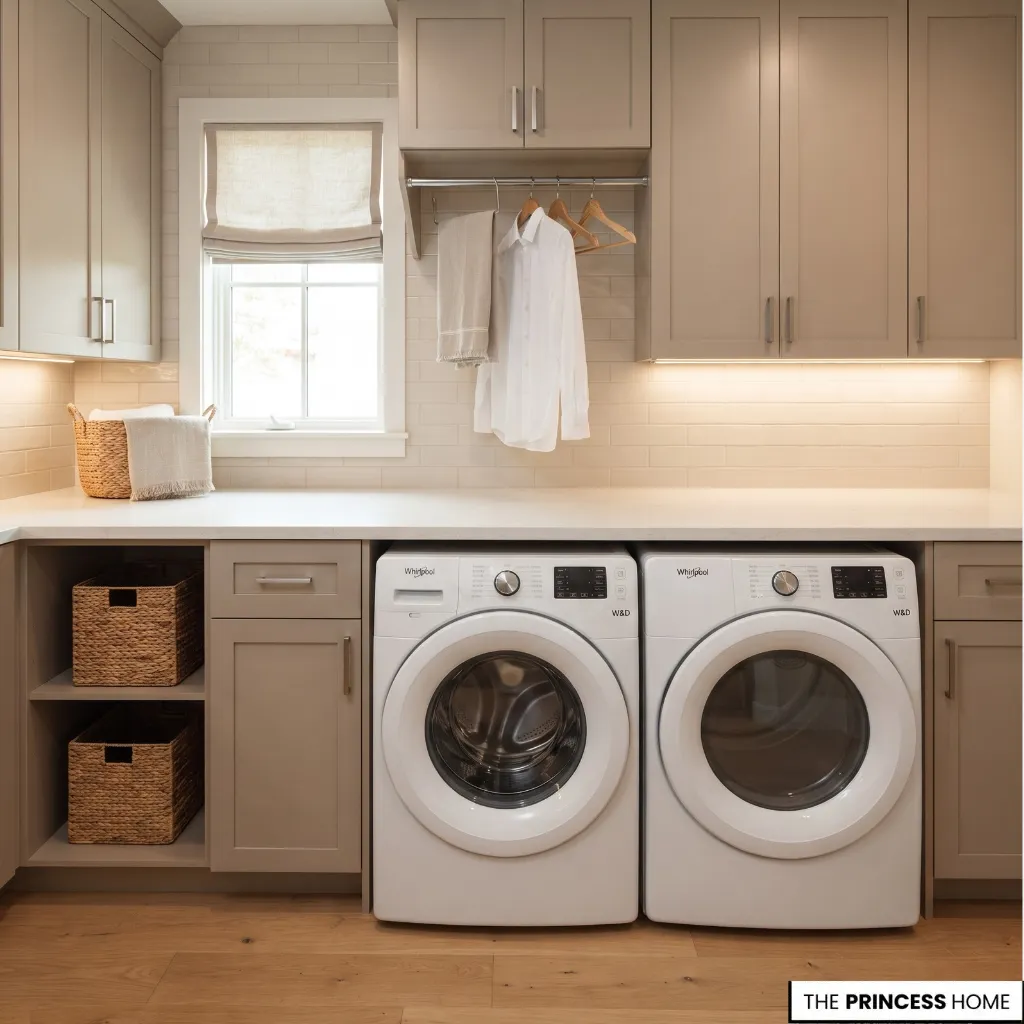
A laundry room needs somewhere for clean clothes to land. Without a practical folding surface, freshly washed laundry often ends up on the floor, a nearby bed, or another household surface.
When front-load washer and dryer units are installed side by side, a countertop above them can create one continuous work surface. A separate counter can provide more flexibility when the room is large enough, while a wall-mounted or fold-down surface can help in a compact space.
Coordinate the folding counter with the surrounding cabinetry rather than treating it as a separate feature. The counter can extend over front-load appliances, connect to a cabinet run, or finish beside a tall storage cabinet, depending on the room.
This helps preserve a continuous work surface while keeping storage and appliance access practical. A counter depth of around 24 inches is a useful planning starting point for many laundry installations, but the final dimension should suit the appliances, cabinetry, room, and available working space.
Keep the surface clear enough to fold clothing comfortably. Avoid filling the only useful work area with decorative objects or permanent storage containers.
The important decision is not simply how large the counter is. It is whether the room provides a reliable place to sort, fold, and temporarily organize clean laundry.
Build Smart Storage
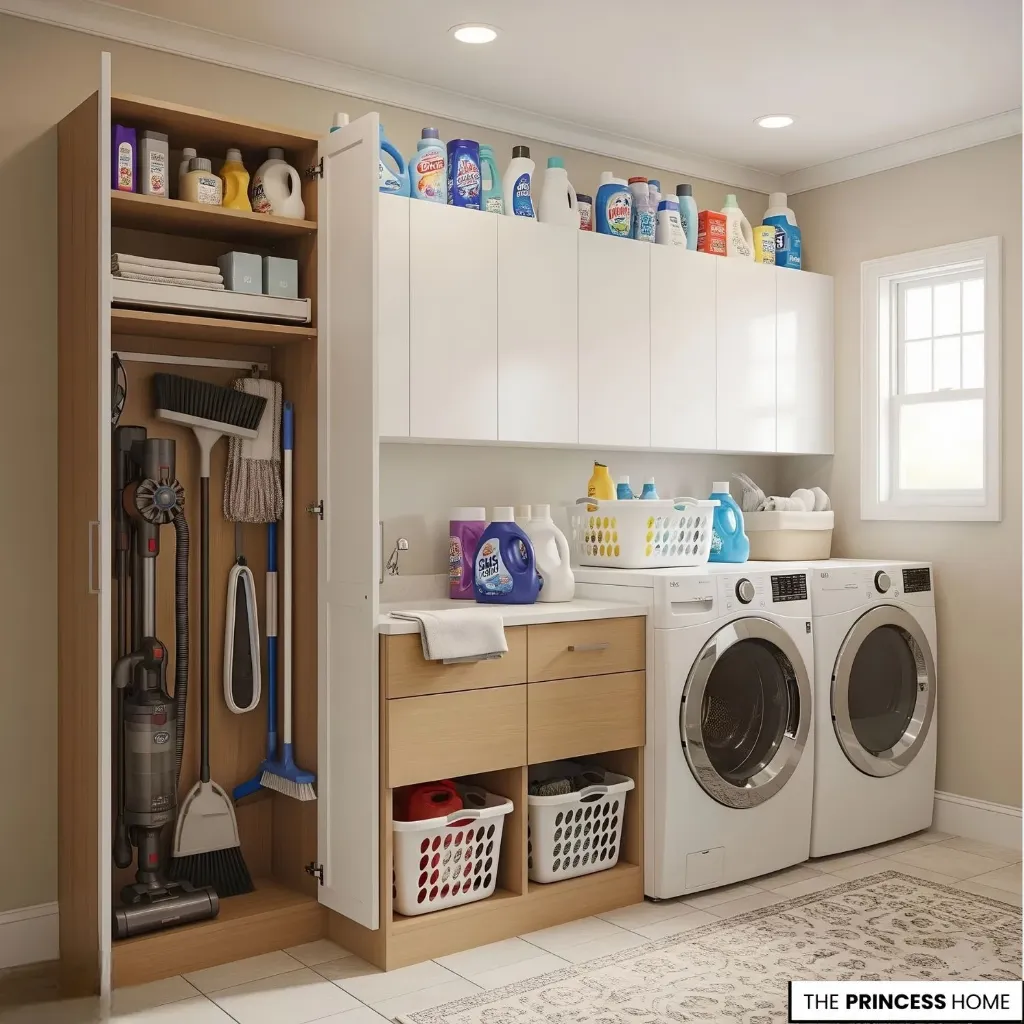
Laundry storage should follow the tasks performed in the room rather than simply filling every available wall with cabinets. Keep frequently used detergents, stain-treatment products, and laundry accessories within easy reach. Less frequently used supplies can go into higher or deeper storage.
Tall cabinets can accommodate cleaning tools, ironing equipment, or other long household items, while lower storage can work well for baskets. Closed cabinetry is useful when you want the room to look visually calm and keep supplies out of sight.
Open shelving can work for frequently accessed items or attractive baskets and containers, but it should not become an excuse to leave every laundry product on display. Give laundry baskets and sorting containers a defined storage position as well.
They can sit beneath a counter, inside a lower cabinet, or in another accessible area that keeps them close to the workflow without narrowing the main circulation path.
Before deciding how much storage to install, consider what the household actually needs to store. A smaller amount of well-planned storage is often more useful than a large number of cabinets that reduce valuable workspace.
Add Drying Space
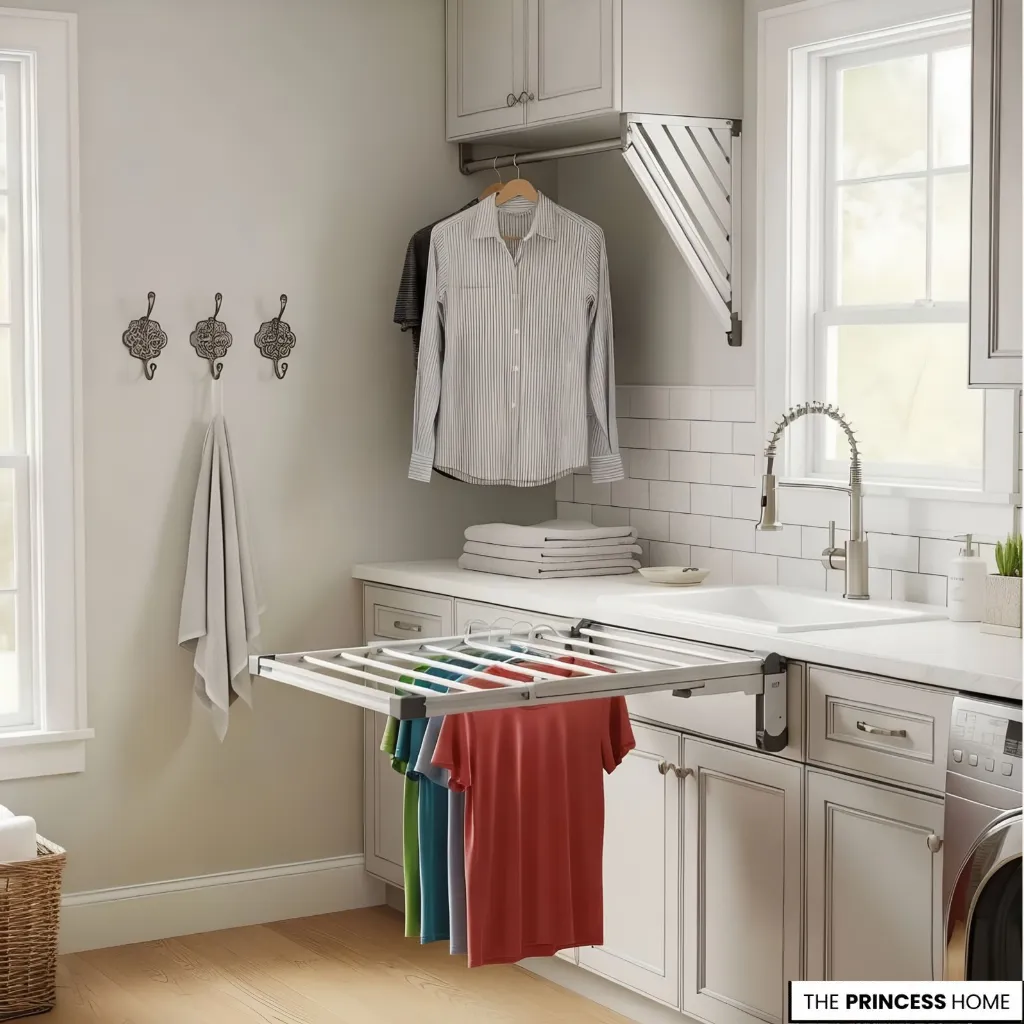
Not every item should go directly into the dryer, so include a place for clothing that needs to air-dry.
A wall-mounted rail, ceiling-mounted rack, foldable drying rack, or compact hanging solution can provide this function without requiring a large dedicated area. The best choice depends on ceiling height, available wall space, and how often the household air-dries clothes.
Place the drying area where it is easy to reach from the washer and dryer. If delicate garments are frequently removed from the dryer and hung immediately, keeping these functions close together can reduce unnecessary movement.
In a small laundry room, the drying solution should be easy to fold away or keep close to the wall when it is not being used. This protects the main walking and working area.
Consider Utility Sink
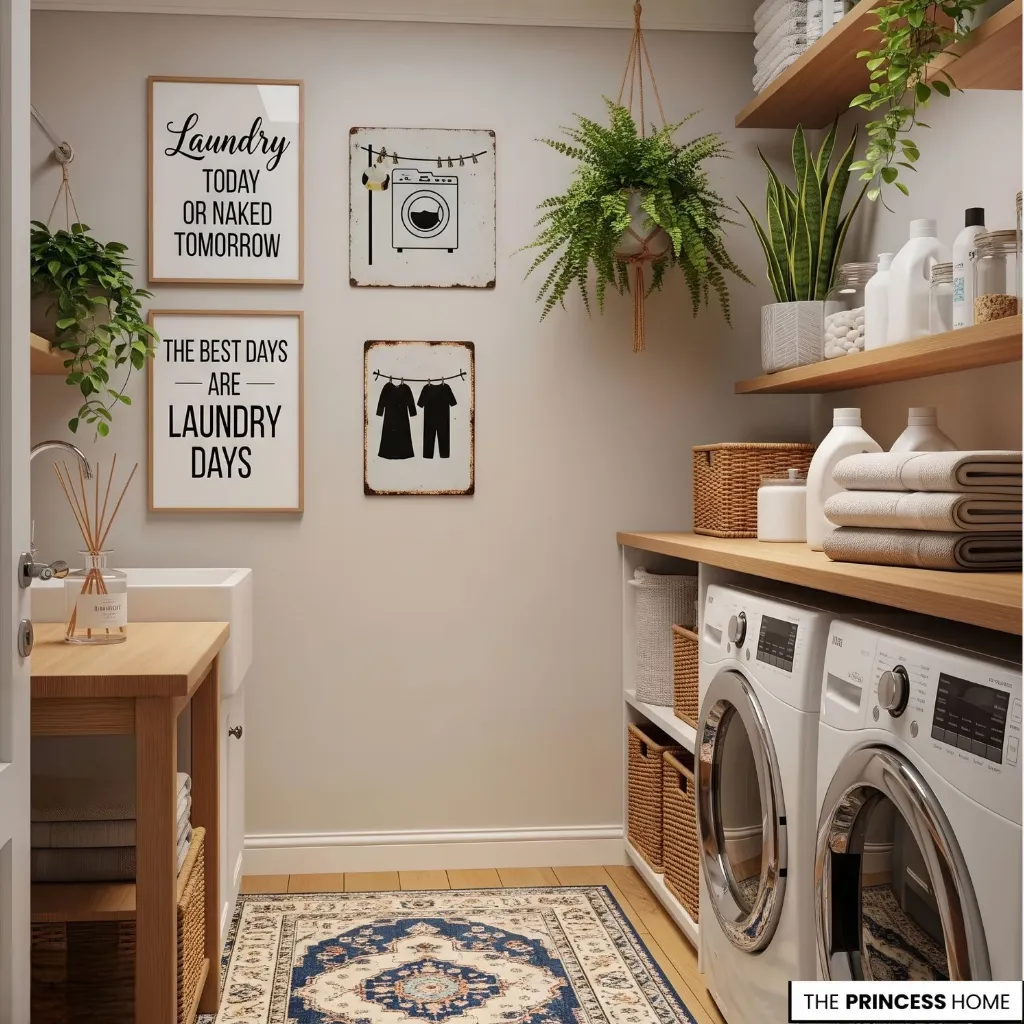
A utility sink can be valuable when the laundry room regularly handles soaking, hand-washing, stain treatment, or messy household tasks.
It becomes more useful when the household frequently deals with heavily soiled clothing, delicate garments, or items that need to be rinsed before entering the washing machine. It can also provide a dedicated place for cleaning tasks that would be inconvenient in a kitchen or bathroom sink.
However, a sink should earn its footprint. In a compact laundry room, installing a large sink may remove the only useful folding surface or make movement around the appliances uncomfortable. If the household rarely uses a utility sink, the available space may be better used for storage or a work counter.
Plan the sink together with the counter, cabinetry, plumbing, and appliance layout rather than adding it after the rest of the room has already been designed.
Choose Durable Materials
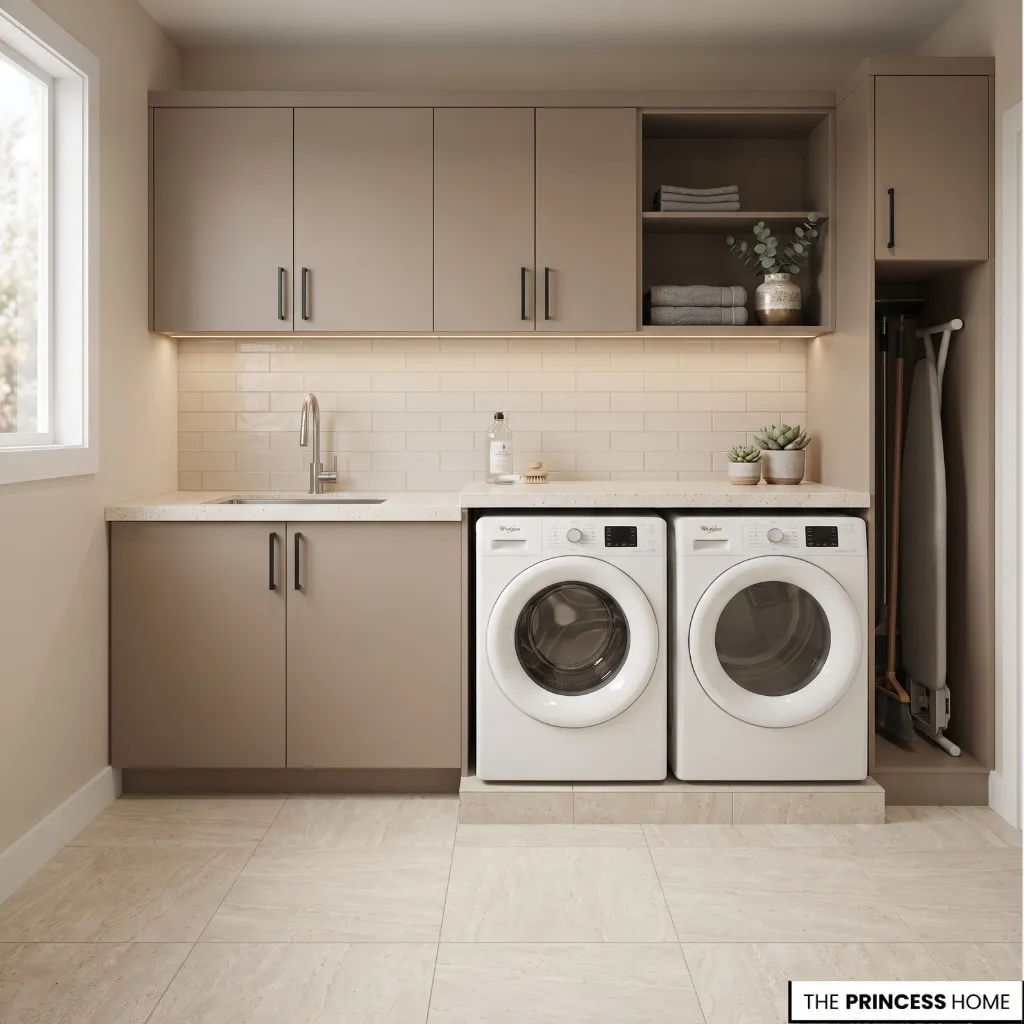
Laundry rooms need materials that can tolerate regular cleaning, moisture, and everyday wear. For flooring, prioritize durability, easy maintenance, and a surface appropriate for the room’s moisture conditions. Tile, resilient flooring, and other suitable moisture-tolerant materials can work well when correctly installed.
For countertops, look for a surface that is durable, easy to clean, and suitable for the amount of work the room will handle. Quartz, solid-surface materials, laminate, and properly finished wood can all be considered depending on budget, maintenance requirements, and the overall design.
Cabinet finishes should also be chosen with practical use in mind. Laundry products, water, dust, and frequent cleaning can be harder on surfaces than they first appear. A backsplash can also protect the wall behind a sink or work area from splashes and make routine cleaning easier.
Choose a material that suits the room’s moisture conditions and coordinates with the countertop and cabinetry. There is no single best laundry-room material. The right choice depends on construction quality, moisture exposure, maintenance, budget, and the relationship between the laundry room and the rest of the home.
Plan Effective Lighting
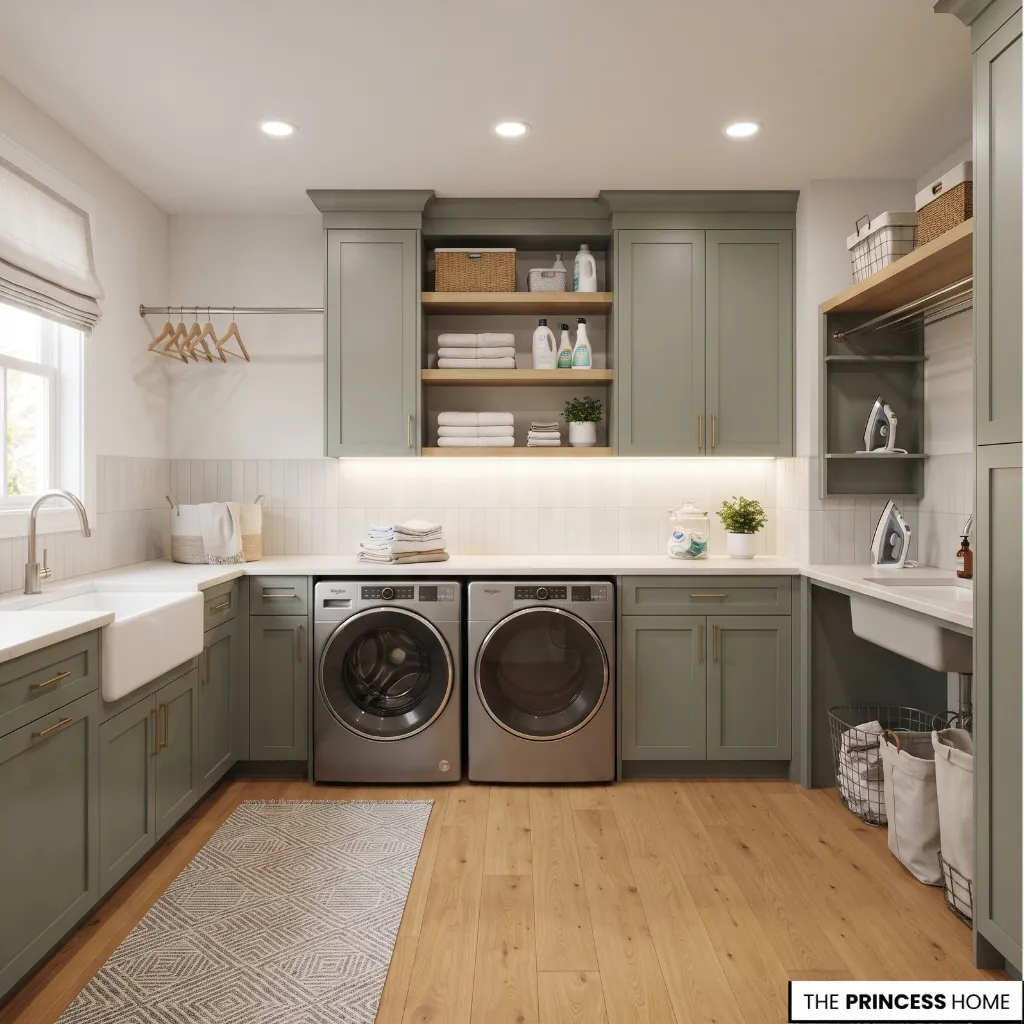
Good laundry room lighting should help you see what you are doing clearly.Begin with sufficient general lighting for the entire room. Then consider task lighting where more precise visibility is needed, such as above a folding counter, inside or beneath cabinets, or near a sink.
Good lighting is particularly useful when sorting colors, checking stains, reading care labels, folding clothing, or organizing small supplies. Decorative lighting can add character, but it should support rather than replace useful illumination. In a room with limited natural light, functional lighting should take priority.
The best lighting plan is therefore based on the work surfaces and tasks, not simply on where a ceiling fixture looks attractive.
Control Moisture & Ventilation
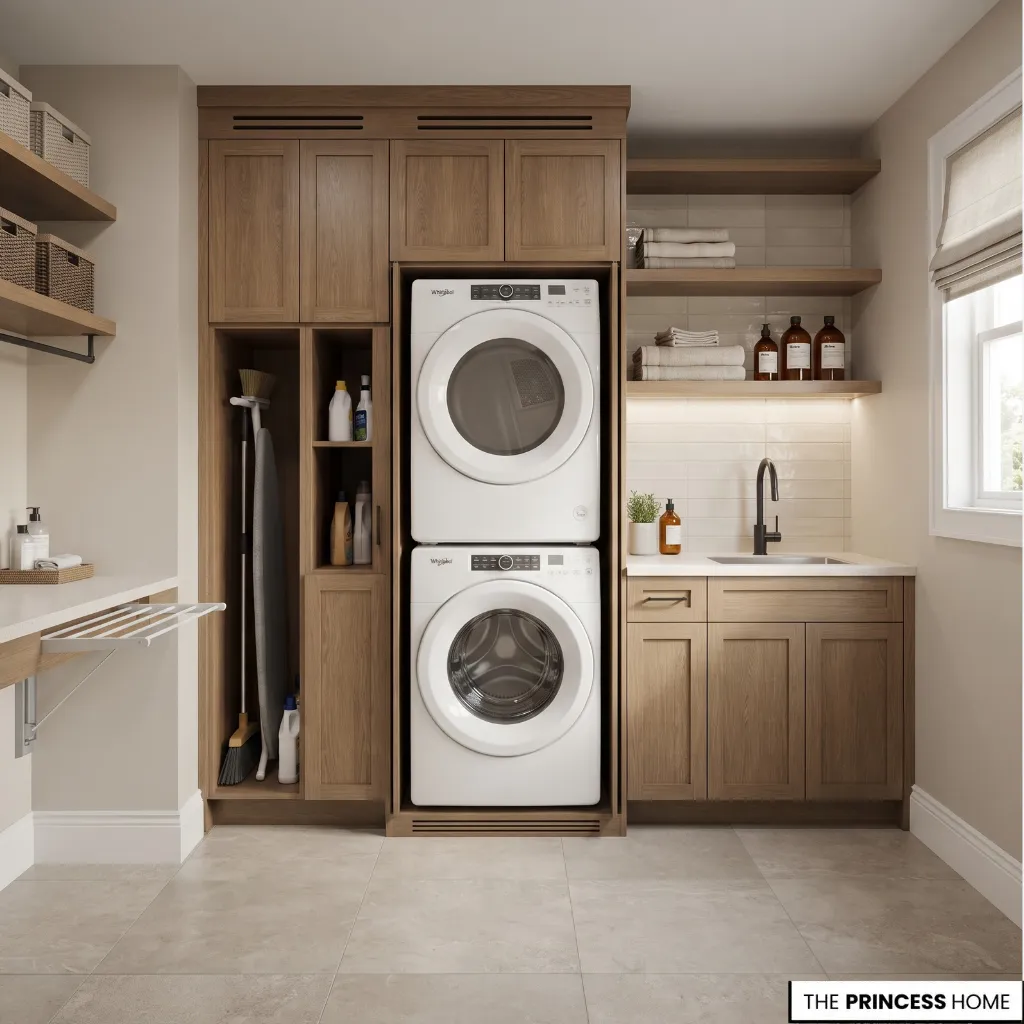
Moisture and ventilation need to be considered before cabinetry and finishes are finalized.If the dryer requires exterior venting, the vent route and installation requirements should be resolved before enclosing the equipment.
A ventless or heat-pump dryer has different requirements and does not need an exterior exhaust vent, although water from condensation still needs appropriate management. The room itself also needs an appropriate approach to airflow and moisture control.
Exact requirements depend on the appliance, room configuration, installation method, and local building requirements. Do not hide ventilation routes behind cabinetry simply to achieve a cleaner appearance.
Follow the appliance manufacturer’s installation instructions and applicable local requirements, and use qualified professionals where electrical, gas, plumbing, or mechanical work requires them. A clean-looking laundry room is only successful when the systems behind the design have been planned correctly.
Protect The Room
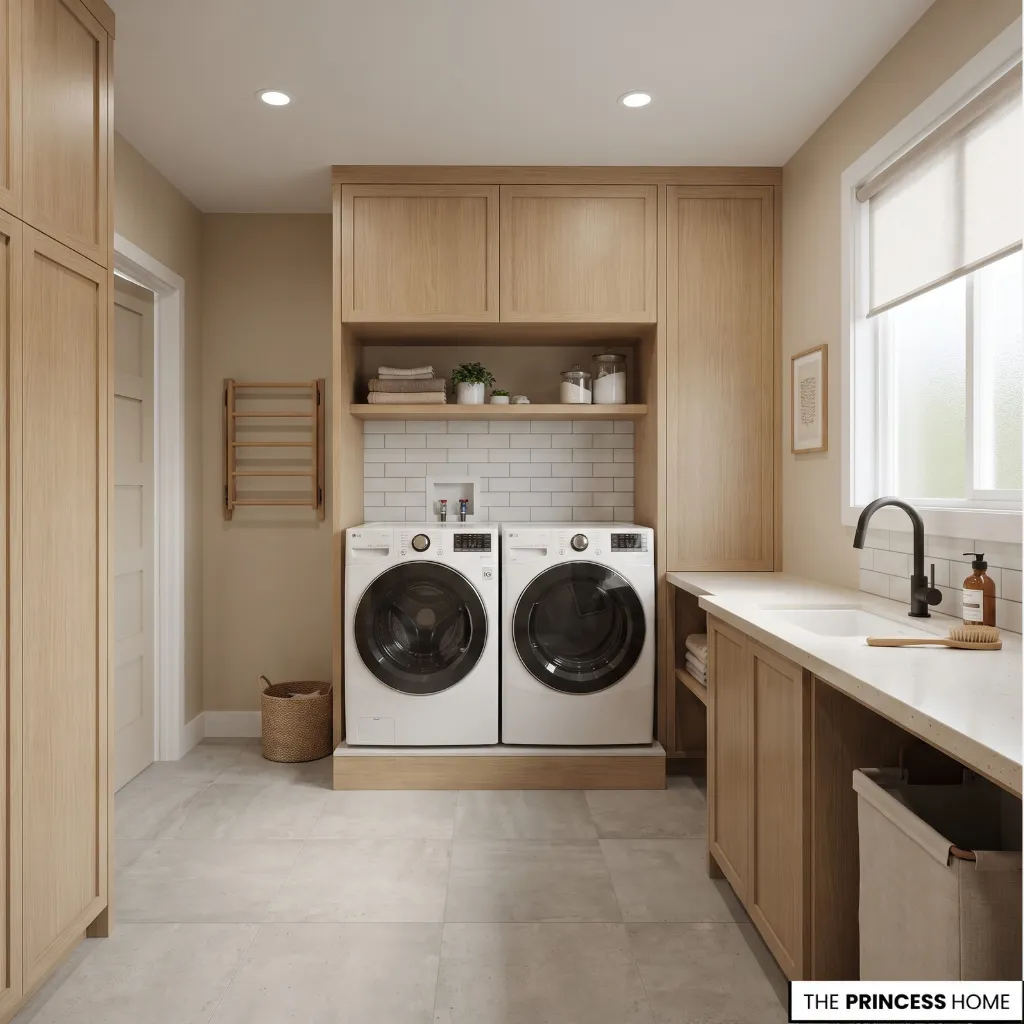
Laundry rooms benefit from planning for the problems that may occur over time, not just how the finished room will look. Keep important connections, shutoffs, and service areas accessible. Avoid designing cabinetry that makes it difficult to reach the machines or inspect the plumbing and connections.
Consider how the room will handle water, moisture, lint, and regular cleaning. Durable finishes and sensible access can make future maintenance much easier. Dryer lint also requires regular attention.
Clean the lint screen after each load and maintain the dryer vent and exhaust system according to the appliance manufacturer’s guidance. Lint accumulation and restricted dryer exhaust can create a fire hazard.
The best laundry-room design protects the room’s appearance by making routine maintenance straightforward.
Maximize Small Spaces
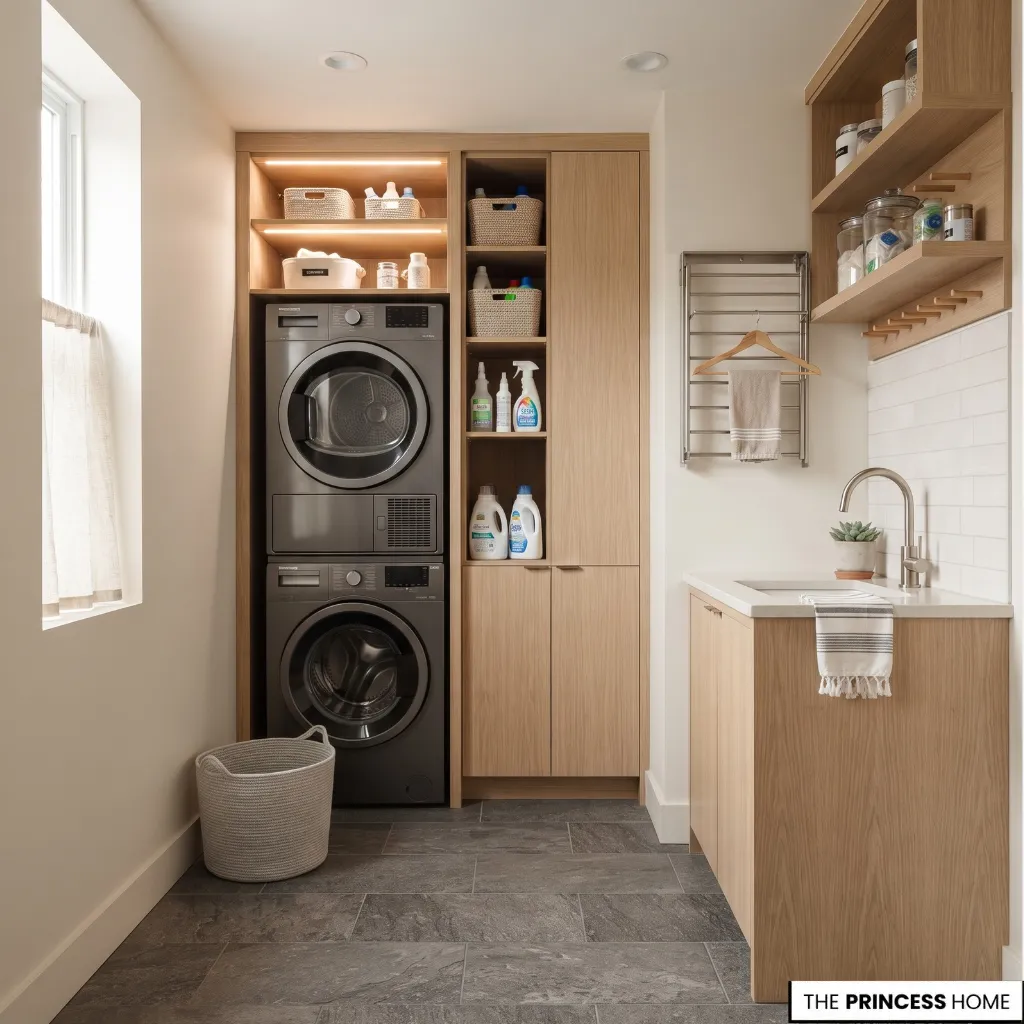
A small laundry room should not try to copy a large one with every function reduced in size. Instead, decide which functions deserve the available space. Stacked appliances can free floor area when the equipment and installation allow it.
Vertical cabinets can use wall height efficiently, while fold-down counters can provide workspace only when it is needed. A narrow hanging rail may be enough for air-drying a few garments.
Open shelves can replace some cabinetry where appropriate, and a compact combination of storage and work surface can serve more than one purpose.
If the laundry room also needs to serve as a mudroom, pet-care area, or general utility space, combine functions only when the room has enough space to support them without disrupting the main laundry workflow. In a very small room, prioritize the essentials:
Appliances → working clearance → folding or drying function → essential storage → decorative additions
Keep the central path as clear as possible. A compact room can work extremely well when every major element has a defined purpose.
Add Style With Restraint
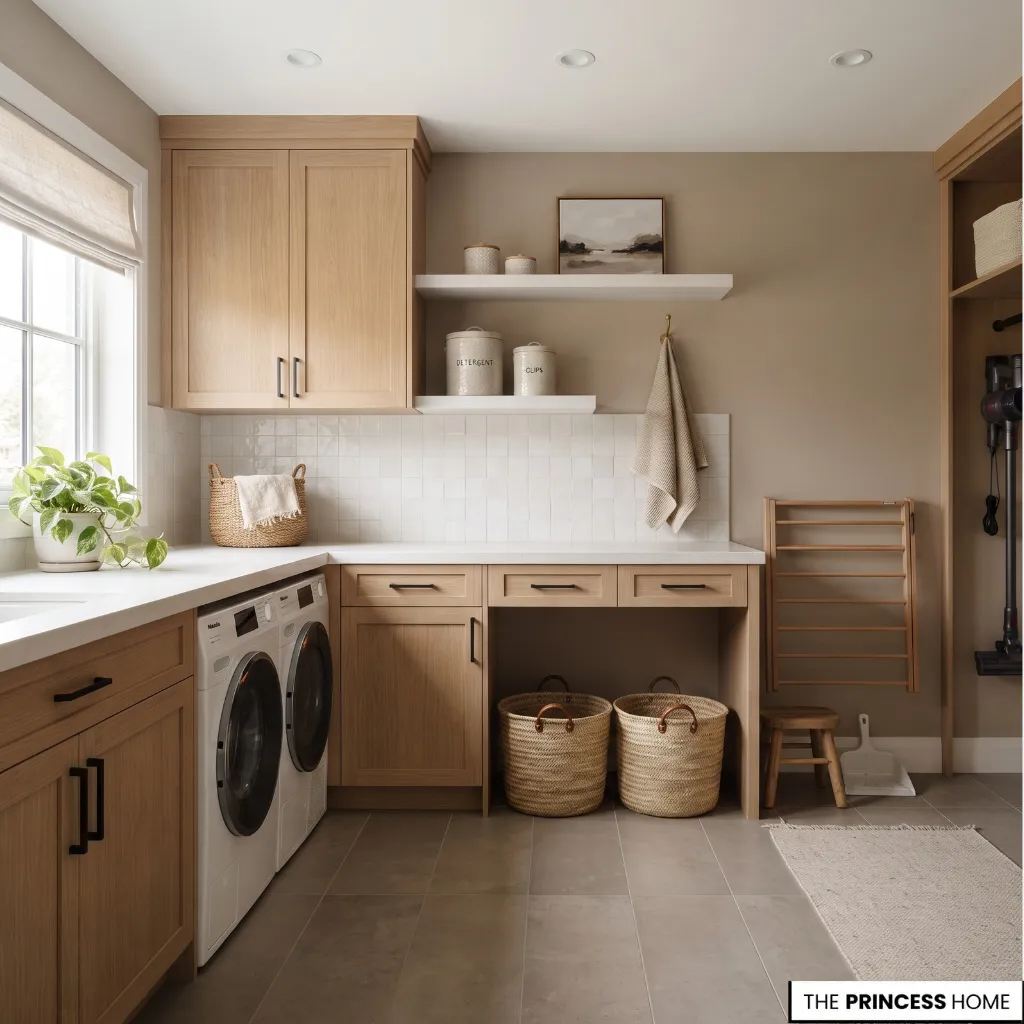
Once the functional structure is established, bring the room into the visual character of the home. Cabinetry, hardware, tile, countertops, baskets, artwork, and textiles can make a laundry room feel intentional rather than purely utilitarian.
The key is to choose these elements as part of one coordinated design rather than adding decoration wherever there is empty space. For example, refined hardware can reinforce the cabinetry, while a simple tile pattern can provide interest without competing with the appliances.
Baskets can combine storage with visual order, and a small piece of art can make the room feel connected to the rest of the house. Avoid filling every shelf or counter with accessories.
The room should remain easy to clean and easy to work in. A beautiful laundry room does not need more decoration. It needs better decisions about the elements that are already necessary.
Coordinate The Palette
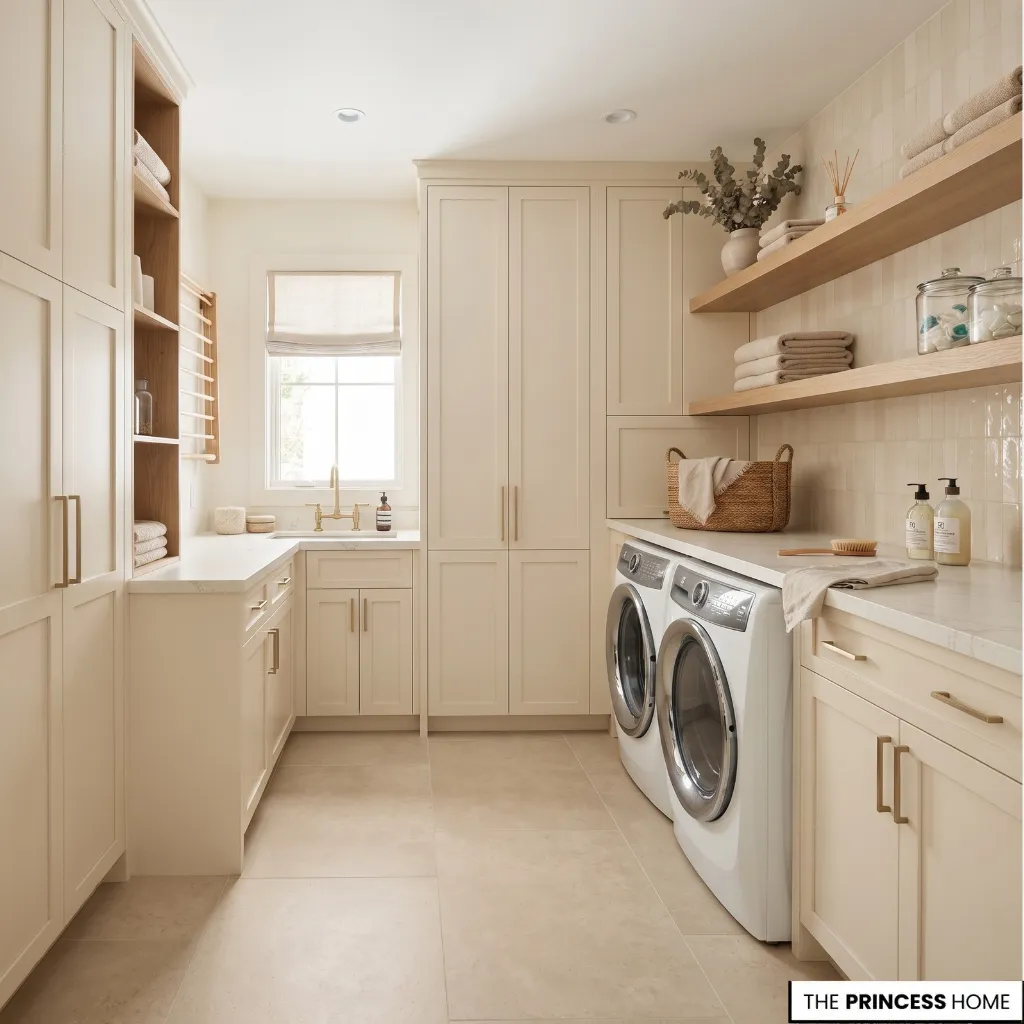
Color can help connect a laundry room to the larger home while giving the utility space its own character. A light neutral palette can work well in a compact room or one with limited natural light.
Warm neutrals can soften the practical character of the space, while deeper cabinetry can create stronger contrast when the room has sufficient light. Color can come from cabinetry, tile, walls, flooring, or smaller elements rather than requiring every surface to be different.
When the laundry room sits near another living area, repeating one or two tones or materials can create visual continuity. In a separate utility room, there is more freedom to introduce a distinct palette while still keeping the materials and colors coherent.
There is no universally correct laundry-room color. The right palette depends on the room’s light, size, architecture, adjacent spaces, and the atmosphere you want to establish.
Avoid Common Mistakes
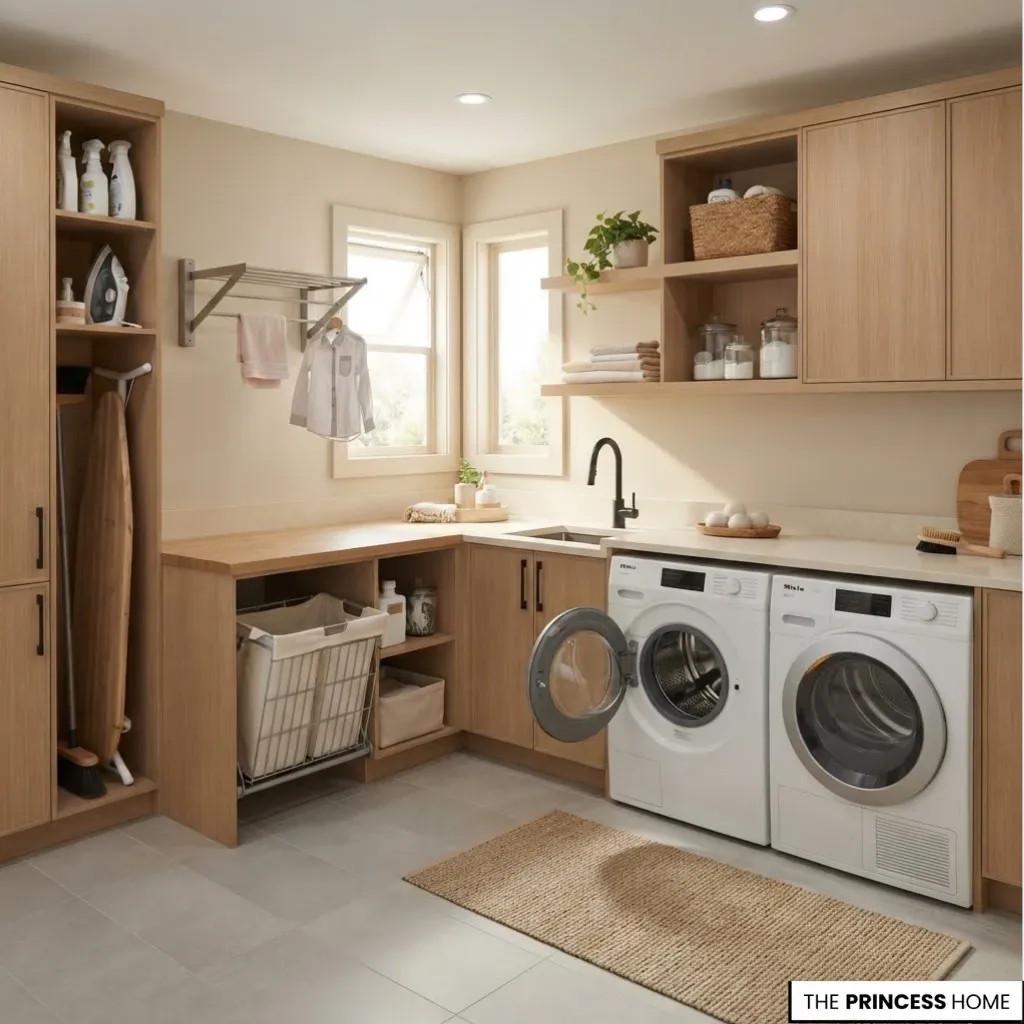
Several laundry-room problems can be prevented during the planning stage.
Machines fit, but the doors cannot open comfortably. Check appliance door swings and the space required in front of the machines before finalizing cabinetry.
There is nowhere to fold. Protect a useful work surface instead of allowing storage to consume every available section of wall.
There are too many cabinets and too little workspace. Storage should support the room rather than eliminate the surfaces needed to use it.
There is nowhere to hang delicate clothing. Add a practical hanging solution, even if it is small or foldable.
Storage is organized visually but not functionally. Place frequently used products where they are easy to reach and reserve less accessible storage for occasional items.
Ventilation is considered too late. Resolve dryer and room ventilation requirements before cabinetry closes around the appliances.
Finishes are chosen before the appliances are confirmed. Establish appliance dimensions and installation requirements first, then build the surrounding design.
Service access is blocked. Keep important connections, shutoffs, and equipment access practical for future maintenance.
These corrections may seem minor, but they can determine whether the finished room remains convenient after the initial renovation is complete.
Adapt The Budget
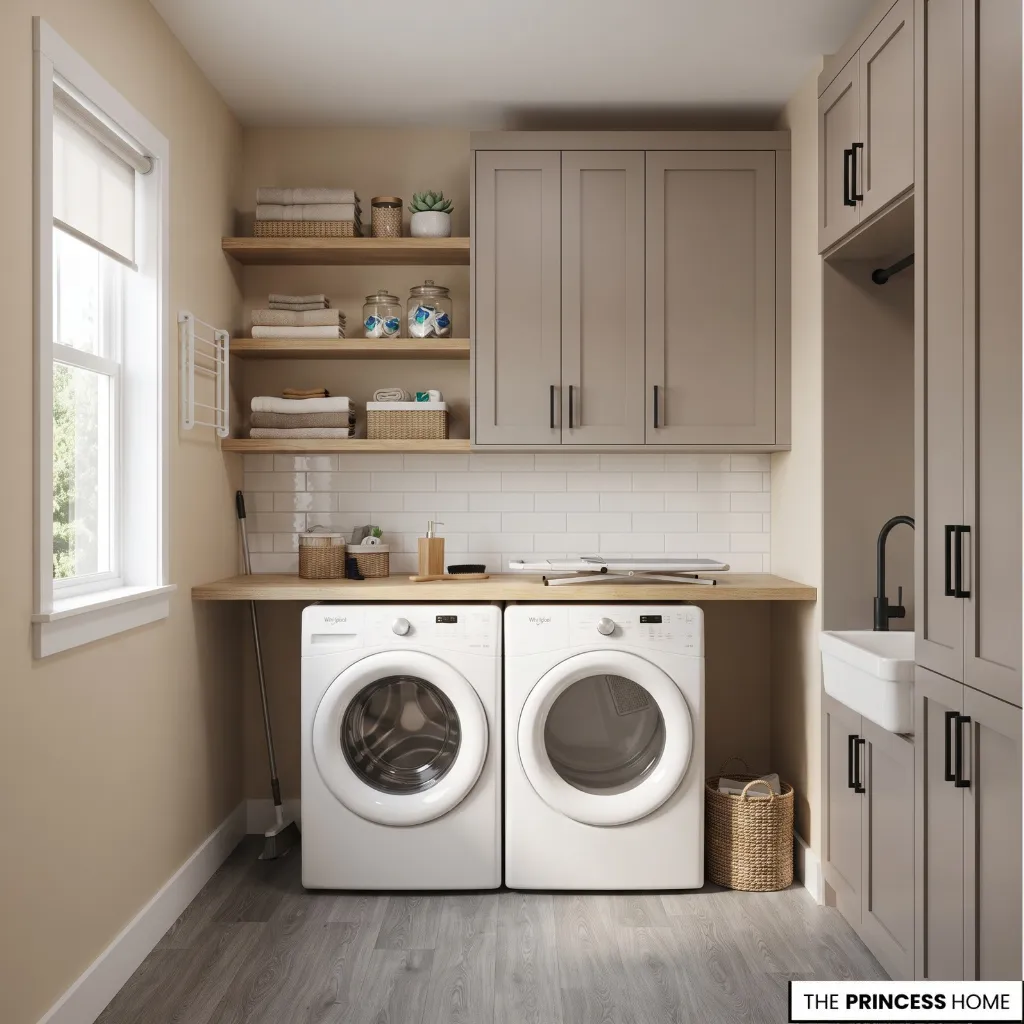
A laundry room does not need a large budget to work well. The most important spending decisions are usually the ones that affect how the room functions every day.
Prioritize the budget in this order:
1. Correct layout
2. Appliance fit and installation
3. Useful work surface
4. Essential storage
5. Durable finishes
6. Lighting
7. Decorative upgrades
There are several ways to reduce cost without weakening the design. Existing cabinetry may be reused if its condition and dimensions are suitable. Open shelving can replace some custom cabinetry, and a durable accessible countertop can provide the same essential work function without requiring the most expensive finish.
Decorative upgrades are usually easier places to save than plumbing, electrical work, ventilation, appliance installation, or moisture protection.
If a defining feature is too expensive, look for another way to achieve its purpose rather than replacing it with an unrelated alternative. A smaller number of well-chosen elements can often produce a more coherent result than trying to reproduce an expensive laundry room in every detail.
Finish The Room
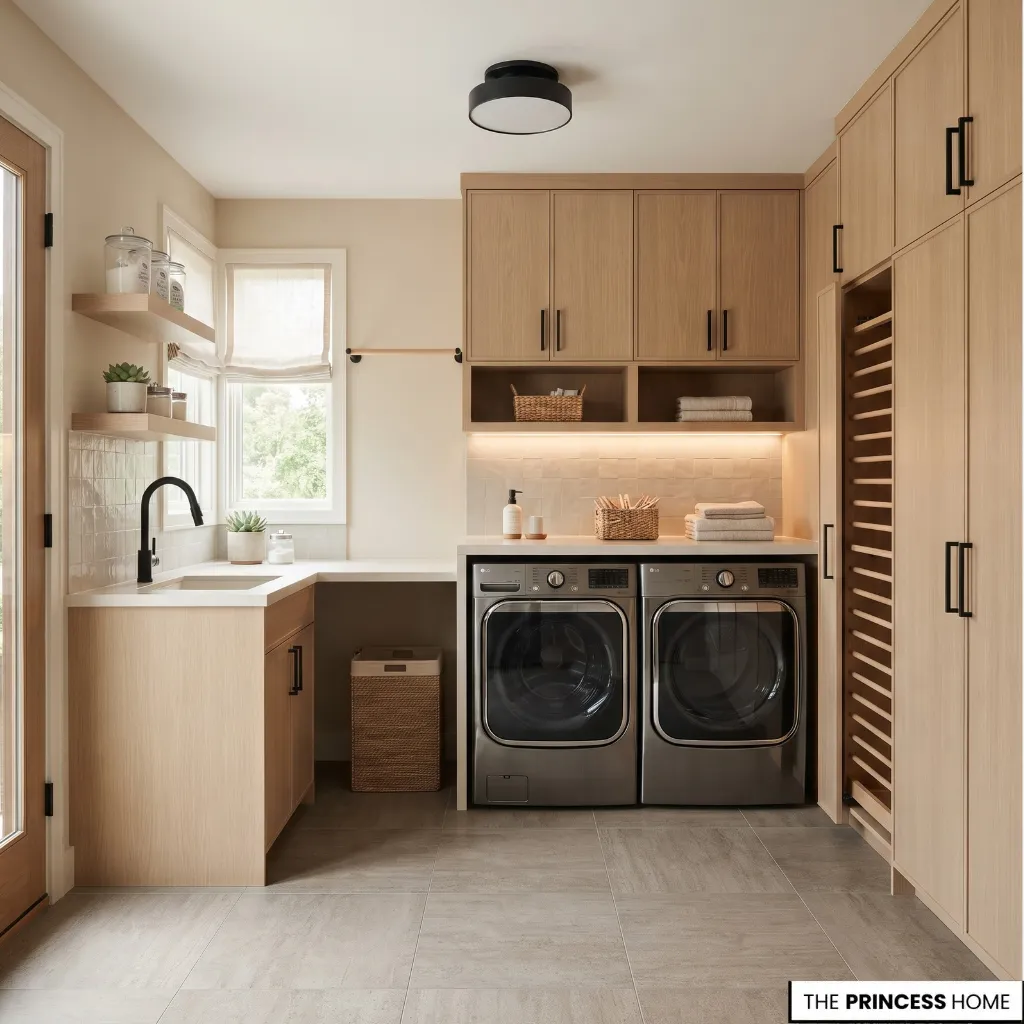
Before considering the laundry room complete, evaluate how all of its parts work together.
Can laundry move through the room easily? Can the appliance doors open fully? Is there a practical place to fold clean clothes? Is there somewhere to hang items that need air-drying? Are essential supplies easy to reach? Does the storage fit the household’s actual needs?
Then look at the technical side. Are the materials suitable for the room? Is lighting sufficient for practical tasks? Are ventilation requirements properly addressed? Can the appliances and important connections still be accessed for maintenance?
Finally, consider the visual result. The cabinetry, surfaces, hardware, lighting, and color should feel related rather than assembled from separate decisions.
Conclusion
A well-designed laundry room begins with workflow, space, and practical requirements. Once those decisions are right, durable materials, effective lighting, thoughtful storage, and a considered palette can make the room feel comfortable and connected to the rest of the home.
The goal is not to add more features, but to create a space that makes everyday laundry tasks easier, stays easy to maintain, and works naturally for the household
Explore the visual gallery below for inspiring ideas that bring this aesthetic to life in your home.