Summer Decor27 Best Coastal Themed Bathroom Ideas for a Relaxing RetreatThe Princess HomeJanuary 22, 2026January 22, 2026
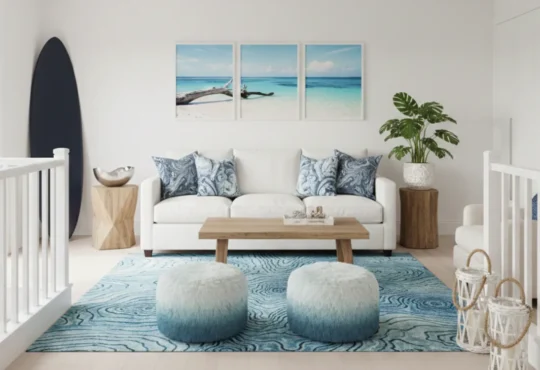
Summer DecorBeach House Decor Ideas Coastal Serenity for Stylish SpacesThe Princess HomeJanuary 19, 2026January 22, 2026
Summer DecorSummer Decor The Ultimate Guide to Styling Your HomeThe Princess HomeJanuary 11, 2026January 22, 2026
Summer DecorSummer Decor Ideas for Living Room for a Bright & Fresh HomeThe Princess HomeNovember 29, 2025January 22, 2026
Summer DecorSummer Wreath Ideas Fresh Inspiration for a Beautiful SeasonalThe Princess HomeNovember 21, 2025January 22, 2026
Summer DecorRefreshing Outdoor Summer Decor Ideas for a Beautiful BackyardThe Princess HomeNovember 8, 2025January 22, 2026
Summer DecorSummer Decorations for Home to Welcome the Season in StyleThe Princess HomeJune 27, 2025January 22, 2026
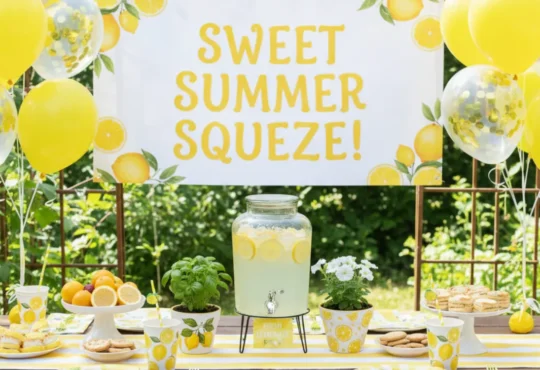
Summer DecorLemon Decor Ideas Beautiful & Cute for a Refreshing SummerThe Princess HomeJune 25, 2025January 22, 2026