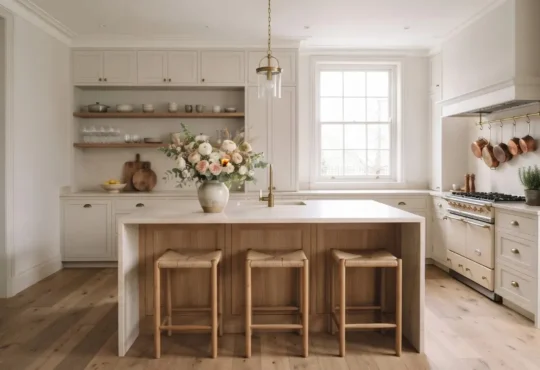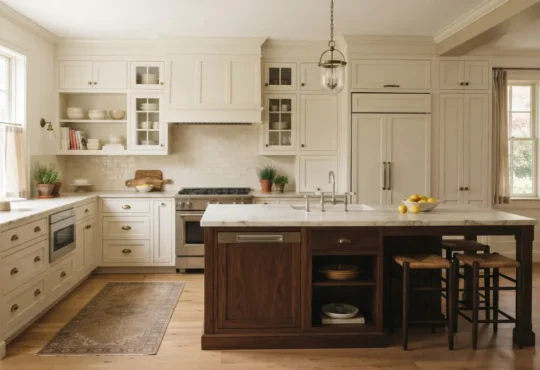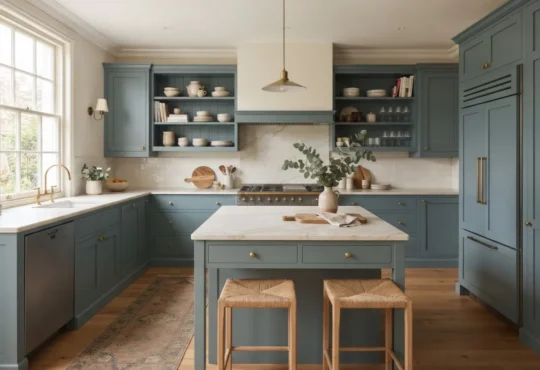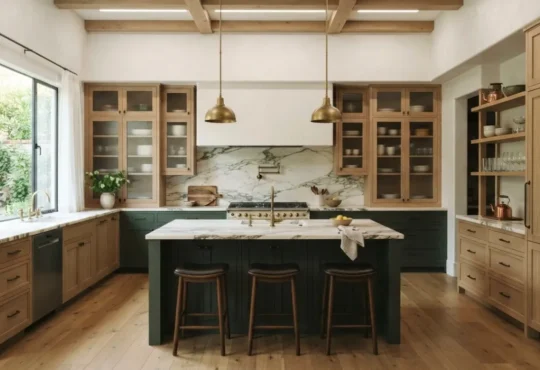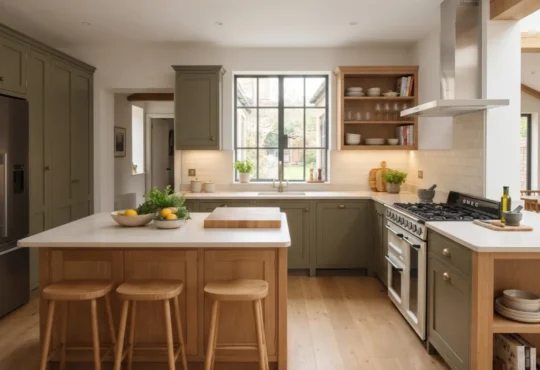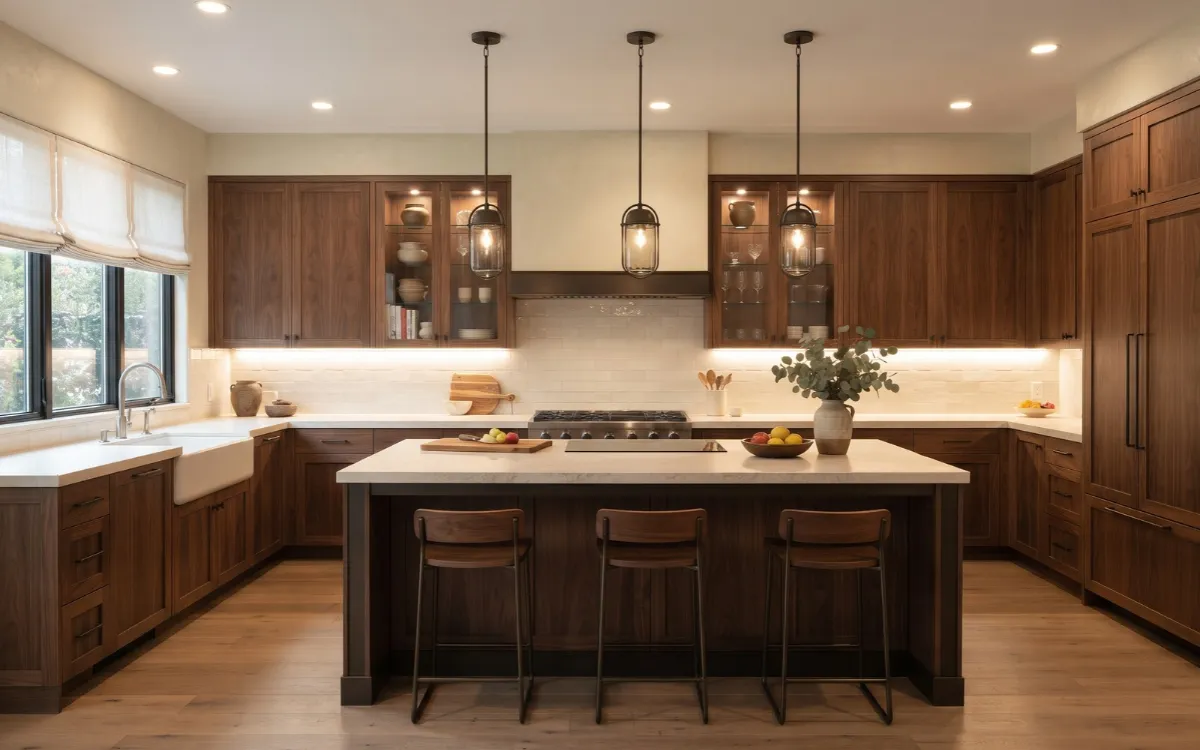
Kitchen lighting affects how comfortably you prepare food, use countertops, and move around the room. It also influences how cabinetry, countertops, backsplashes, and wall finishes appear. Choosing attractive fixtures is only part of the process.
A successful lighting plan combines general illumination, focused task lighting, and carefully placed accent and decorative fixtures. Understanding how each type of lighting works makes it easier to choose suitable fixtures, avoid dark areas and glare, and create a kitchen that is practical and visually balanced.
Assess Your Space
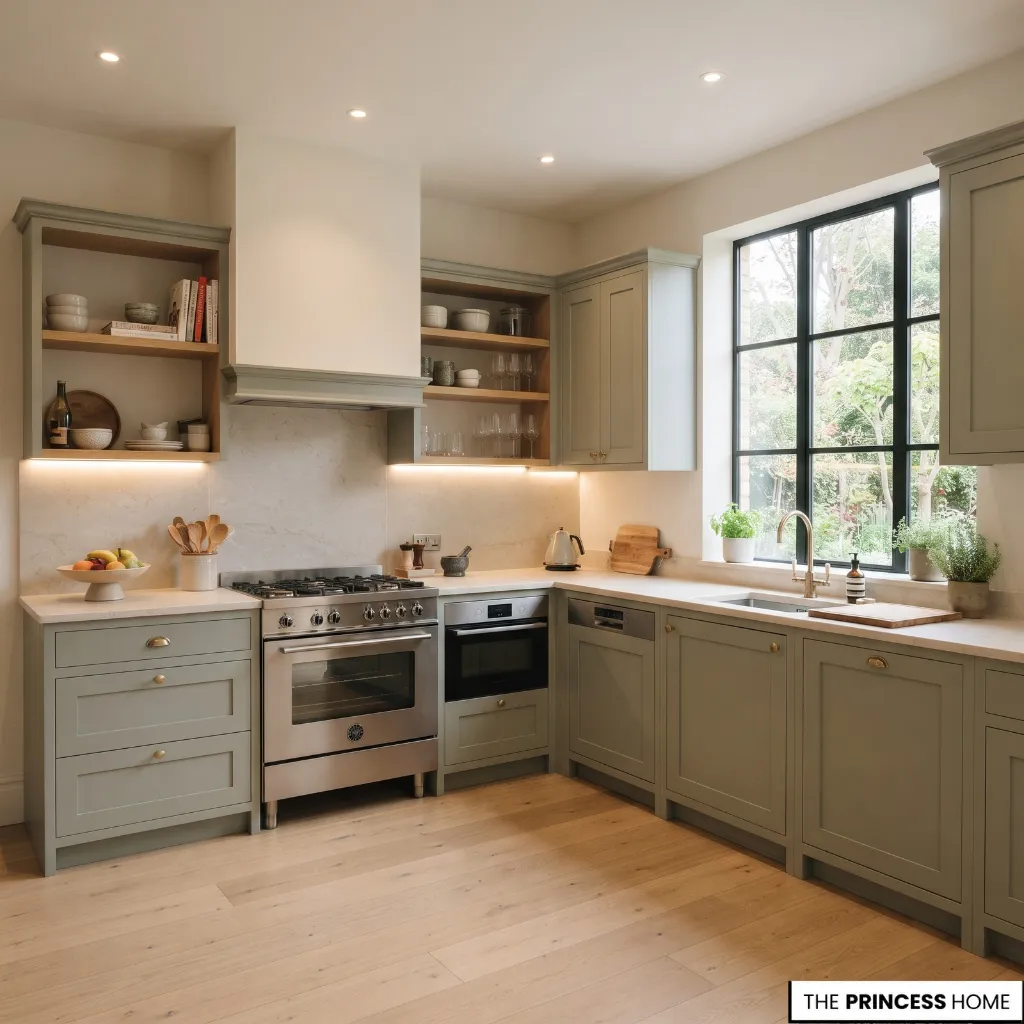
Before choosing light fixtures, consider the kitchen’s dimensions, ceiling height, natural light, cabinetry, and existing electrical arrangements. These conditions determine where illumination is needed and which fixtures are suitable.
Start by identifying the areas used for different activities. Countertops need sufficient light for food preparation, while sinks and cooktops benefit from appropriate task illumination.
Kitchen islands may require both focused lighting and decorative fixtures. Walkways and general circulation areas need consistent ambient light.
Consider the direction and amount of natural light entering the room. A kitchen with large windows may receive strong daylight during certain hours but still need artificial lighting in the evening or in areas away from the windows.
Dark cabinetry, deep countertops, and enclosed layouts may also require more carefully distributed illumination.
Ceiling height affects fixture selection and placement. Recessed and flush-mounted fixtures can work well in kitchens with limited overhead clearance, while pendant lights may suit higher ceilings and islands where sufficient hanging space is available.
Check the existing electrical points before planning major changes. Their locations may influence the installation of ceiling lights, wall fixtures, under-cabinet lighting, and island pendants.
If the current arrangement creates dark work areas, consider whether additional wiring or alternative fixture placement is necessary.
A simple lighting plan can help turn this assessment into practical decisions. Begin with a scaled sketch of the kitchen, marking the cabinets, countertops, sink, cooktop, island, and main walkways. Then mark the proposed light positions and identify which areas each fixture needs to illuminate.
Check whether cabinets or other objects may block the light, and look for gaps between the areas covered by different fixtures. Product lighting diagrams or a professional lighting plan can help assess the expected distribution before installation.
For example, imagine a kitchen with a central island, a long countertop beneath wall cabinets, and a sink positioned near a window. The ceiling fixtures can provide general illumination, while under-cabinet lighting can cover the main preparation surface.
The island may need pendant or linear lighting, with additional ceiling illumination if the selected fixtures do not provide enough light. The sink should also receive comfortable illumination after daylight fades. This approach connects each fixture to a specific need rather than selecting lights individually.
Finally, identify which lighting improvements matter most. Prioritize safe, comfortable illumination for everyday activities before selecting decorative fixtures.
For more ideas: Kitchen Layout Ideas How to Choose the Right Layout
Layer Kitchen Lighting
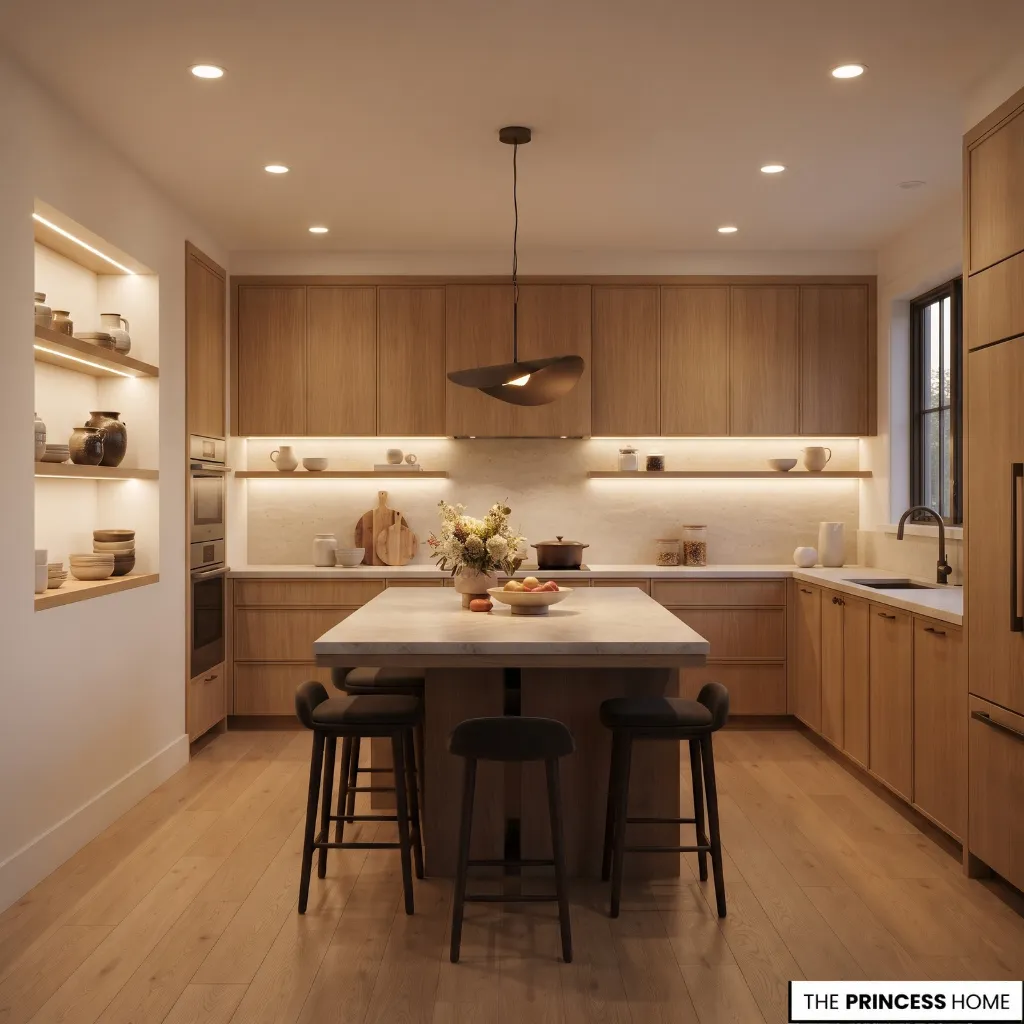
A well-planned kitchen uses several types of lighting because one fixture rarely provides everything the room needs. Ambient, task, accent, and decorative lighting serve different purposes and work best when their roles are coordinated.
Ambient lighting provides general illumination throughout the kitchen. It supports everyday visibility and helps people move comfortably between work areas. Recessed ceiling lights, flush mounts, and other ceiling fixtures commonly provide this layer.
Task lighting directs light toward specific working areas, such as countertops, sinks, and cooking surfaces. Under-cabinet LED strips and appropriately positioned recessed fixtures can illuminate these areas more effectively than relying on ceiling lights alone.
Accent lighting highlights selected features, including glass-front cabinets, open shelves, architectural details, and display areas. It adds visual emphasis without needing to illuminate the entire room.
Decorative lighting introduces visible fixtures that contribute to the kitchen’s appearance. Pendant lights over an island and a distinctive ceiling fixture are common examples. These fixtures may also provide ambient or task illumination, depending on their design and position.
The layers should complement one another rather than compete. For example, recessed ceiling lights can provide general illumination, under-cabinet strips can brighten the countertops, and pendants can illuminate an island while adding a decorative element.
When planning the layers, consider how their light spreads across the room. The aim is to create useful coverage without leaving dark gaps or concentrating too much light in one area.
On a simple plan, compare the areas reached by each fixture and check whether the main work surfaces receive light from a suitable direction. Where possible, review the manufacturer’s distribution information rather than assuming that fixtures with similar appearances provide the same coverage.
Separate switches or dimmers make it easier to control these layers according to the activity and time of day. This also allows decorative lighting to remain on without requiring every light in the kitchen to operate at full brightness.
For more ideas: Kitchen Design: Beautiful and Functional Tips for Every Style
Choose Ceiling Lights
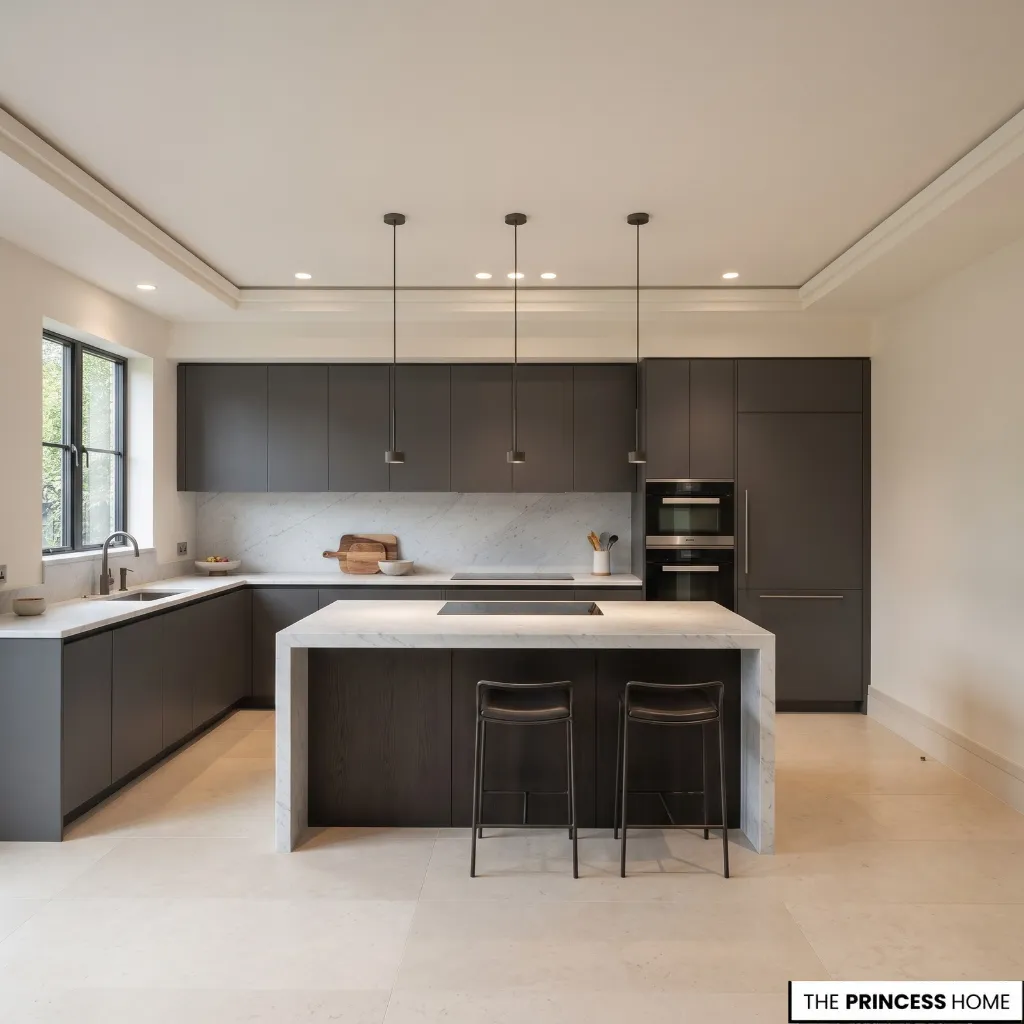
Ceiling fixtures provide the main source of general illumination in many kitchens. Their selection should depend on ceiling height, room dimensions, fixture output, and the distribution of light.
Recessed lights sit within the ceiling and create a relatively unobtrusive appearance. They are useful when a clean ceiling is preferred or when the room has limited space for hanging fixtures.
Their placement matters because poorly positioned recessed lights can leave countertops in shadow or create unwanted reflections on glossy surfaces.
When planning recessed lights, consider the areas directly beneath them as well as the spaces between fixtures. Avoid arranging them only in a regular grid without considering the kitchen layout.
A fixture positioned directly above a person working at a counter may cast a shadow, while one placed too far from the work surface may not provide enough useful illumination. Review the fixture’s beam angle and light distribution, and use the manufacturer’s layout guidance to check the proposed positions.
Flush-mount lights attach directly to the ceiling, making them suitable for kitchens with lower ceilings. They are available in different shapes and finishes, allowing them to provide general illumination without occupying much overhead space.
Semi-flush fixtures hang slightly below the ceiling. They offer more visual presence than flush mounts while generally requiring less vertical clearance than pendant lights or chandeliers.
Ceiling-mounted linear fixtures can provide a practical option for longer kitchen spaces. Their elongated shape may distribute light across a wider area, depending on the design and light output.
When selecting ceiling lights, consider how evenly they illuminate the room. A fixture that looks attractive but leaves dark corners or poorly lit work surfaces may require additional lighting.
Avoid concentrating all the ceiling lights in the middle of the kitchen. Their positions should relate to the room’s layout and the areas where people actually work. A lighting plan should also account for cabinet heights and other obstructions that may block the light.
Light Work Surfaces
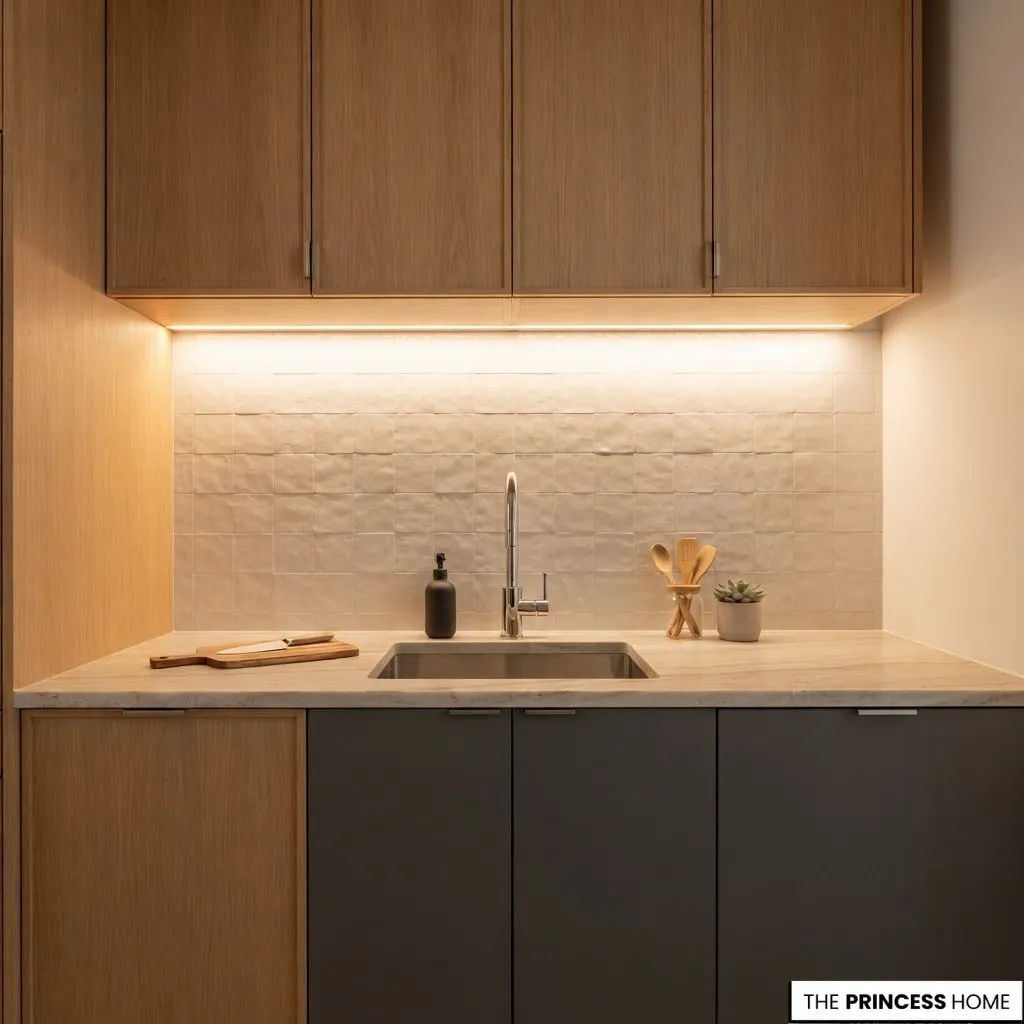
Countertops require dedicated illumination because general ceiling lights do not always provide enough light for food preparation and other detailed activities. The position of the light source is particularly important because people working at the counter can cast shadows over the surface.
Under-cabinet lighting is one of the most useful solutions. LED strips installed beneath wall cabinets illuminate the countertop directly and help reduce shadows created by overhead fixtures.
For more even coverage, position the lighting near the front edge of the cabinet rather than too far toward the backsplash. This allows light to reach a greater portion of the work surface.
Under-cabinet lighting is available in several forms:
- LED strip lights provide continuous illumination along the underside of cabinets.
- Linear LED fixtures offer a more defined housing and can simplify installation.
- Individual puck lights create separate pools of light and may produce uneven coverage if they are spaced too far apart.
The choice depends on the length of the countertop, cabinet arrangement, desired light distribution, and installation requirements.
When comparing these options, consider the actual illuminated area rather than the fixture length alone. Check the manufacturer’s guidance for spacing and coverage, especially when using individual puck lights.
If possible, test a sample on the countertop to see whether the light reaches the front working edge and whether it creates visible bright and dark patches.
The sink also needs suitable illumination. A ceiling light positioned behind the person using the sink may create shadows over the basin. A well-positioned ceiling fixture or suitable task light can provide better visibility.
Cooktops require appropriate illumination for monitoring food and cleaning the cooking surface. Integrated range-hood lighting can help, although its coverage should be considered alongside the kitchen’s other lighting.
Avoid placing fixtures where their light reflects directly into the user’s eyes or creates strong reflections on polished countertops. The aim is to illuminate the working surface comfortably and consistently.
Illuminate Kitchen Islands
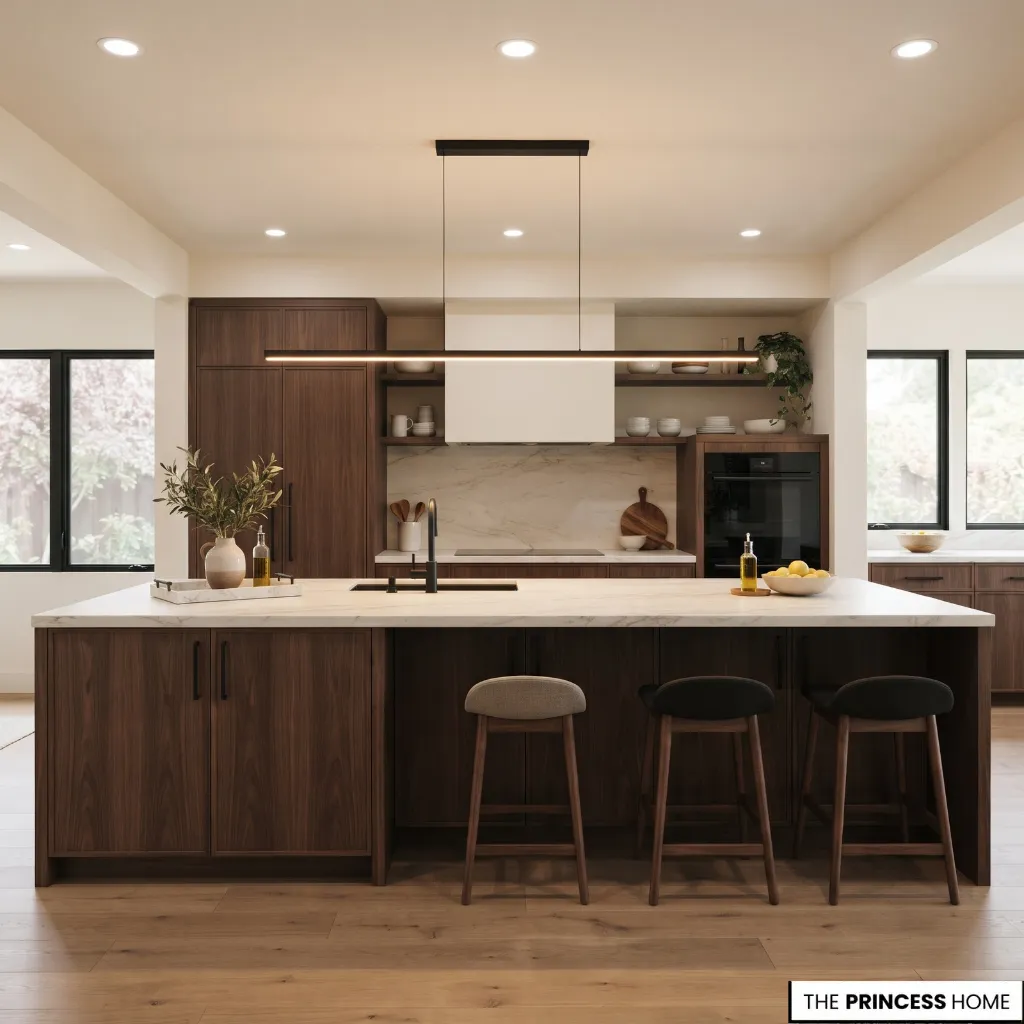
Kitchen islands often serve several purposes, including food preparation, dining, storage, and social activities. Their lighting should support these functions while maintaining suitable proportions and clear sightlines across the kitchen.
Pendant lights are a popular option because they bring illumination closer to the island surface. They are available in different shapes, sizes, and materials, allowing them to complement the cabinetry and other kitchen finishes.
When selecting pendants, consider the island’s length and width. A large fixture may overwhelm a compact island, while very small fixtures may look visually disconnected from a larger surface.
The overall arrangement should feel proportionate to the island rather than being determined by a fixed number of lights.
To determine how many pendants to use, compare the island’s length with the width of each fixture and the space needed between them. Sketch the arrangement before installation, keeping the fixtures balanced across the usable surface and away from the island’s ends.
The final number depends on fixture dimensions, light output, ceiling height, and the visual effect you want to achieve. There is no single number that suits every island.
Linear pendant fixtures can work particularly well above longer islands. Their elongated form provides a continuous lighting arrangement and can simplify the visual composition compared with several separate fixtures.
Multiple pendants can also suit longer islands. Their spacing should create an even arrangement without overcrowding the ceiling or interrupting views across the kitchen. The fixture dimensions, hanging height, and island proportions should all inform the final layout.
Pendant lighting should not automatically be treated as the island’s only task lighting. Depending on the fixture’s direction and light output, additional ceiling lighting may be needed to illuminate the surface adequately.
Consider the height at which the fixtures hang. They should provide useful illumination without obstructing sightlines or interfering with everyday activities. Ceiling height, pendant dimensions, and the people using the kitchen all affect the appropriate installation position.
Before fixing the final height, check the manufacturer’s installation instructions and confirm that the fixtures will not obstruct normal use of the island or views across the room. Electrical installation and final positioning should be checked by a qualified professional where necessary.
For smaller kitchens or islands with limited overhead clearance, recessed lighting may provide a simpler solution. A combination of recessed and decorative lighting can maintain useful illumination without introducing oversized hanging fixtures.
Add Accent Lighting
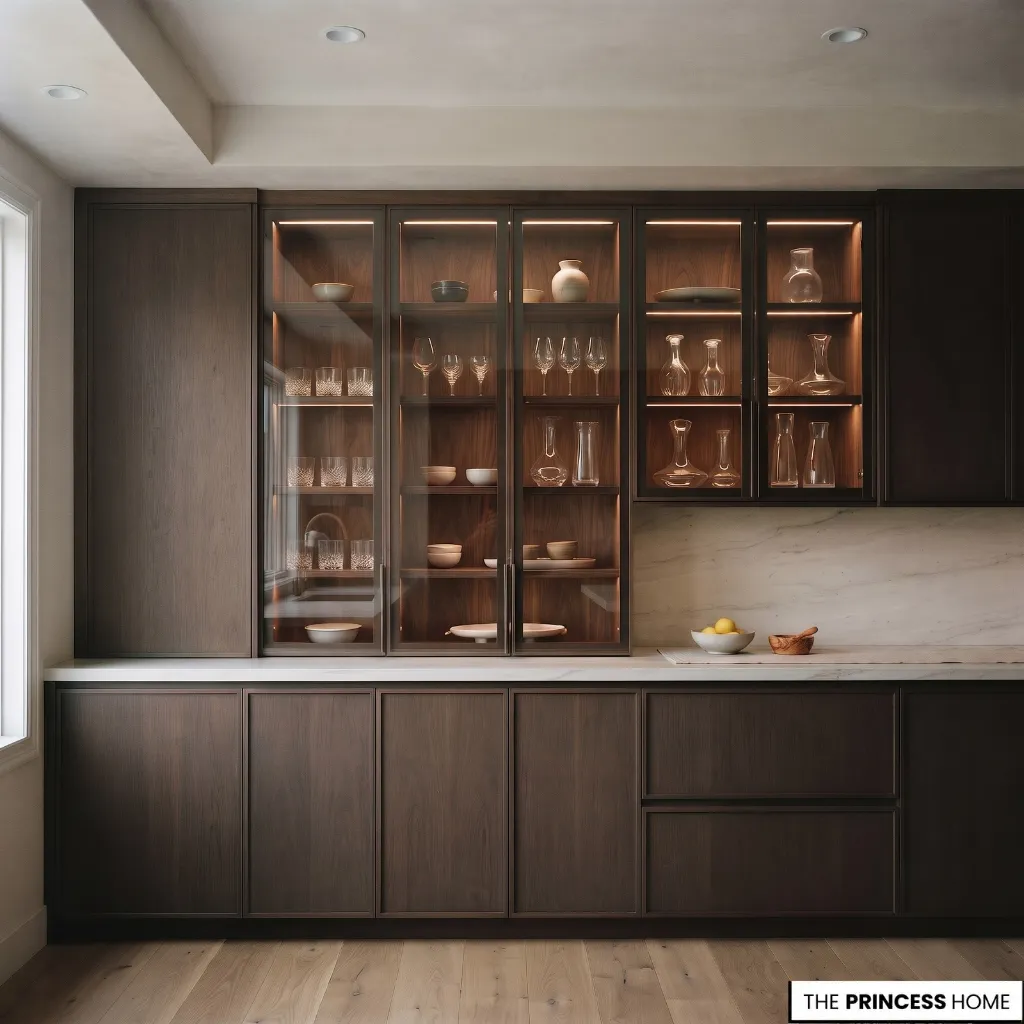
Accent lighting highlights selected areas of the kitchen rather than providing general illumination. It can emphasize architectural details, display objects, and cabinet features while adding another layer to the overall lighting arrangement.
Glass-front cabinets can benefit from discreet interior lighting. Small LED fixtures or integrated cabinet lighting can illuminate displayed glassware, ceramics, and other objects. The light should be positioned to highlight the contents without producing excessive reflections on the glass.
Open shelves can also incorporate concealed lighting. LED strips installed beneath shelves can illuminate the surfaces below, while carefully positioned lights can draw attention to selected objects.
Toe-kick lighting is installed near the bottom of base cabinets. It creates a low-level source of illumination along the floor and can help define the cabinetry, particularly in kitchens with islands or extended cabinet runs.
Backsplash lighting can emphasize textured surfaces, stone patterns, or other distinctive finishes. However, the effect depends on the direction and intensity of the light. Strong reflections may become distracting on glossy materials, so the fixture position should be tested before installation.
Accent lighting works best when it highlights a limited number of features. Lighting every cabinet, shelf, and architectural detail can make the room visually busy and compete with the general illumination.
Use separate controls where possible so accent fixtures can operate independently from task and ambient lighting.
Select Light Quality
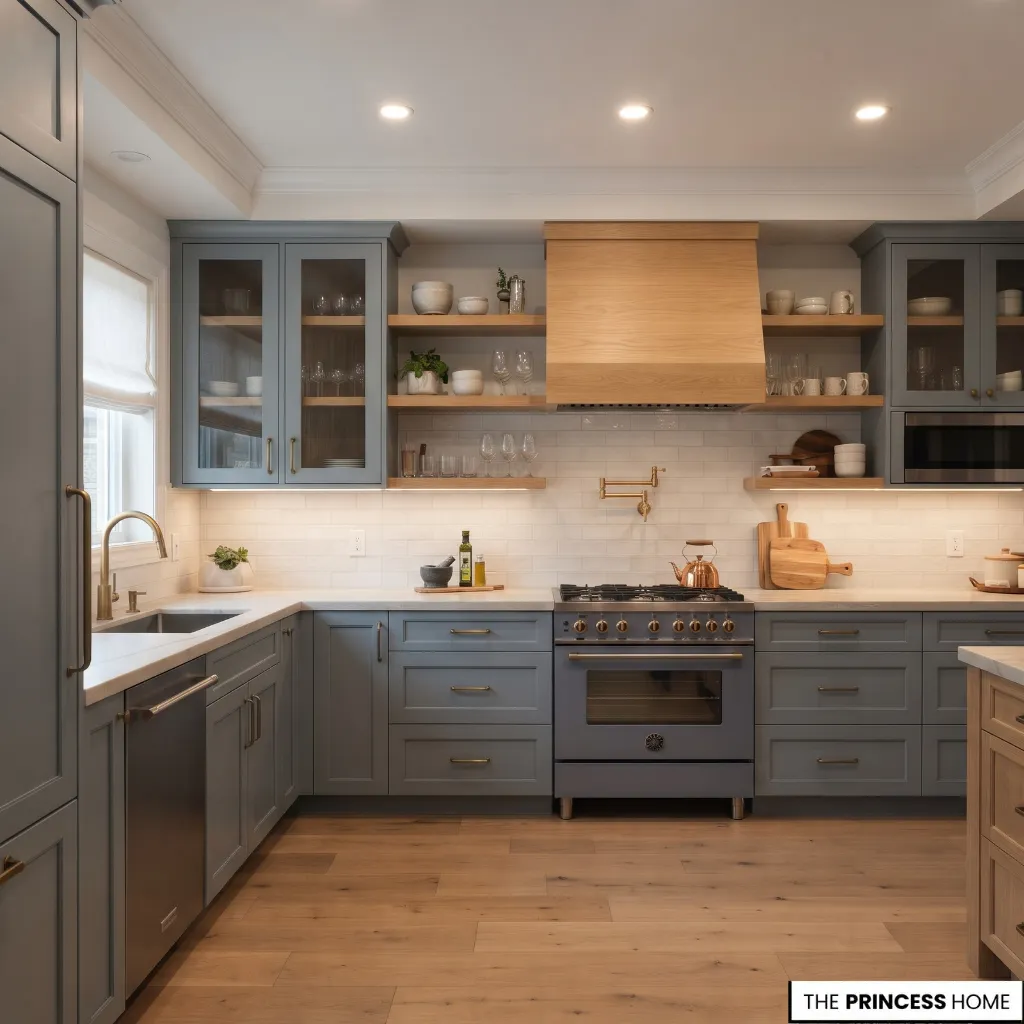
Choosing suitable fixtures is only one part of kitchen lighting. The characteristics of the light source also affect visibility, comfort, and the appearance of materials. Three important considerations are color temperature, color rendering, and brightness.
Color temperature is measured in Kelvin (K) and describes whether light appears warmer or cooler.
Lower Kelvin values produce warmer-looking light, often with a soft yellow appearance. Higher values produce cooler-looking light with a more neutral or bluish appearance.
Warm light can complement cream cabinetry, natural wood, and other warm finishes. Neutral white light may suit kitchens where accurate visibility and a more balanced appearance are priorities.
Cooler light can work in some contemporary spaces, but the choice should be considered alongside the materials and overall lighting arrangement.
To choose a suitable color temperature, compare actual light sources in the kitchen rather than relying only on product photographs or showroom displays.
Test samples against cabinet doors, countertop pieces, and backsplash materials under the lighting conditions planned for the room. Look at them during the day and after the artificial lights are switched on. This makes it easier to see whether the light brings out unwanted yellow, blue, or other undertones.
Where several lighting layers operate together, choose compatible color temperatures so the room does not appear divided into noticeably different zones.
Consistency is important. Combining noticeably different color temperatures in adjacent areas can make the kitchen appear visually uneven. Where several lighting layers operate together, choose compatible light sources.
Color rendering index (CRI) measures how accurately a light source renders colors compared with a reference source. A higher CRI generally provides more faithful color appearance.
For kitchens where the appearance of food, cabinetry, and surface finishes matters, a CRI above 90 is a useful selection target. However, it is not an absolute requirement for every fixture. Check the manufacturer’s specifications when comparing products.
Brightness is commonly described through lumens, which measure the amount of light a source produces. Higher lumen output generally means more light, but the useful illumination reaching a surface also depends on fixture design, position, direction, and distribution.
It is useful to distinguish lumens from lux when planning brightness. Lumens describe the total light produced by a source, while lux describes the amount of light reaching a particular surface.
A lamp with a high lumen rating does not automatically provide adequate illumination across a countertop if its beam is narrow or its position is unsuitable.
When comparing fixtures, consider the manufacturer’s lighting diagrams or photometric information, which can help show how light is distributed across the room or work surface. For detailed planning, a lighting professional can assess whether the proposed arrangement provides suitable illumination for each activity.
Do not confuse brightness with color temperature. A warm light can be bright, and a cool light can be dim. Both characteristics should be considered separately when choosing bulbs and integrated LED fixtures.
Finally, consider dimmable lighting. Dimmers allow the light level to change according to the activity, helping the same kitchen support detailed preparation, dining, and quieter evening use. Before purchasing, check that the light source and dimmer are compatible.
Coordinate Colors & Materials
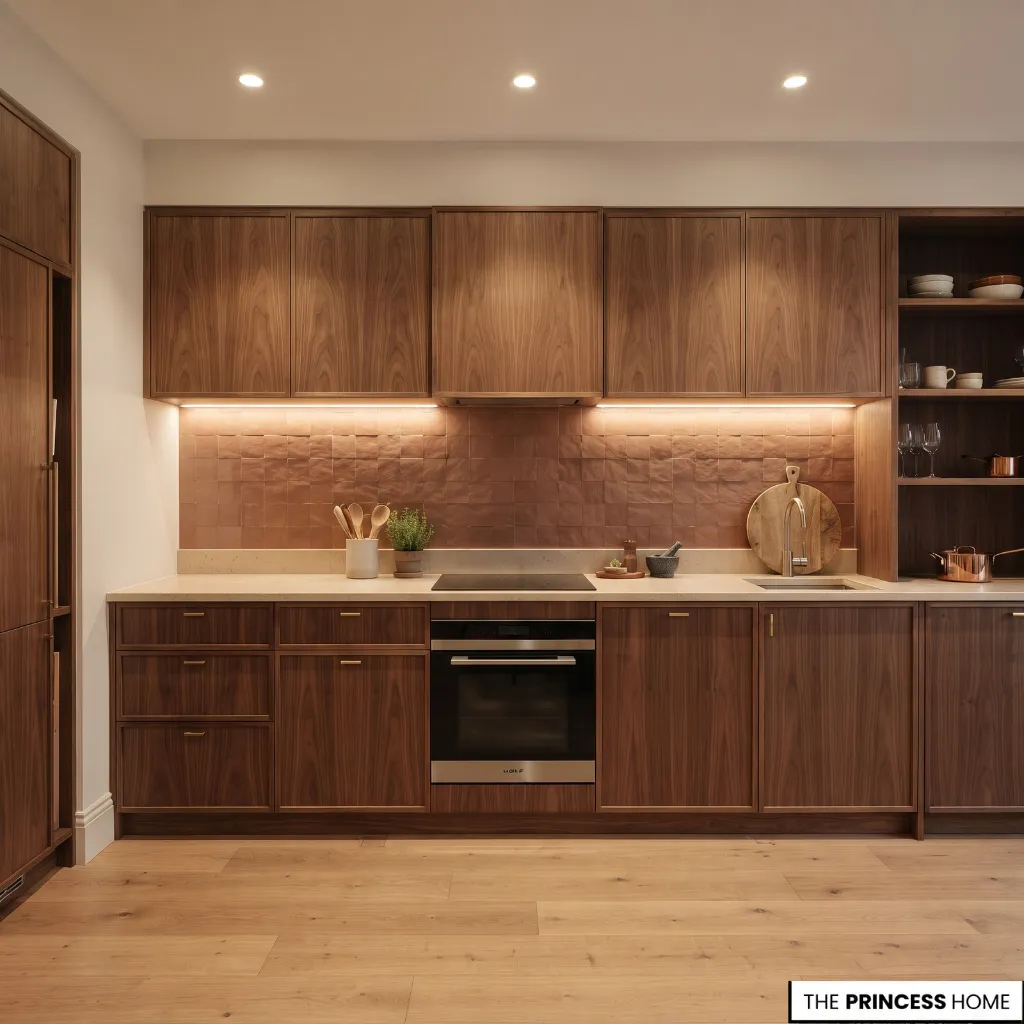
Lighting changes how kitchen colors and materials appear. A cabinet finish that looks neutral in daylight may appear warmer under one artificial light source and cooler under another.
Countertops, backsplashes, and wood surfaces can also look different depending on the direction, intensity, and color characteristics of the illumination.
Cabinet colors are particularly sensitive to lighting conditions. White and cream cabinets may appear warmer under warm artificial light, while cooler illumination can make some whites look less creamy.
Dark cabinetry may require carefully distributed general and task lighting to reveal its details and prevent work areas from appearing too dark.
Natural wood also responds to changes in illumination. Warm light can emphasize golden or reddish undertones, while cooler light may make some wood finishes appear more muted. The result depends on the wood species, finish, and surrounding colors.
Countertops and backsplashes require attention to both light direction and surface finish. Polished marble, quartz, and other reflective materials can produce noticeable highlights when exposed to direct light. Matte surfaces generally diffuse reflections differently, although their appearance still changes with illumination.
A backsplash with a textured surface may benefit from carefully directed light that reveals its details. However, strong directional lighting can also emphasize irregularities or create unwanted shadows.
Wall colors should be evaluated in relation to the kitchen’s artificial lighting and available daylight. A paint color selected from a small sample under showroom lighting may look different when installed across a large wall at home.
Before finalizing finishes, examine actual material samples under the lighting conditions planned for the kitchen. Check them during daylight and after switching on the artificial fixtures. This helps reveal differences in undertones and prevents unexpected combinations.
Remember that Kelvin and CRI measure different characteristics. A suitable color temperature does not automatically guarantee accurate color rendering. Both should be considered when choosing light sources for kitchens with distinctive cabinetry, stone, or wood finishes.
For more ideas: Kitchen Color Ideas How to Choose & Coordinate the Right Palette
Adapt Kitchen Lighting
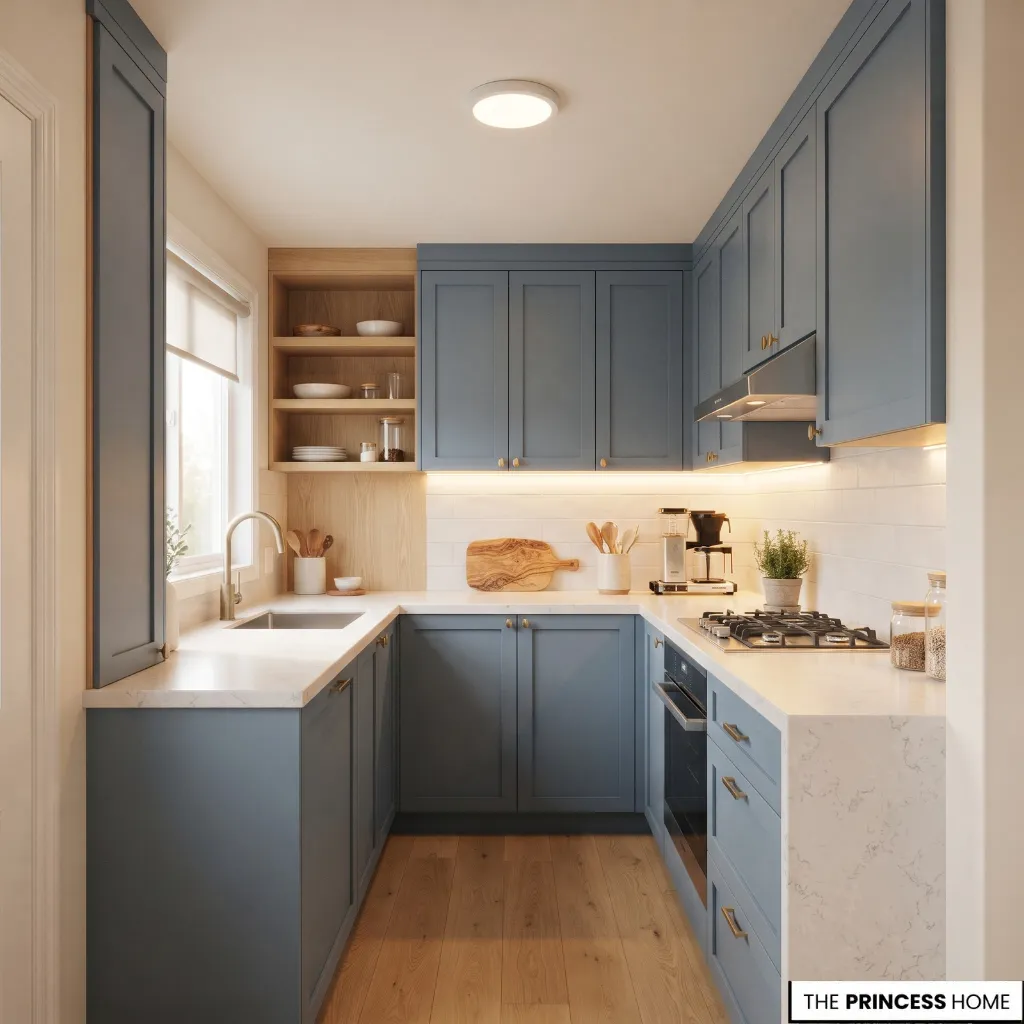
A lighting arrangement should respond to the kitchen’s dimensions, architecture, natural light, and available budget. The same fixture combination will not necessarily work equally well in every room.
Small kitchens benefit from well-distributed ambient lighting and effective countertop illumination. Recessed or compact ceiling fixtures can provide general light without occupying unnecessary visual space. Under-cabinet lighting can also improve work-surface visibility without adding bulky fixtures.
Low ceilings often suit flush-mounted or recessed lights. If pendants are desired above a small island, choose appropriately scaled fixtures and ensure they do not interfere with movement or sightlines.
Kitchens with limited natural light need a carefully planned combination of ambient and task lighting. Distribute general illumination throughout the room and provide additional light where preparation and cleaning take place.
Check that the selected color temperature works with the cabinetry and surface finishes rather than making them appear unexpectedly dull or yellow.
Existing kitchens may not require a complete lighting renovation. Replacing unsuitable bulbs, adding under-cabinet LED strips, improving fixture positions, or introducing compatible dimmers can address some common problems.
The available electrical points and installation requirements will determine which improvements are practical.
Limited budgets call for sensible priorities. Begin with adequate general illumination and countertop task lighting. These improvements usually provide more practical value than investing first in decorative pendants or accent fixtures.
Additional decorative lighting can be introduced later when the essential lighting requirements are satisfied.
For electrical changes, fixture installation, and new wiring, consult a qualified electrician. This is particularly important around sinks and other areas where electrical safety requirements apply.
For more ideas: Dream Kitchen: Expert Tips to Make Your Vision a Reality
Avoid Lighting Mistakes
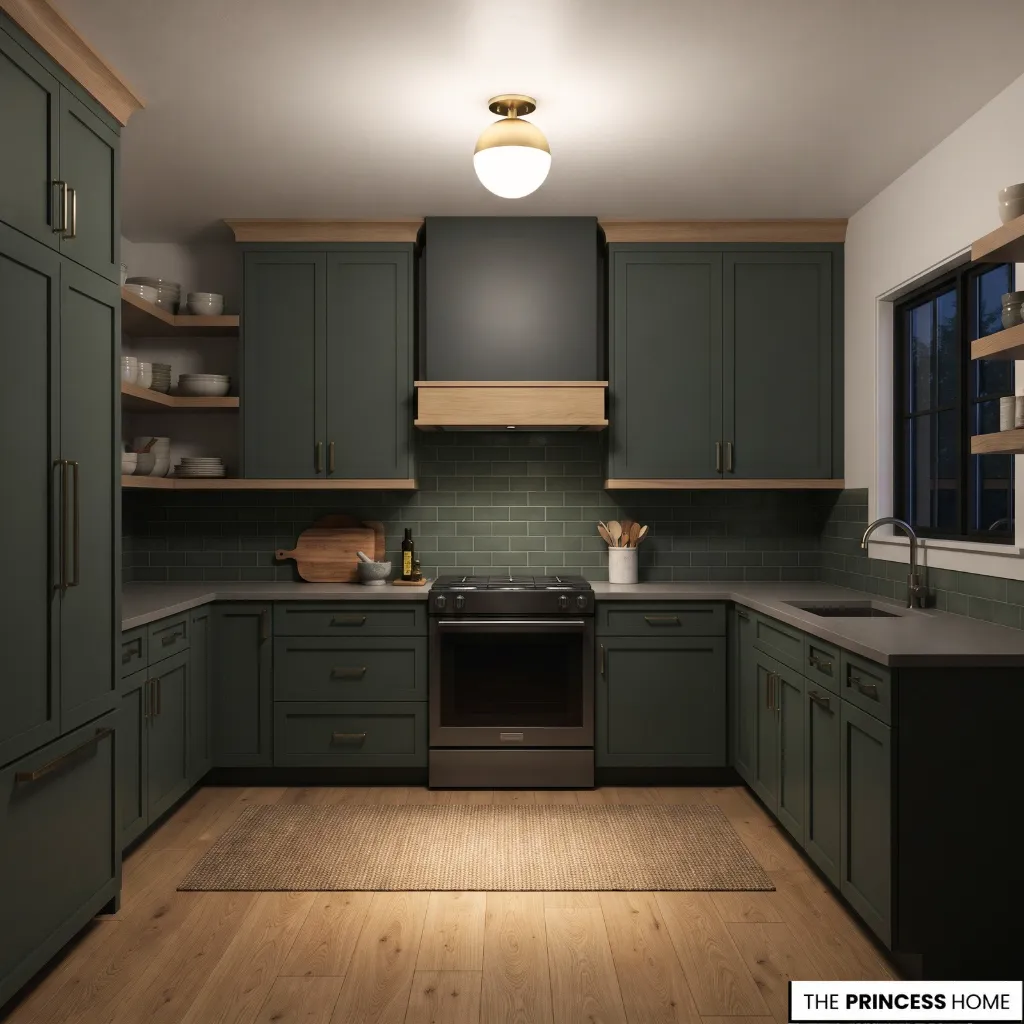
Even attractive fixtures can produce an unsuccessful result when their placement, light output, or function has not been considered carefully.
Relying on one ceiling fixture: A single light source may leave countertops, corners, and cabinet areas poorly illuminated. Combine general lighting with dedicated task lighting to improve coverage.
Using pendants as the only task lighting: Decorative pendants may not distribute enough light across an island or surrounding work surfaces. Assess their actual output and supplement them when necessary.
Creating countertop shadows: Poorly positioned ceiling lights can cause the person working at the counter to block the light. Under-cabinet lighting provides a more direct solution.
Installing uneven under-cabinet lighting: Widely spaced puck lights can create isolated bright spots and darker areas. Consider continuous LED strips or suitably designed linear fixtures for more consistent coverage.
Ignoring glare: Direct light and reflections from polished stone, glass, and glossy backsplashes can become uncomfortable. Adjust fixture positions and consider diffused lighting where appropriate.
Mixing incompatible color temperatures: Noticeably different light colors can make nearby finishes appear inconsistent. Select compatible sources for lighting layers that operate together.
Overlooking color rendering: A suitable Kelvin value alone does not guarantee accurate color appearance. Check CRI when selecting light sources for areas where material and food colors matter.
Choosing oversized pendants: Large fixtures can overwhelm an island or interfere with sightlines. Relate fixture dimensions to the island, ceiling height, and surrounding space.
Ignoring lighting controls: Operating every fixture through one switch limits flexibility. Separate controls and compatible dimmers allow different lighting layers to respond to different activities.
Choosing fixtures before assessing the kitchen: A fixture may look suitable individually but fail to address the room’s actual lighting requirements. Establish the lighting plan first, then select fixtures that meet those needs.
Conclusion
Successful kitchen lighting begins with understanding how the room is used and where illumination is needed. Combining ambient, task, accent, and decorative lighting creates a more practical arrangement than relying on individual fixtures alone.
By considering fixture placement, light quality, and the relationship between illumination and surface finishes, you can create a kitchen that supports everyday activities while allowing its colors and materials to appear as intended.